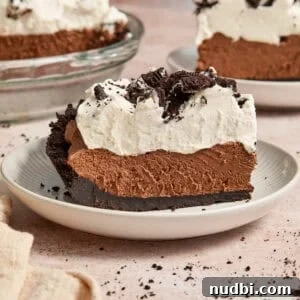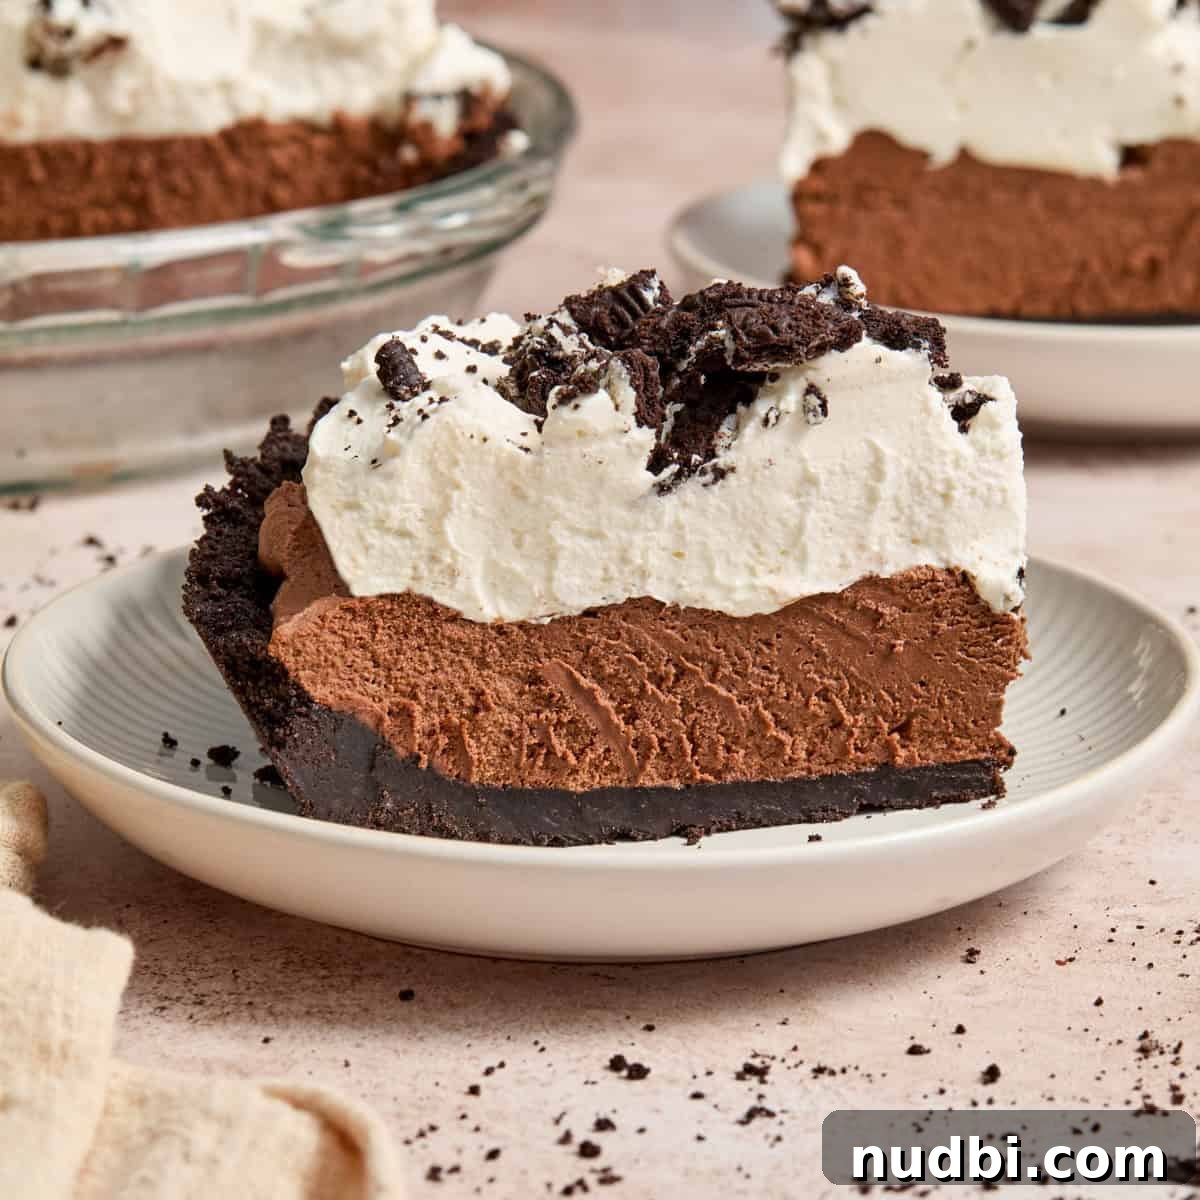
This easy No Bake Chocolate Pie is destined to become a favorite. A silky dark chocolate ganache folded into chocolate whipped cream sits in an Oreo cookie crust and is finished with freshly whipped cream — no oven needed. The result is rich, thick and irresistibly creamy.
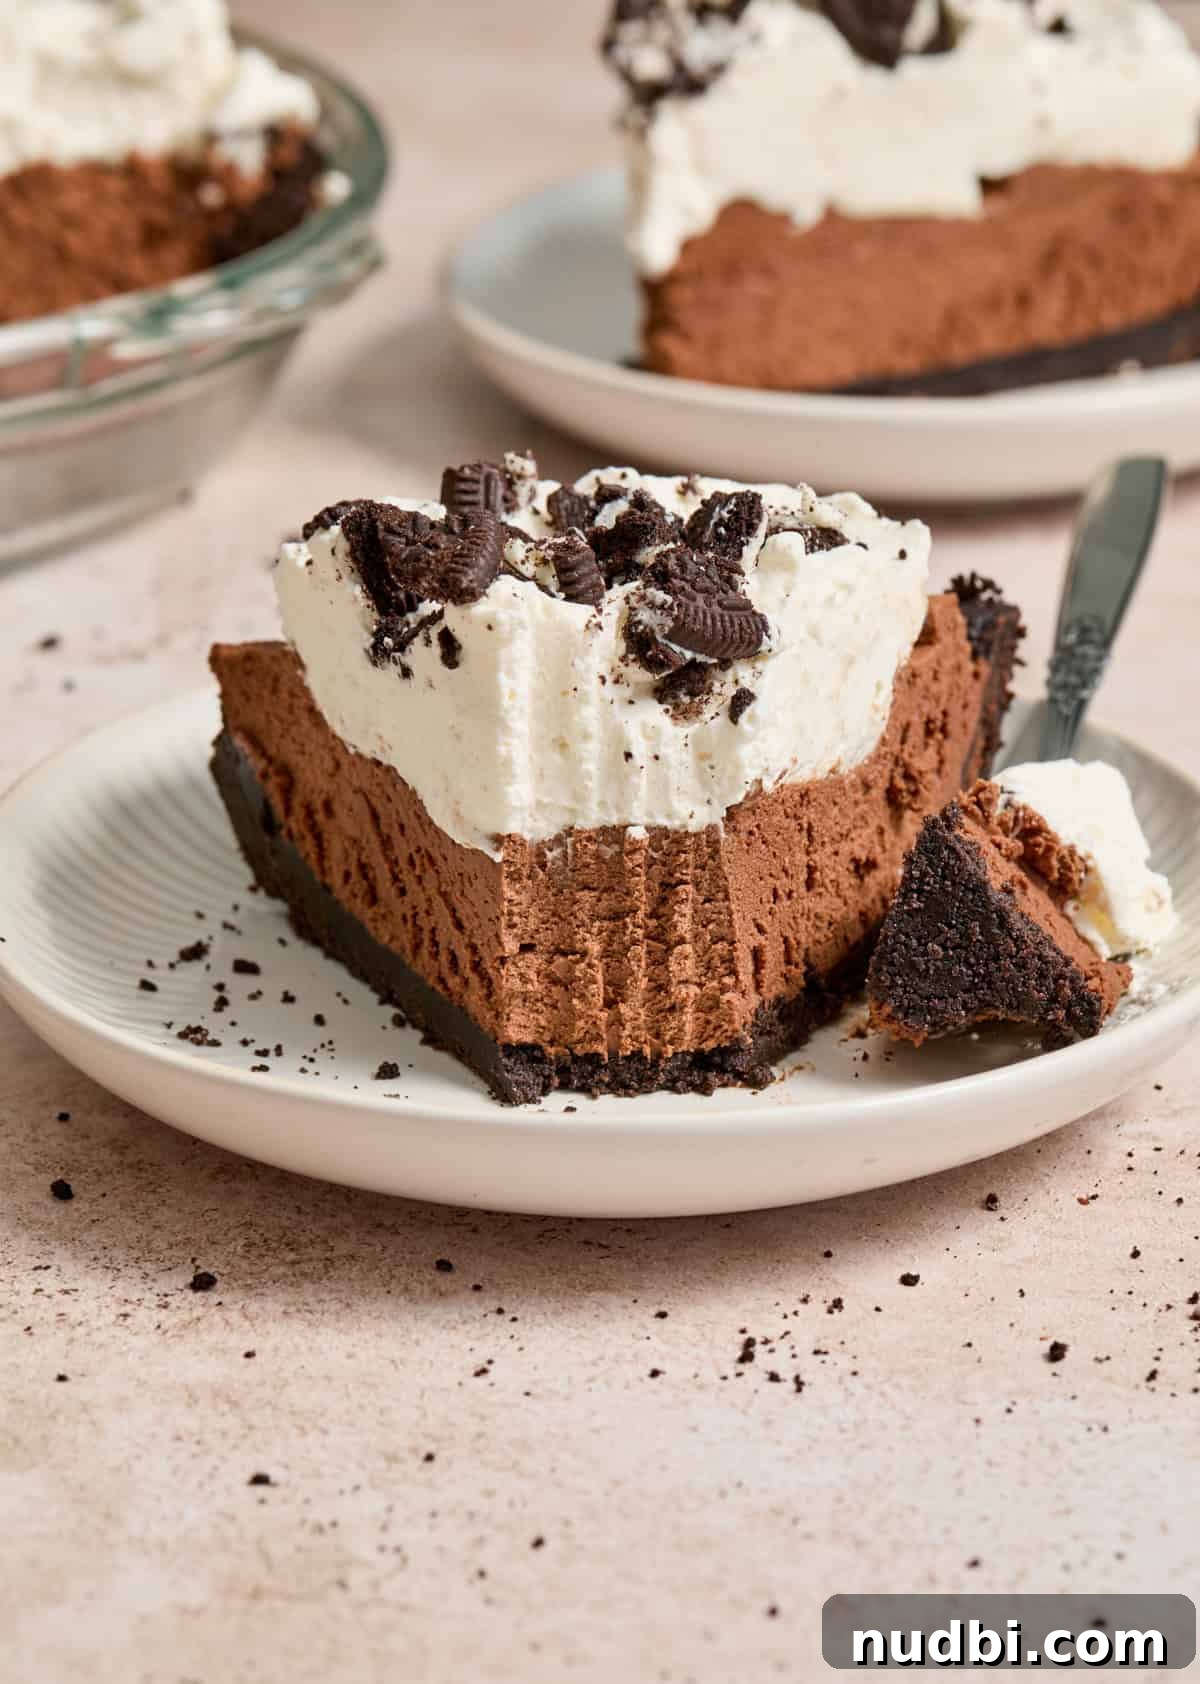
No-bake desserts are ideal any time of year, and this No Bake Chocolate Pie is an easy, elegant choice for everyday treats or special occasions. Inspired by chocolate whipped cream and a love for simple, no-fuss sweets, this pie is a family favorite for a reason.
If you enjoy this flavor profile, try other simple chocolate and no-bake desserts from the same collection for more inspiration.
Why You Will Love This No Bake Chocolate Pie:
- Minimal ingredients. You only need seven main ingredients — pantry staples in most homes — so it’s easy to pull together on short notice.
- No baking required. Skip the oven and reduce the risk of overcooking. No-bake desserts are forgiving and quick to prepare.
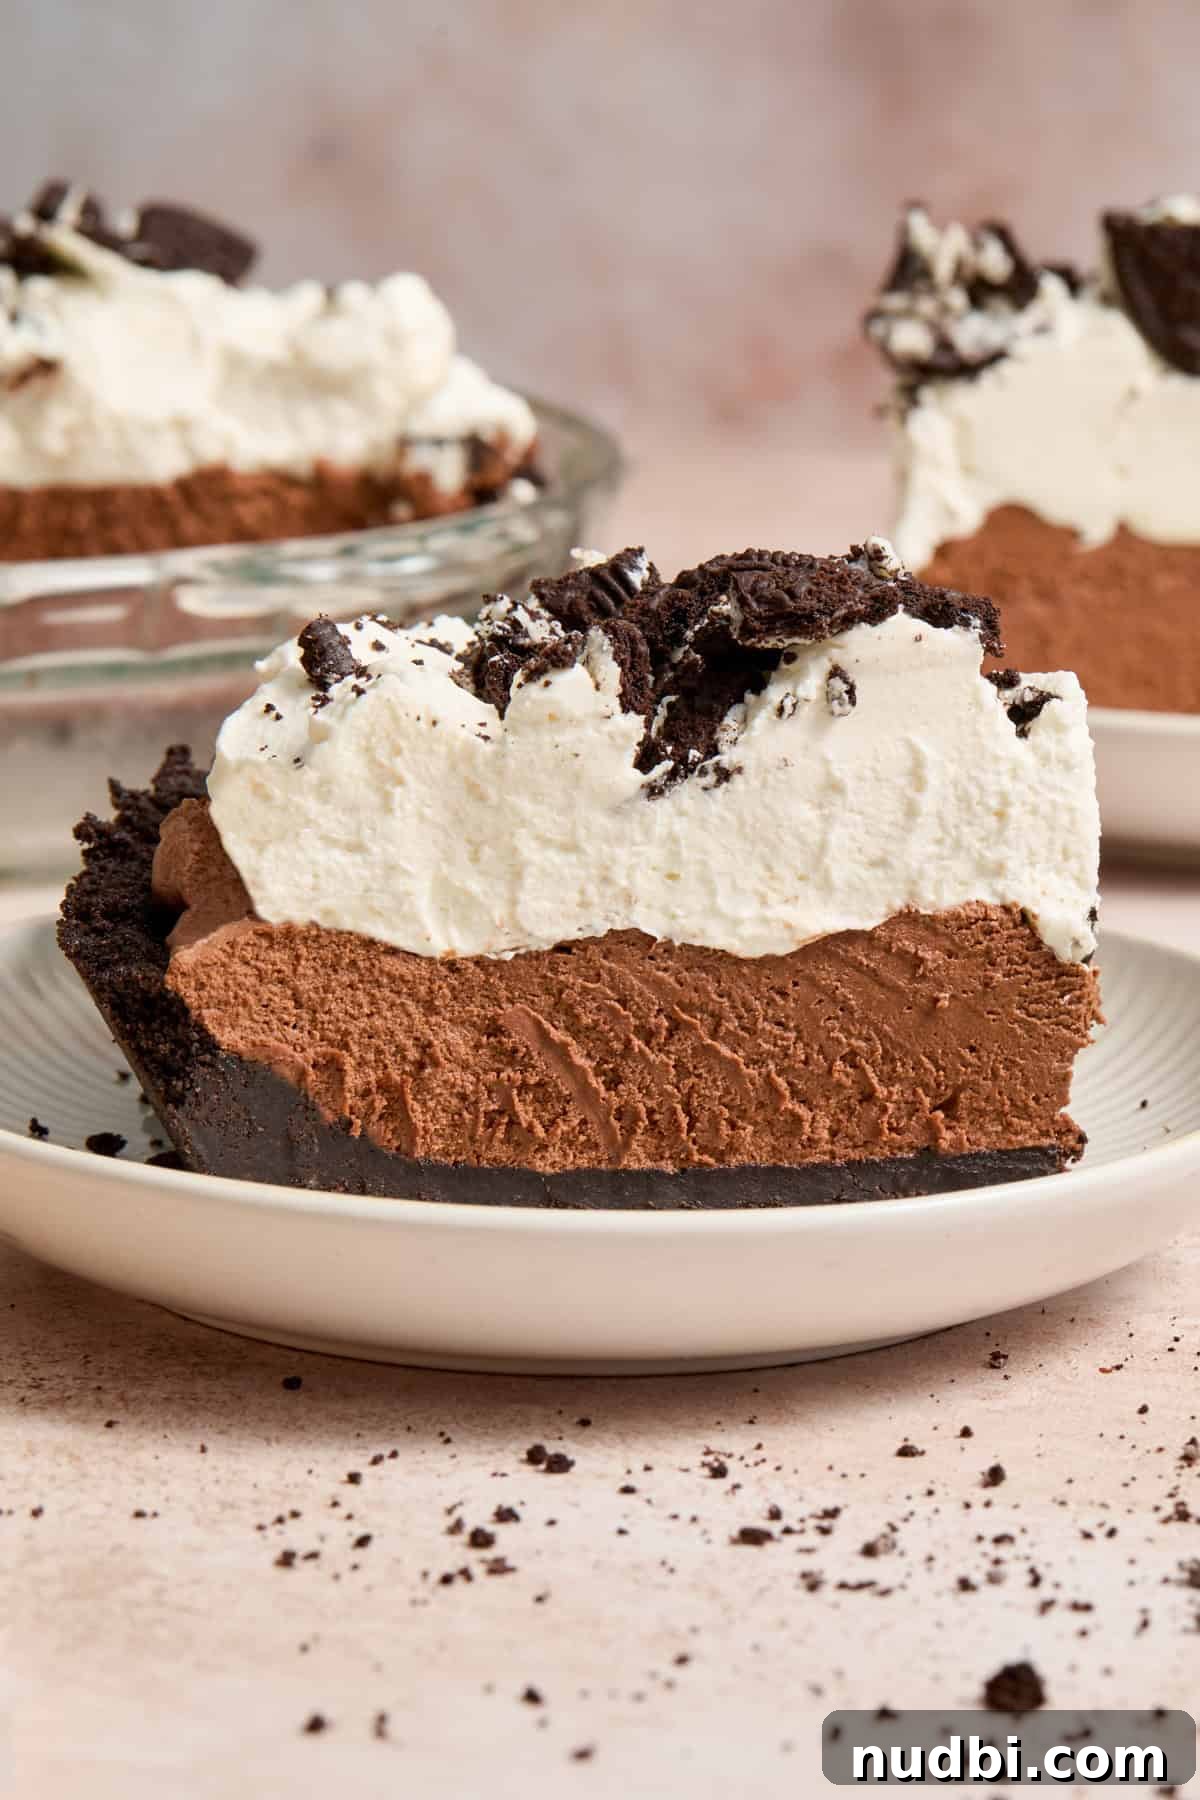
- Rich, luxurious texture. Folding a smooth ganache into chocolate whipped cream creates a dense, velvety filling that sets nicely in an Oreo crust. Topped with whipped cream, it becomes a layered, decadent dessert.
- Make-ahead friendly. The pie needs several hours to chill and firm up, so you can prepare it the night before and save time on the day you serve it.
Recipe Ingredients:
- Oreos: Classic Oreos work best for the crust. Double Stuf adds too much cream for a sturdy crust. Use gluten-free Oreos if you need a gluten-free pie.
- Butter: Melted butter binds the crust; unsalted is preferred but salted works too.
- Heavy whipping cream: Use heavy cream (higher fat) so the whipped layers whip up thick and hold their shape.
- Bittersweet chocolate: Choose a good-quality bittersweet chocolate for balanced, not-too-sweet flavor. Swap to a sweeter chocolate if you prefer a sweeter filling.
- Sugar: A small amount sweetens the whipped sections of the pie.
- Cocoa powder: Unsweetened cocoa powder adds chocolate depth to the whipped cream layer.
- Vanilla extract: Use real vanilla extract for the best flavor in the whipped creams.
- Optional: 1 teaspoon of espresso powder in the ganache can enhance the chocolate flavor but is not required.
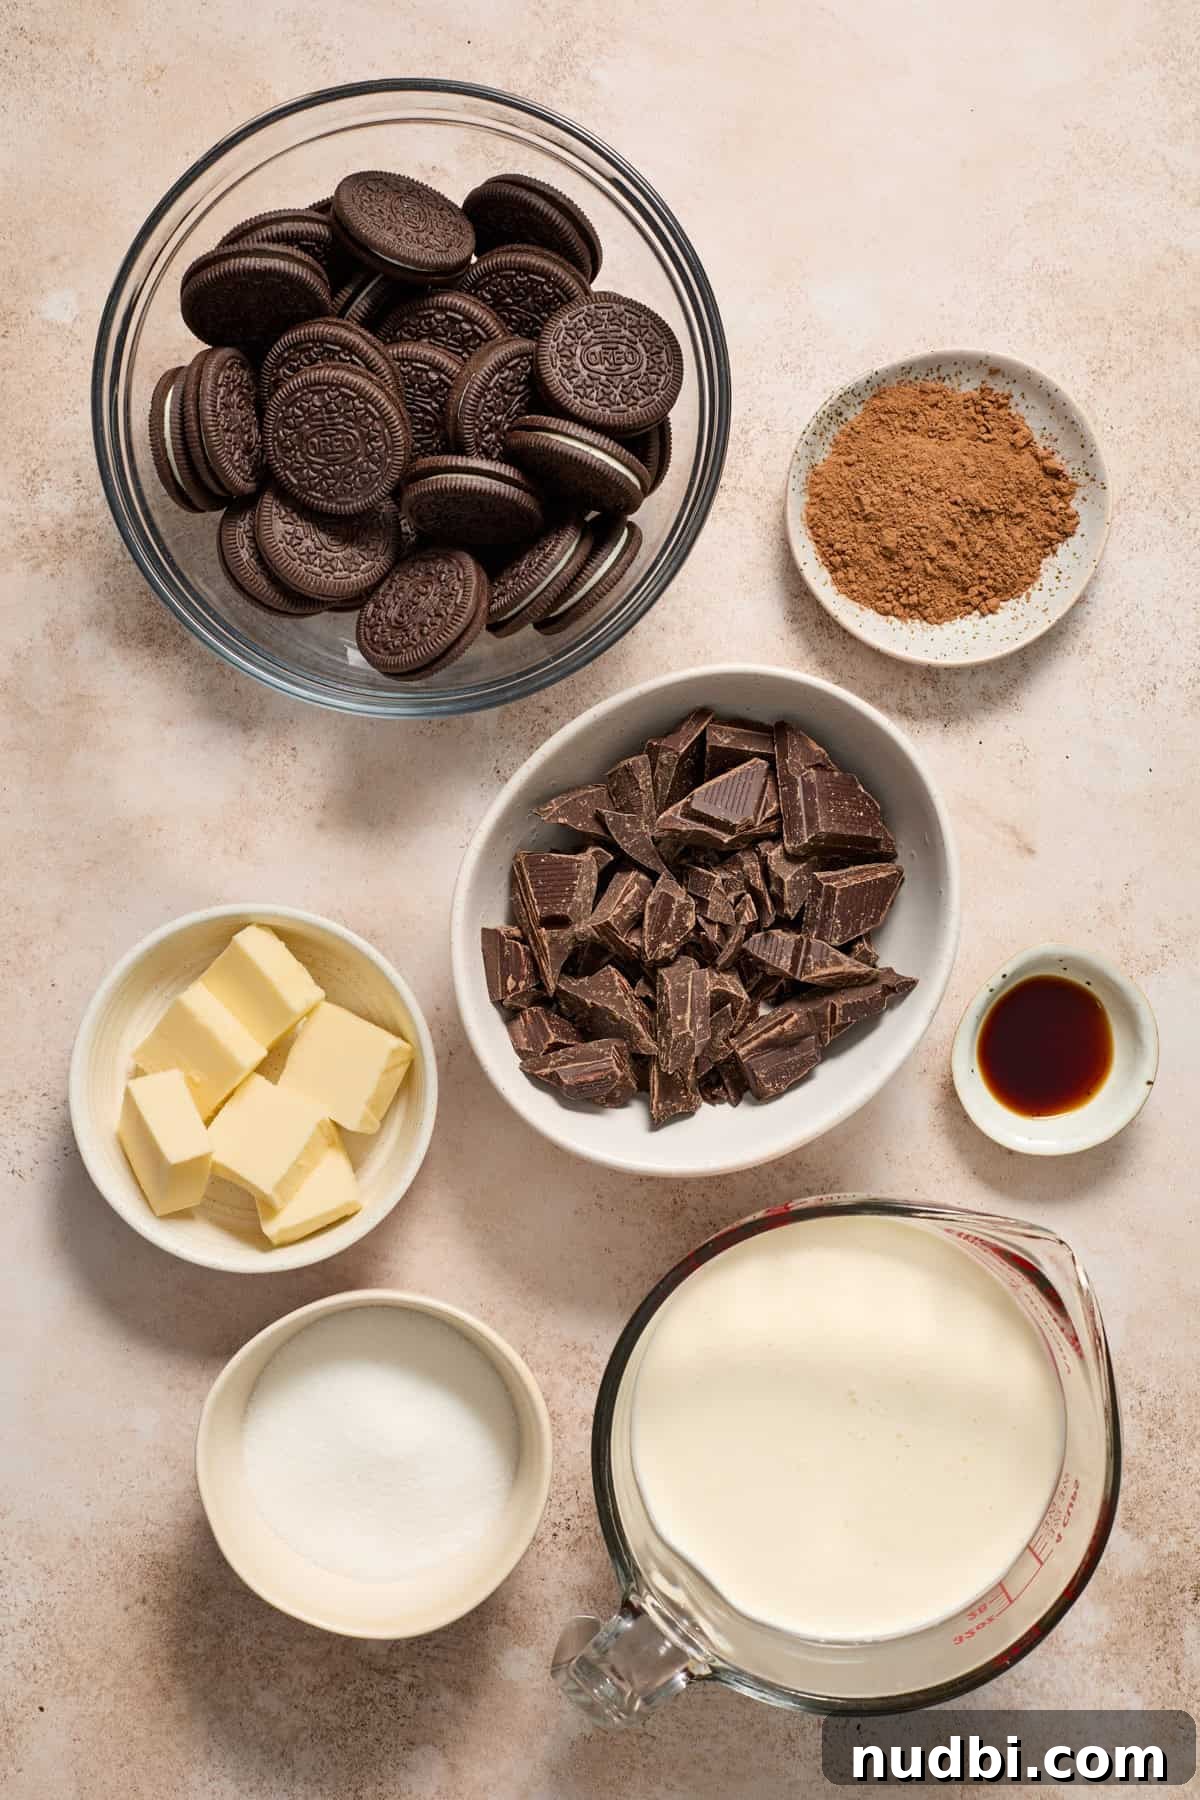
Step-By-Step Instructions:
Prepare the Oreo Crust:
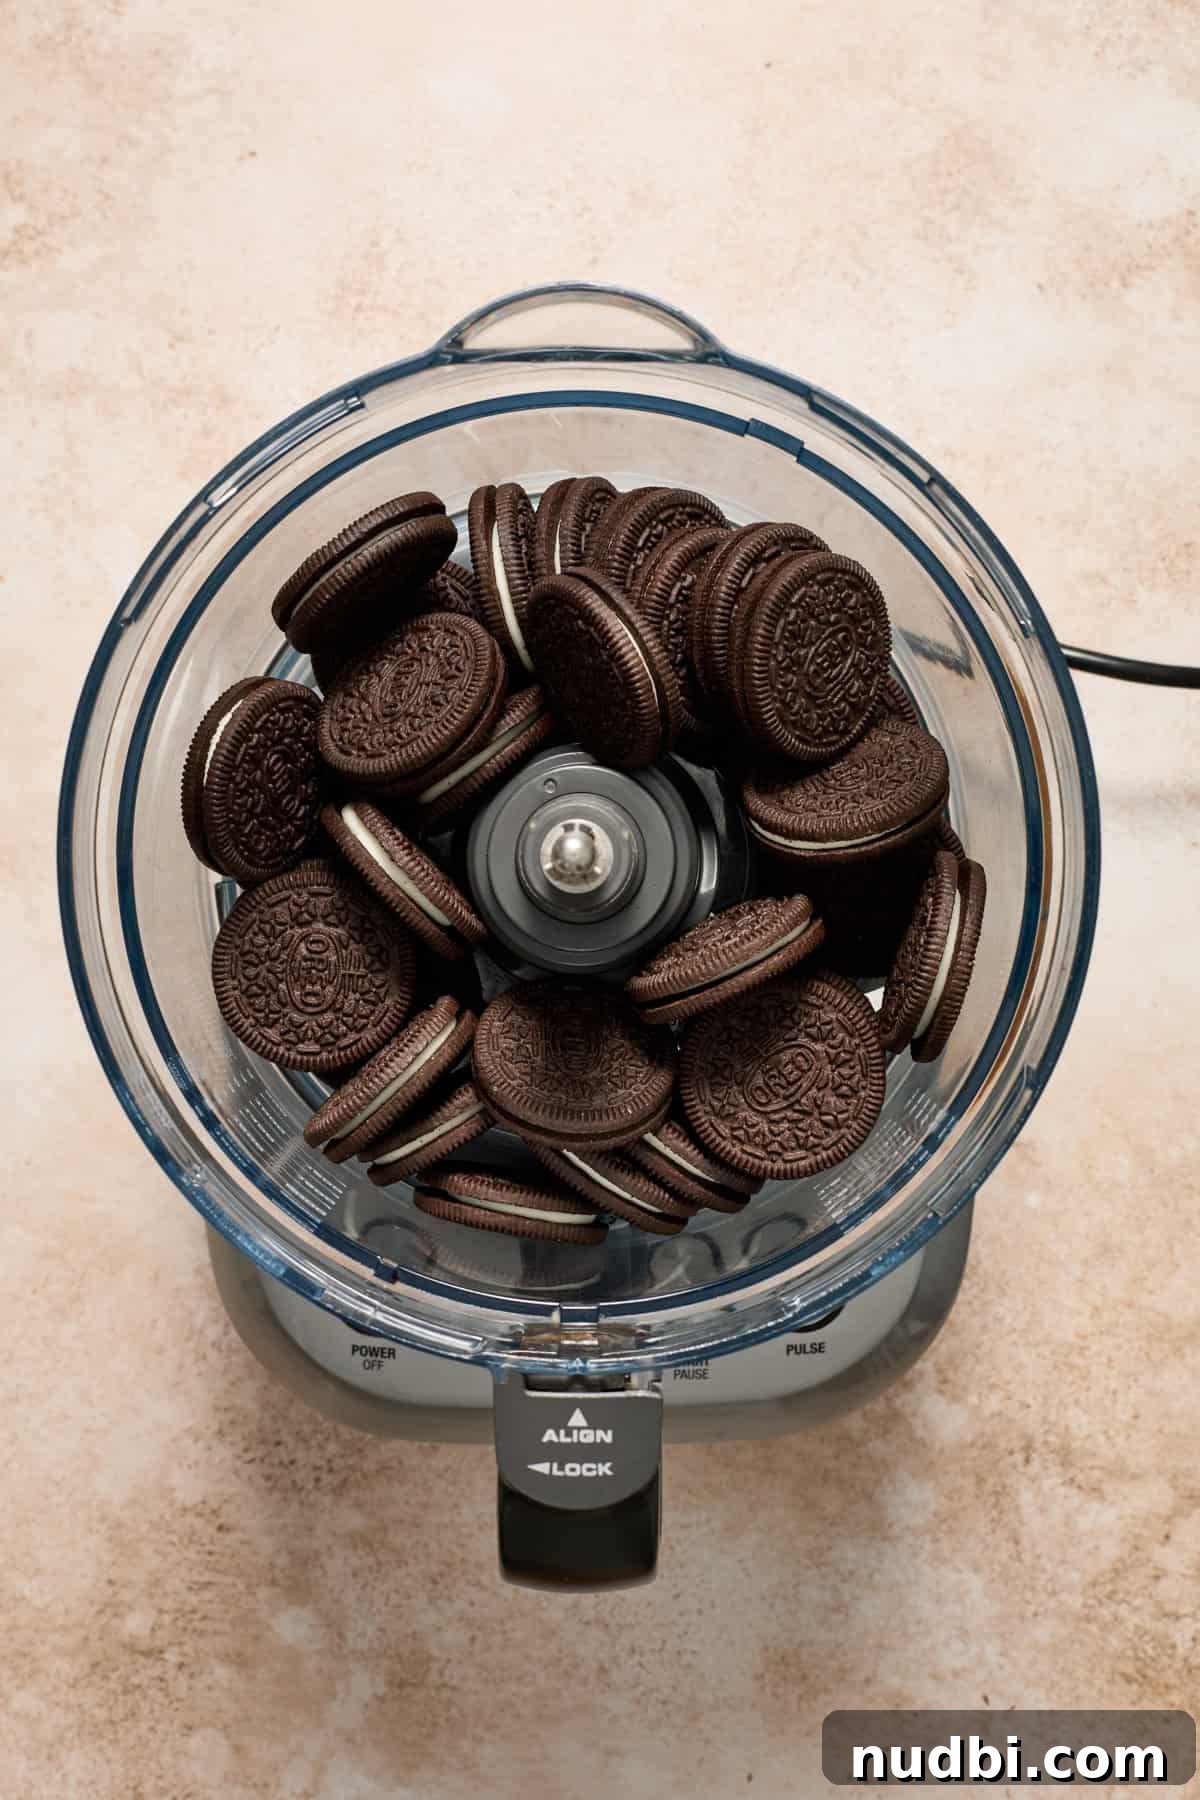
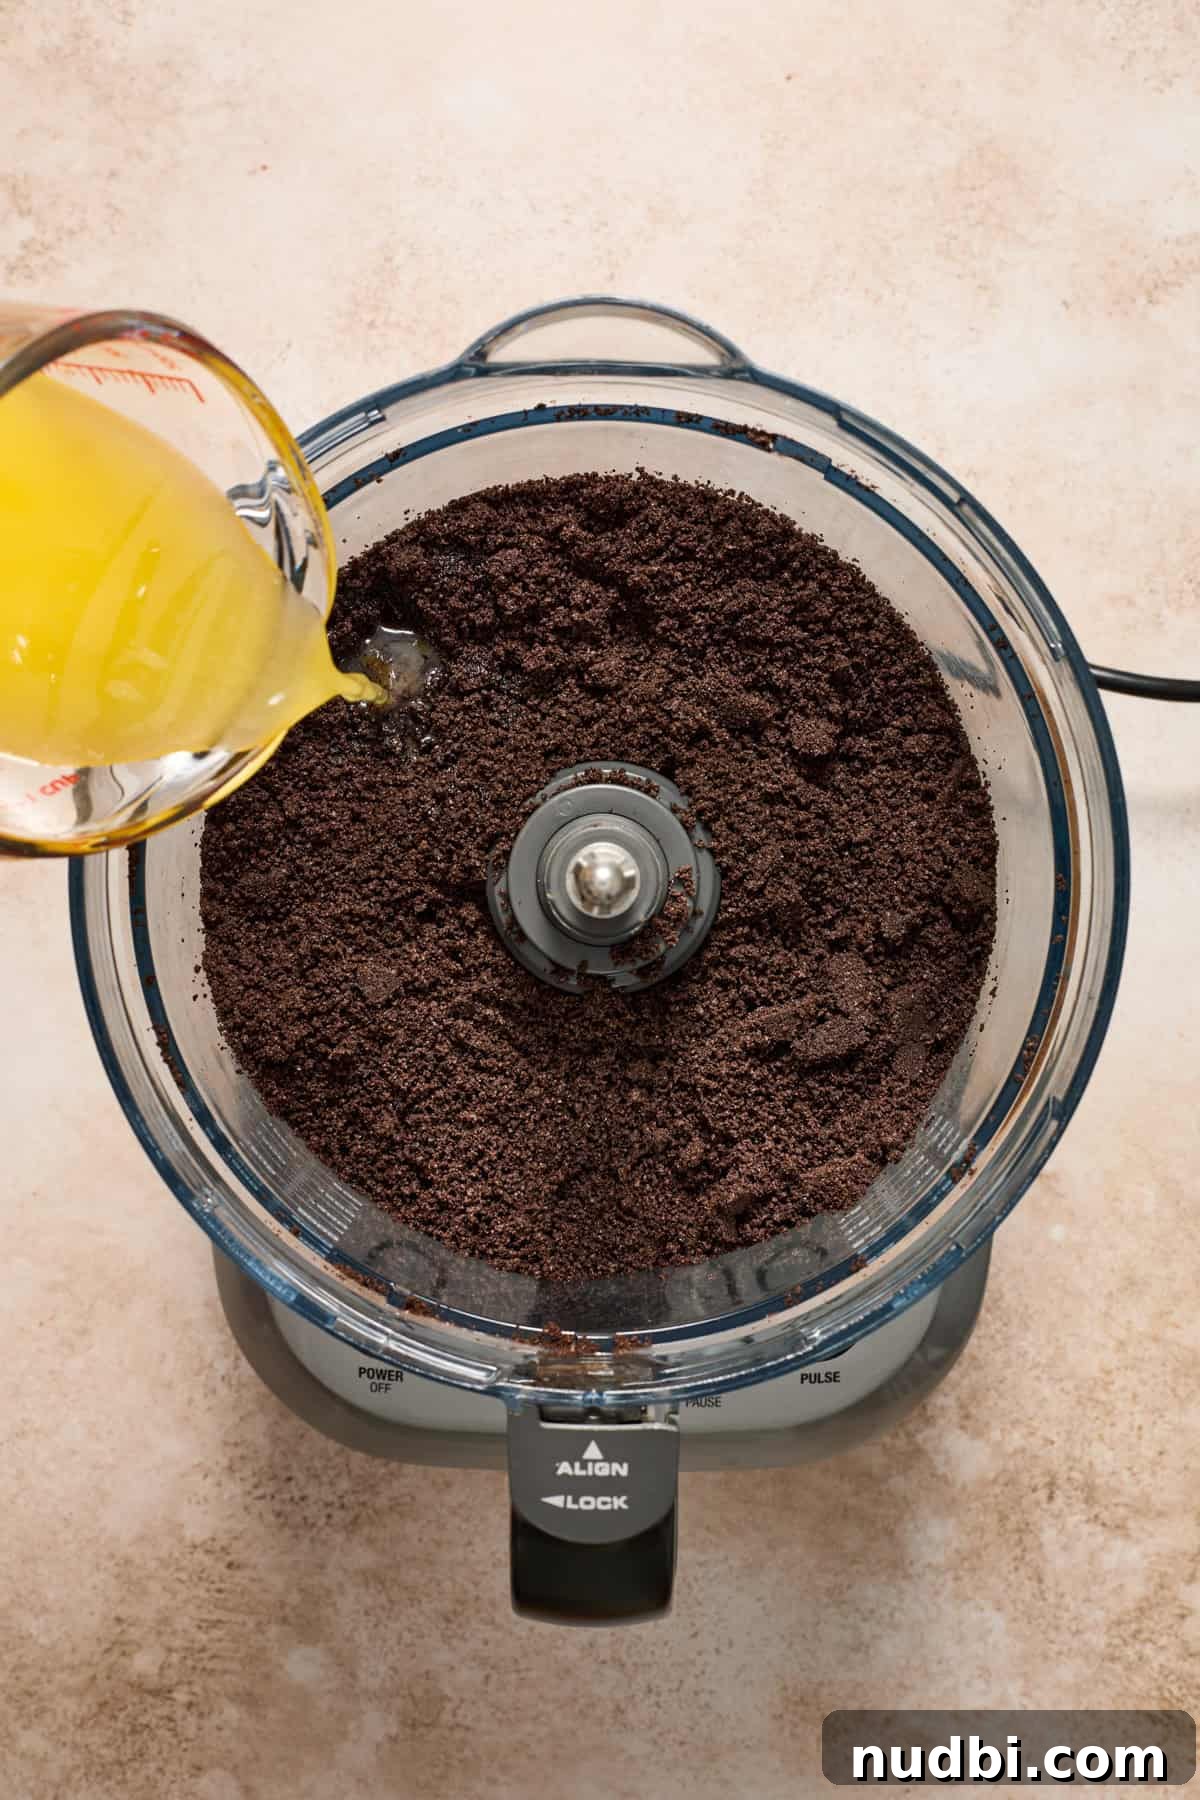
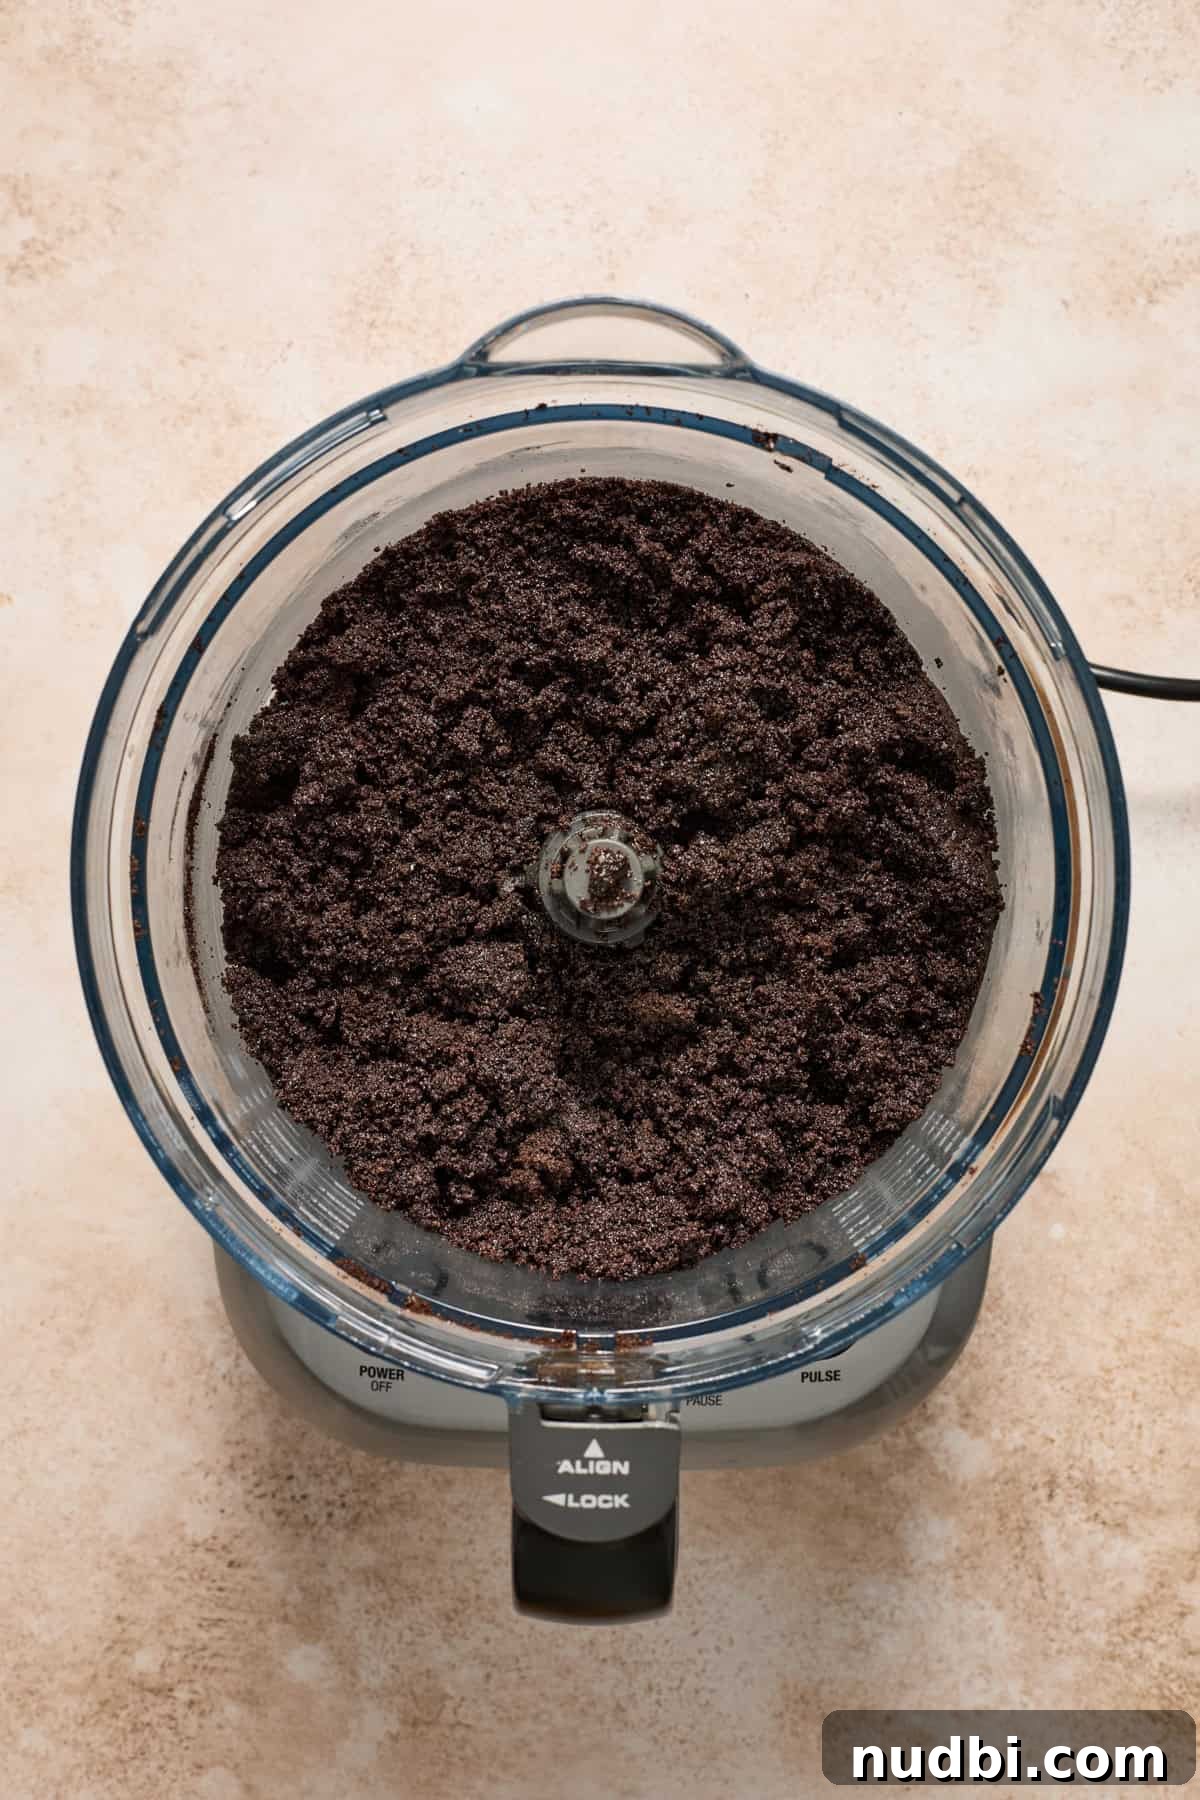
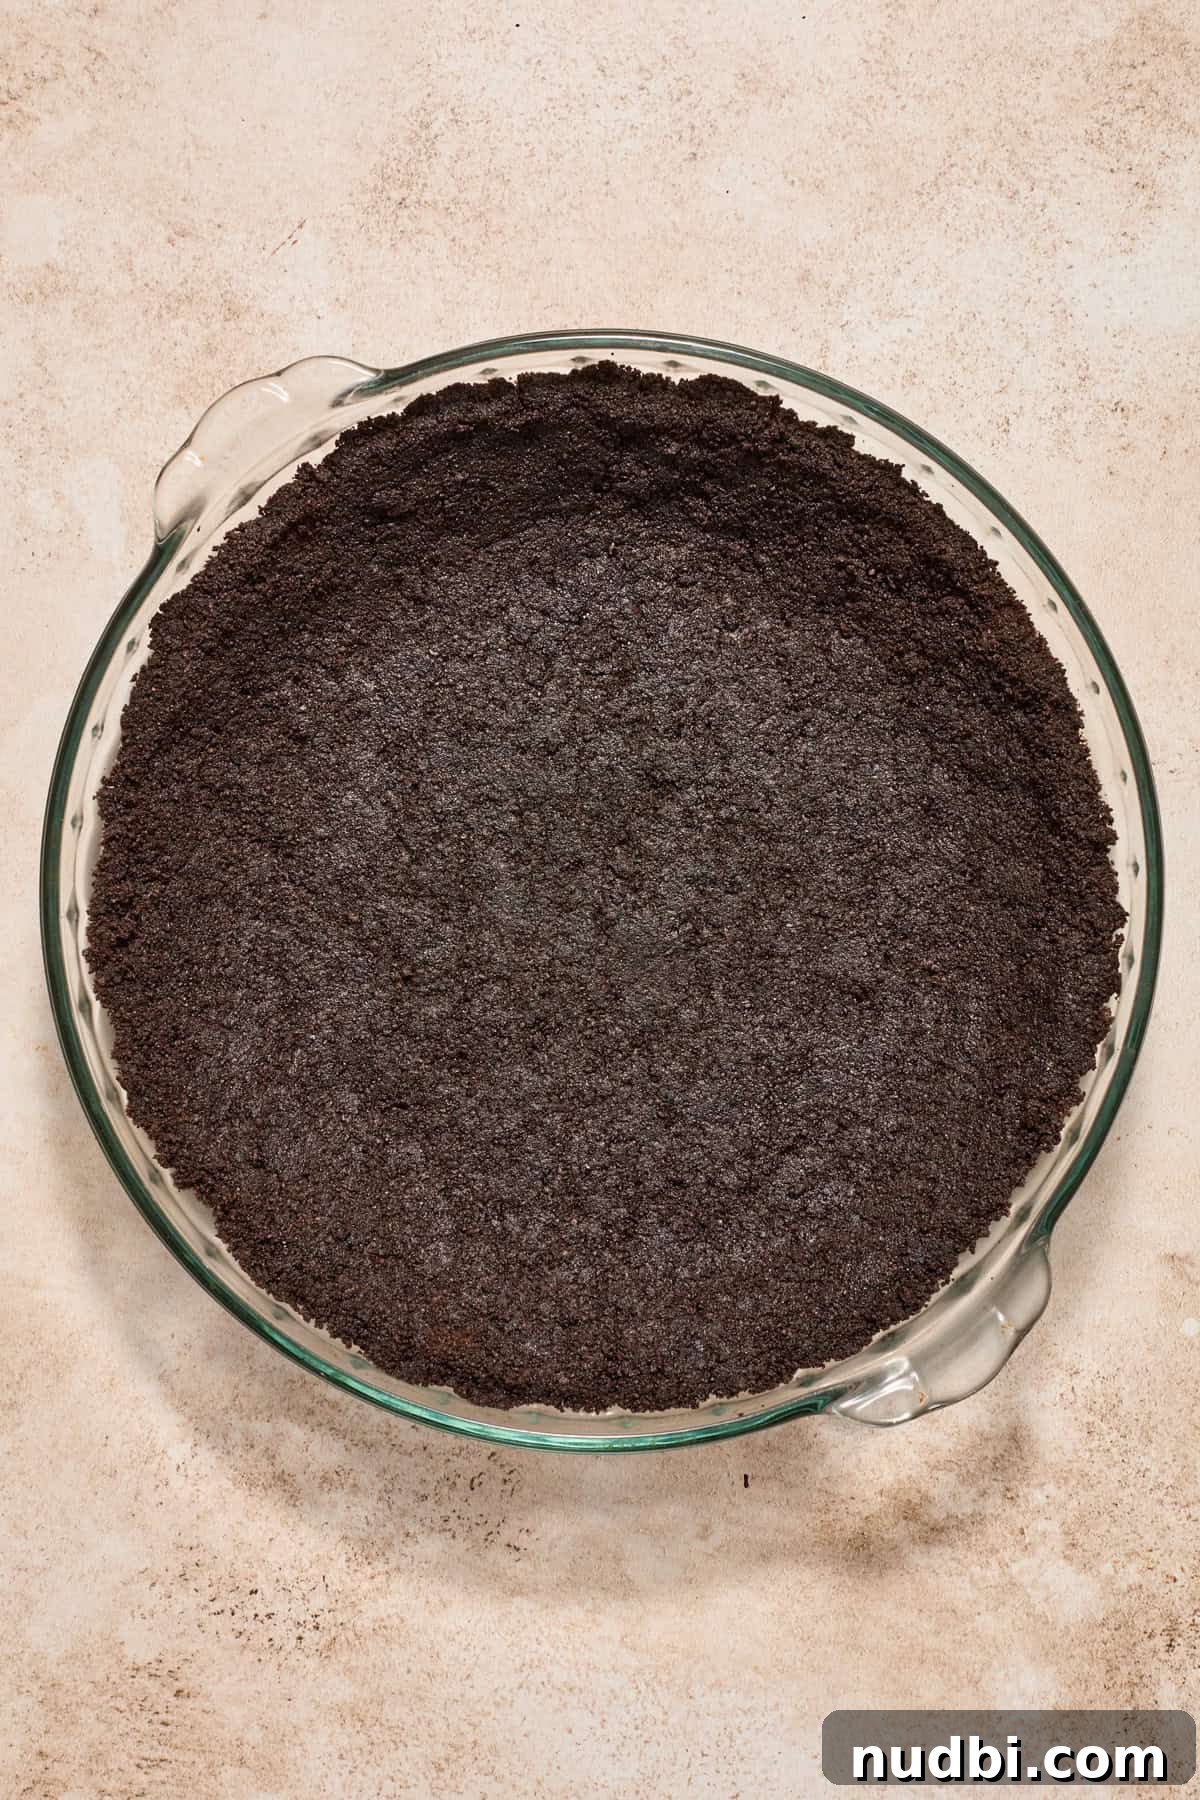
- Melt the butter and let it cool slightly. Process the Oreos until they become fine crumbs with no large pieces remaining.
- This recipe makes a thick crust ideal for a 9–9.5 inch pie pan. If your pan is smaller, you may need less crust.
- Mix the cooled melted butter with the crumbs until the texture resembles wet sand. Press the mixture firmly and evenly into the pie pan using the bottom of a glass or measuring cup.
- Chill the crust in the freezer for about 30 minutes to firm up before filling.
*If you prefer other pressing methods, use whatever gives you an even, compact crust.
Make the Chocolate Layer:
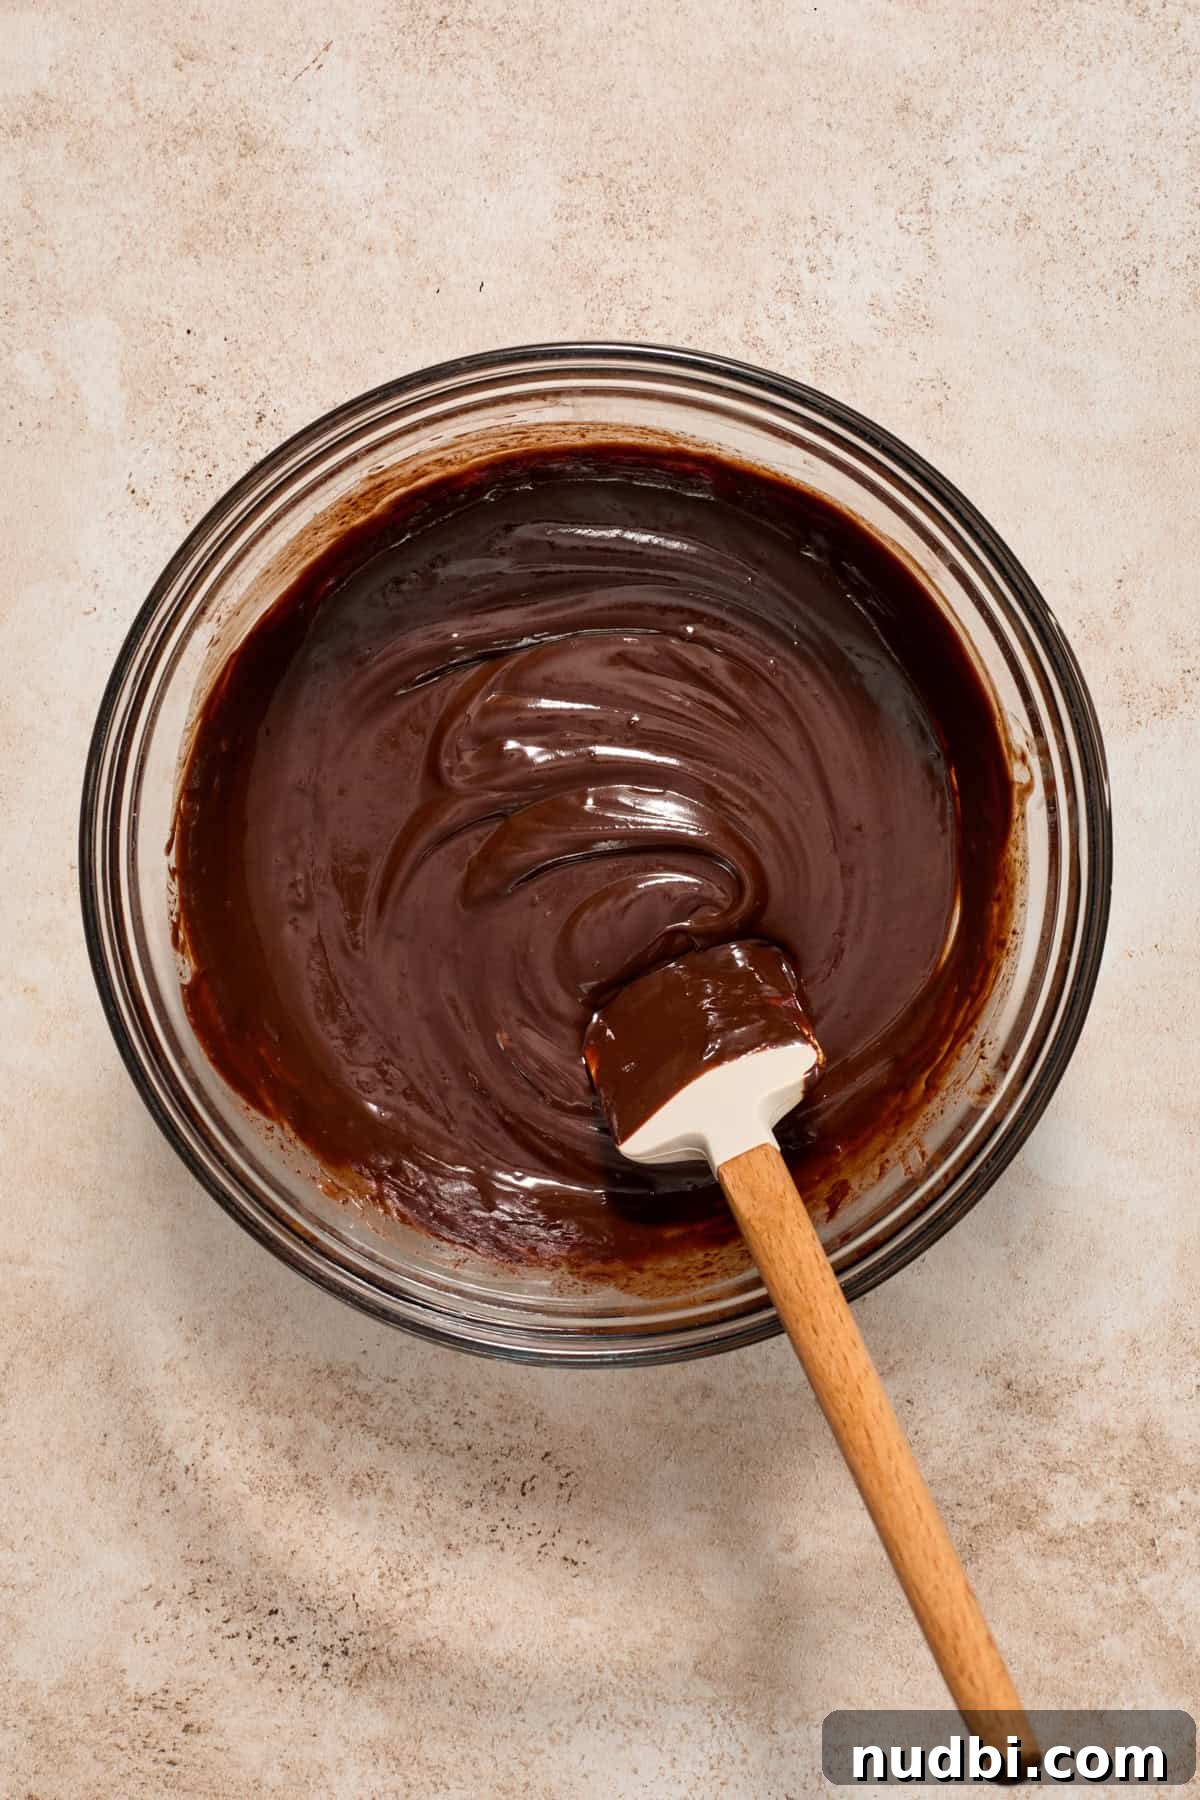
- While the crust chills, make the ganache. Combine chopped bittersweet chocolate and 3/4 cup heavy whipping cream in a microwave-safe bowl. Heat in 20–30 second intervals, stirring between each, until the chocolate is nearly melted, then stir until smooth. Set aside to cool about 15 minutes.
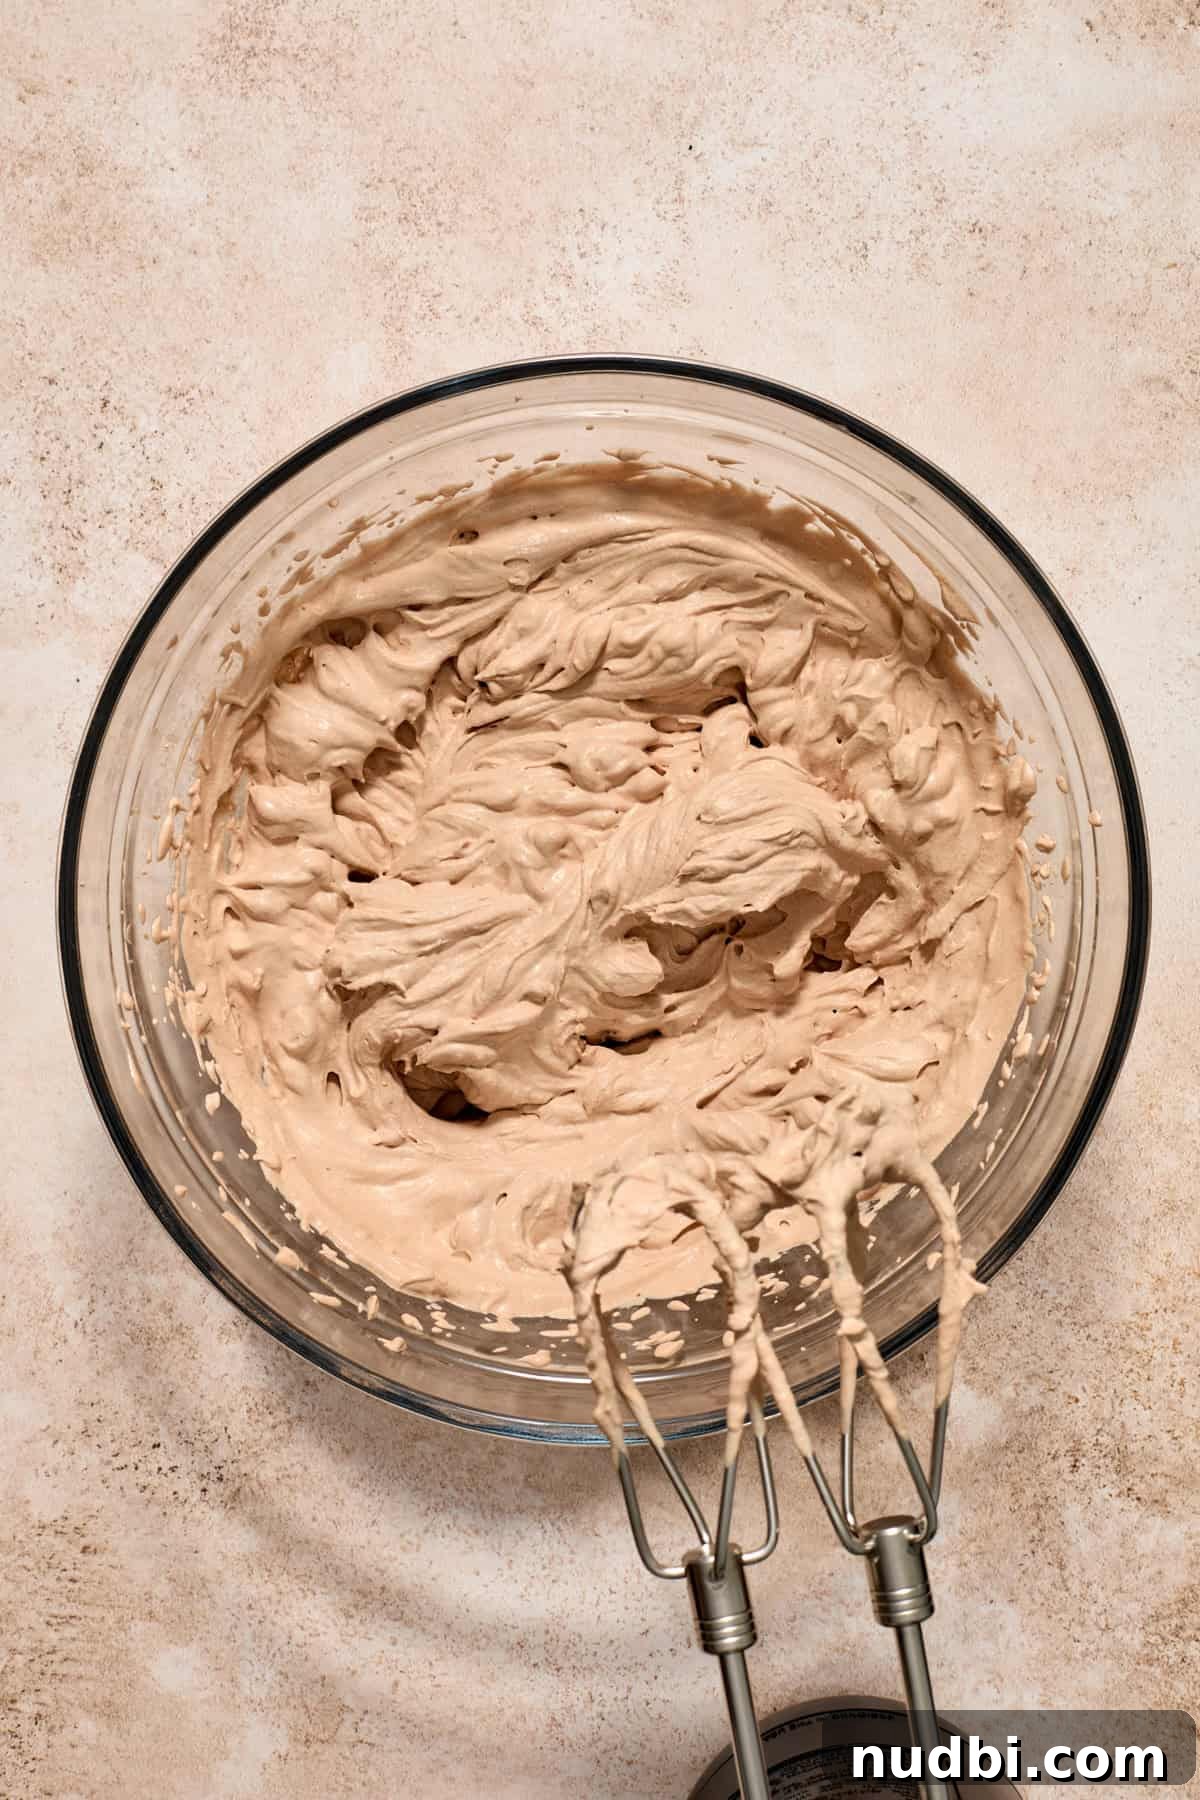
- In a separate chilled bowl, combine 1 1/3 cups very cold heavy cream, 2 tablespoons sugar, 2 tablespoons unsweetened cocoa powder and 1 teaspoon vanilla. Whip with an electric mixer until stiff peaks begin to form — be careful not to overbeat.
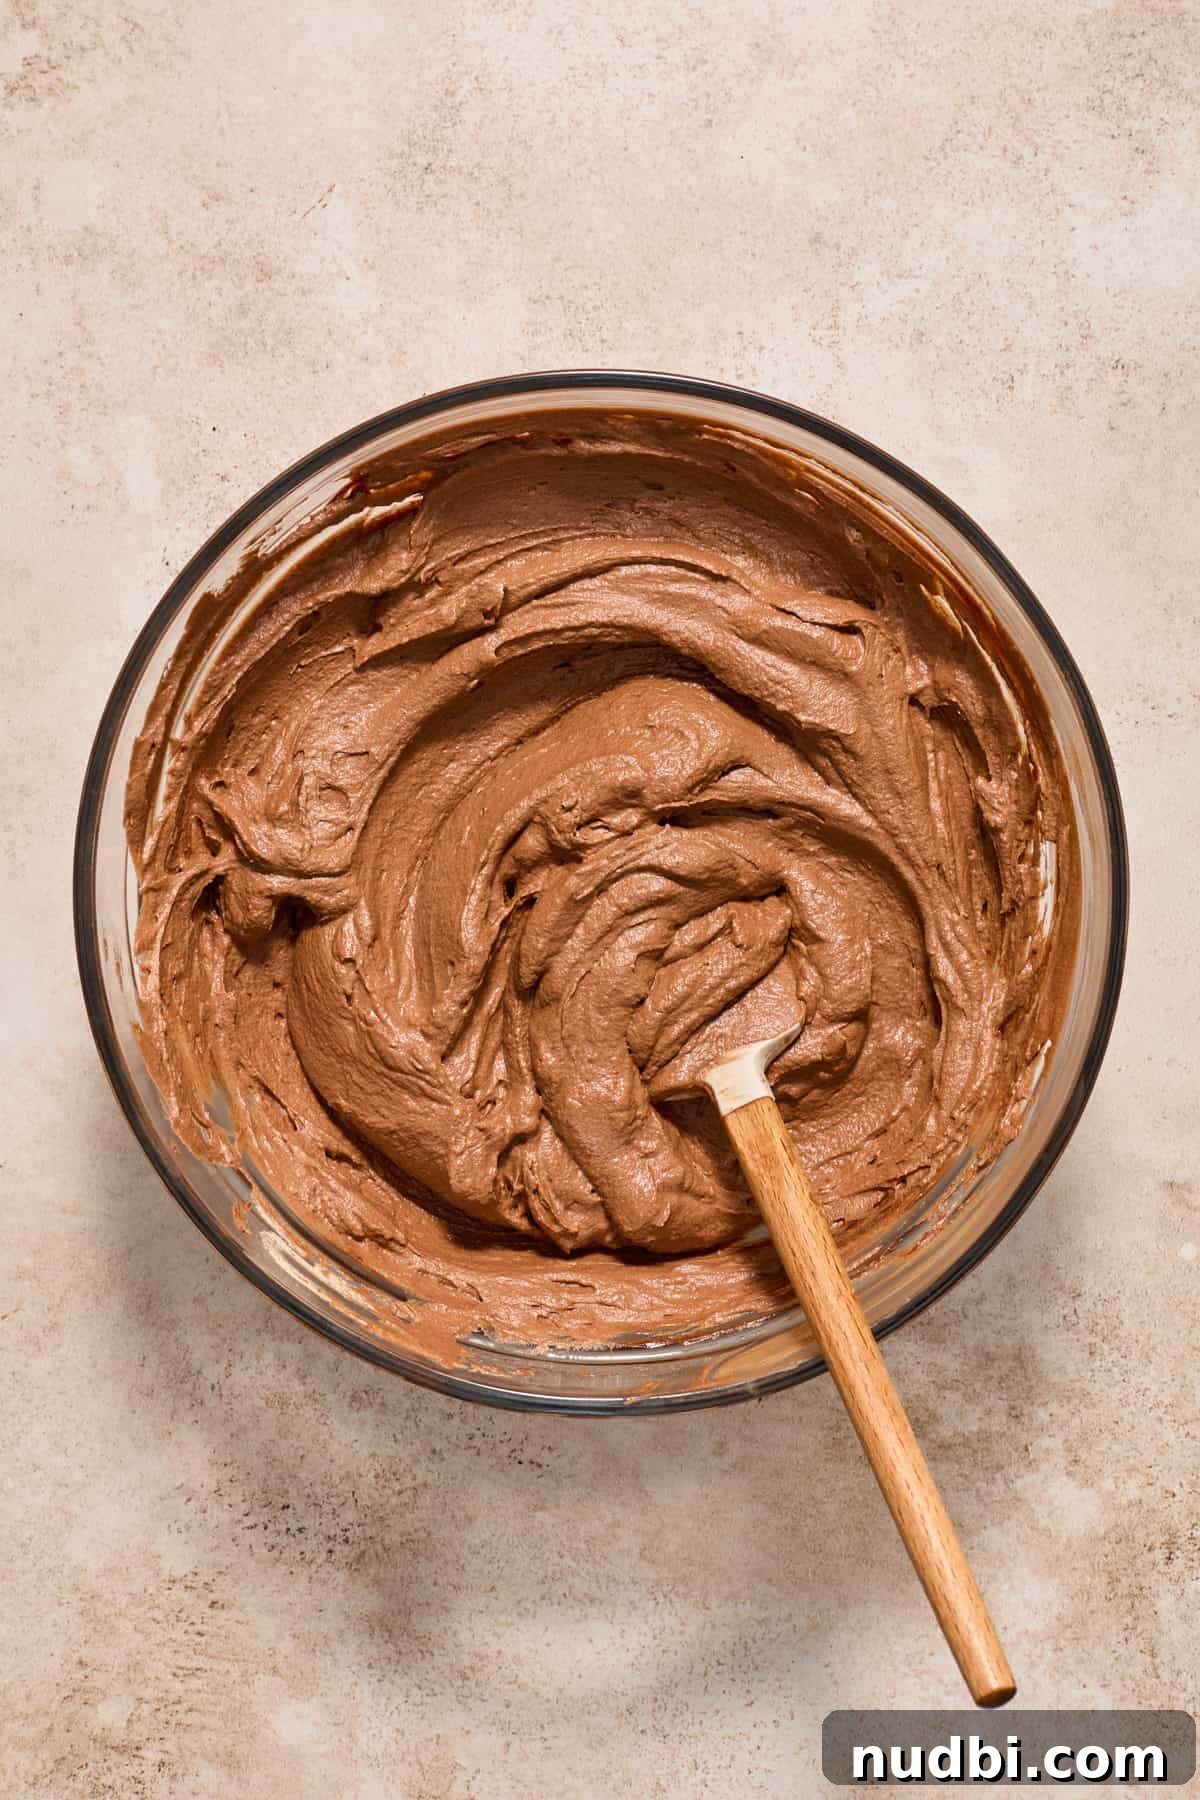
- Gently fold the cooled ganache into the whipped chocolate cream until fully combined and no streaks remain.
Assemble the Pie:
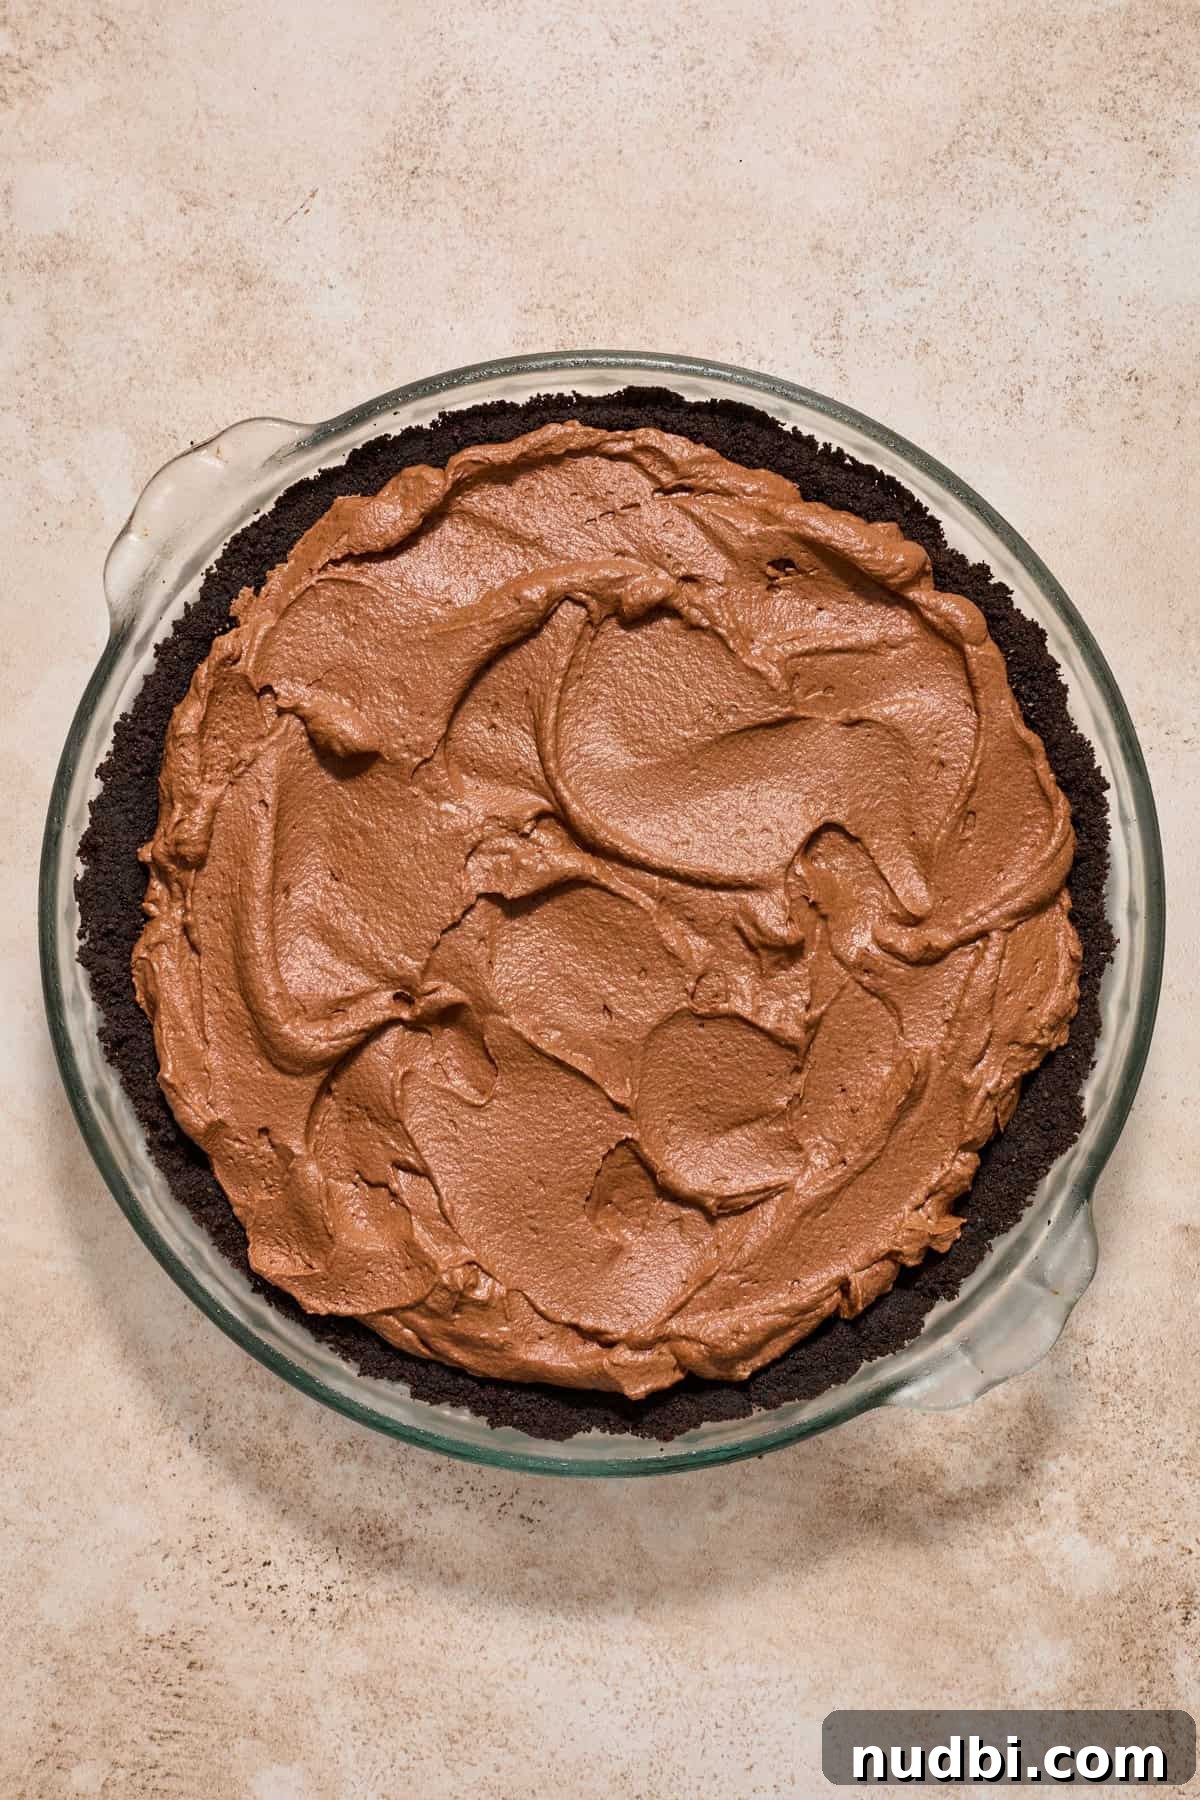
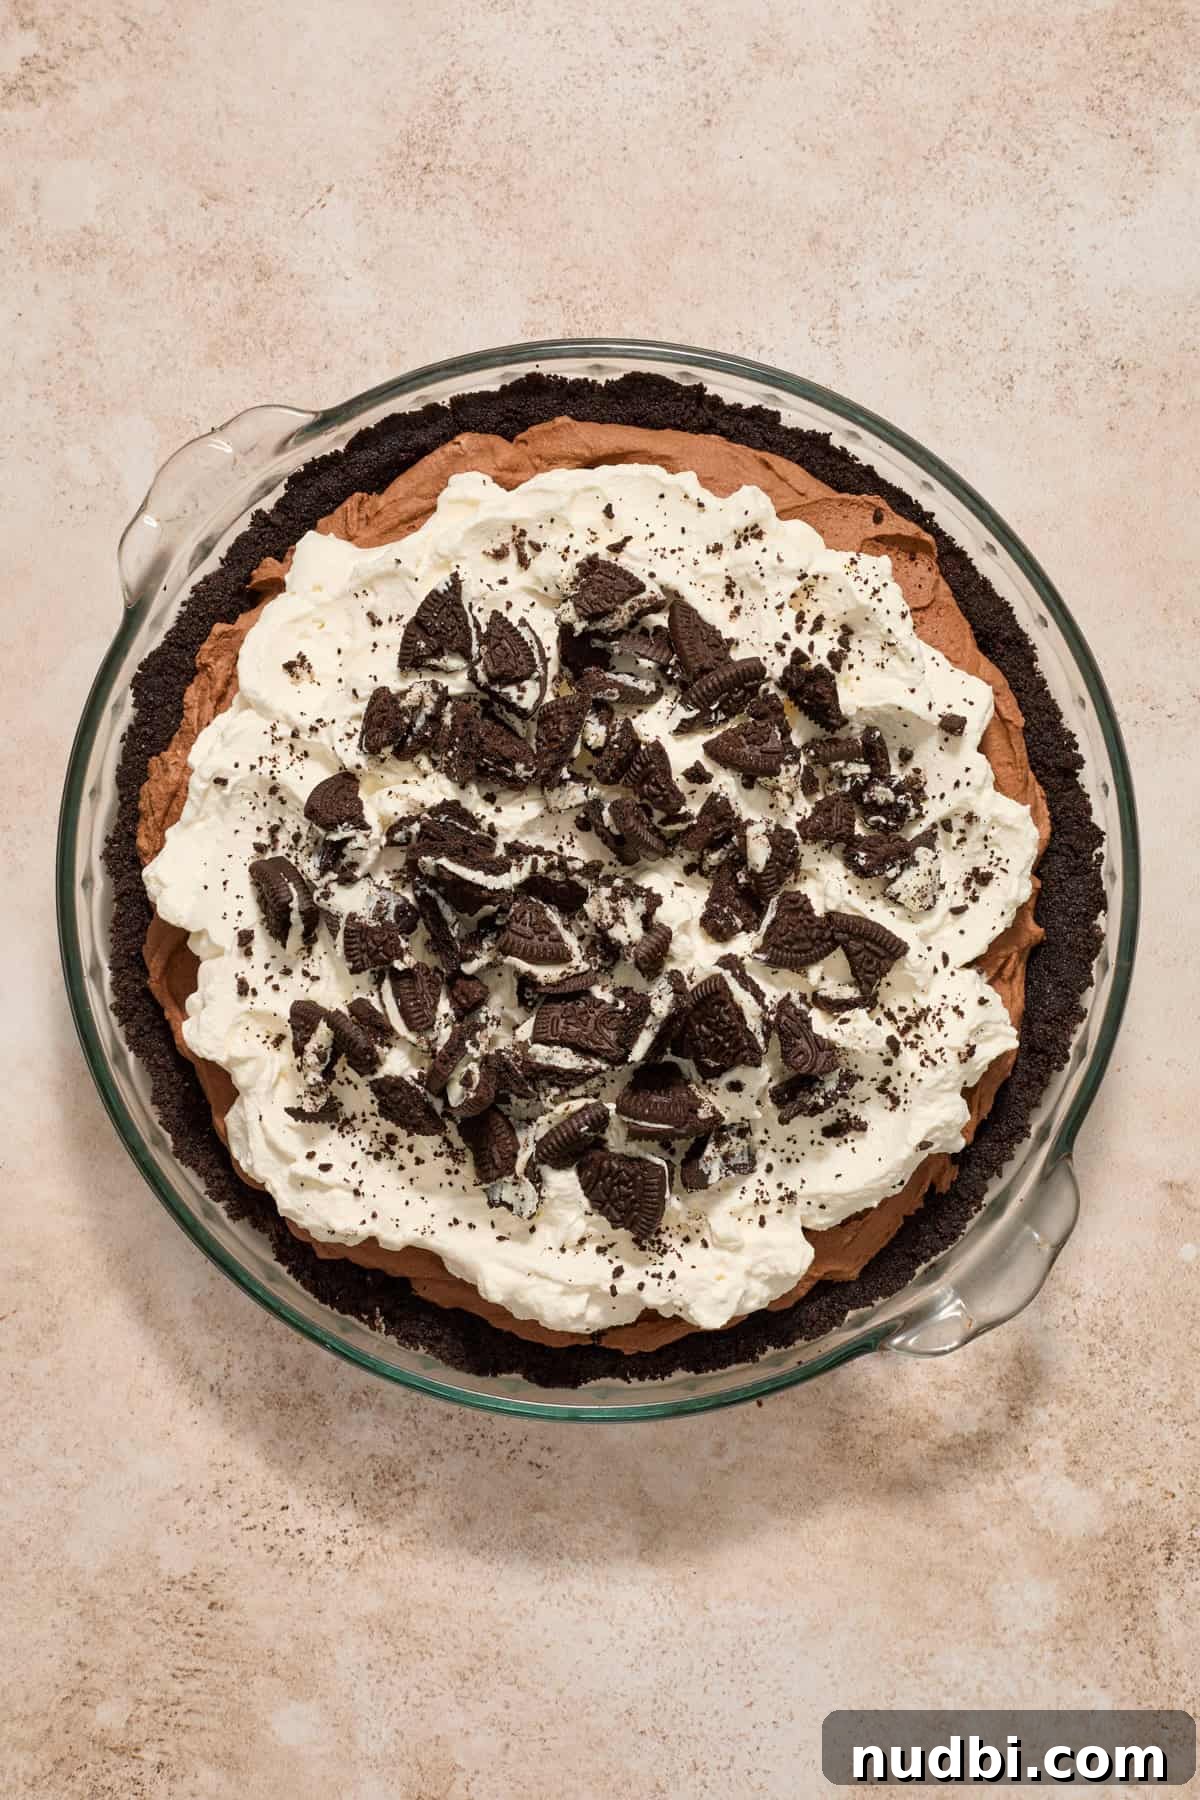
- Pour the chocolate mixture into the chilled Oreo crust and spread it evenly.
- Refrigerate for at least 3–4 hours, preferably about 4 hours, until the chocolate layer firms up.
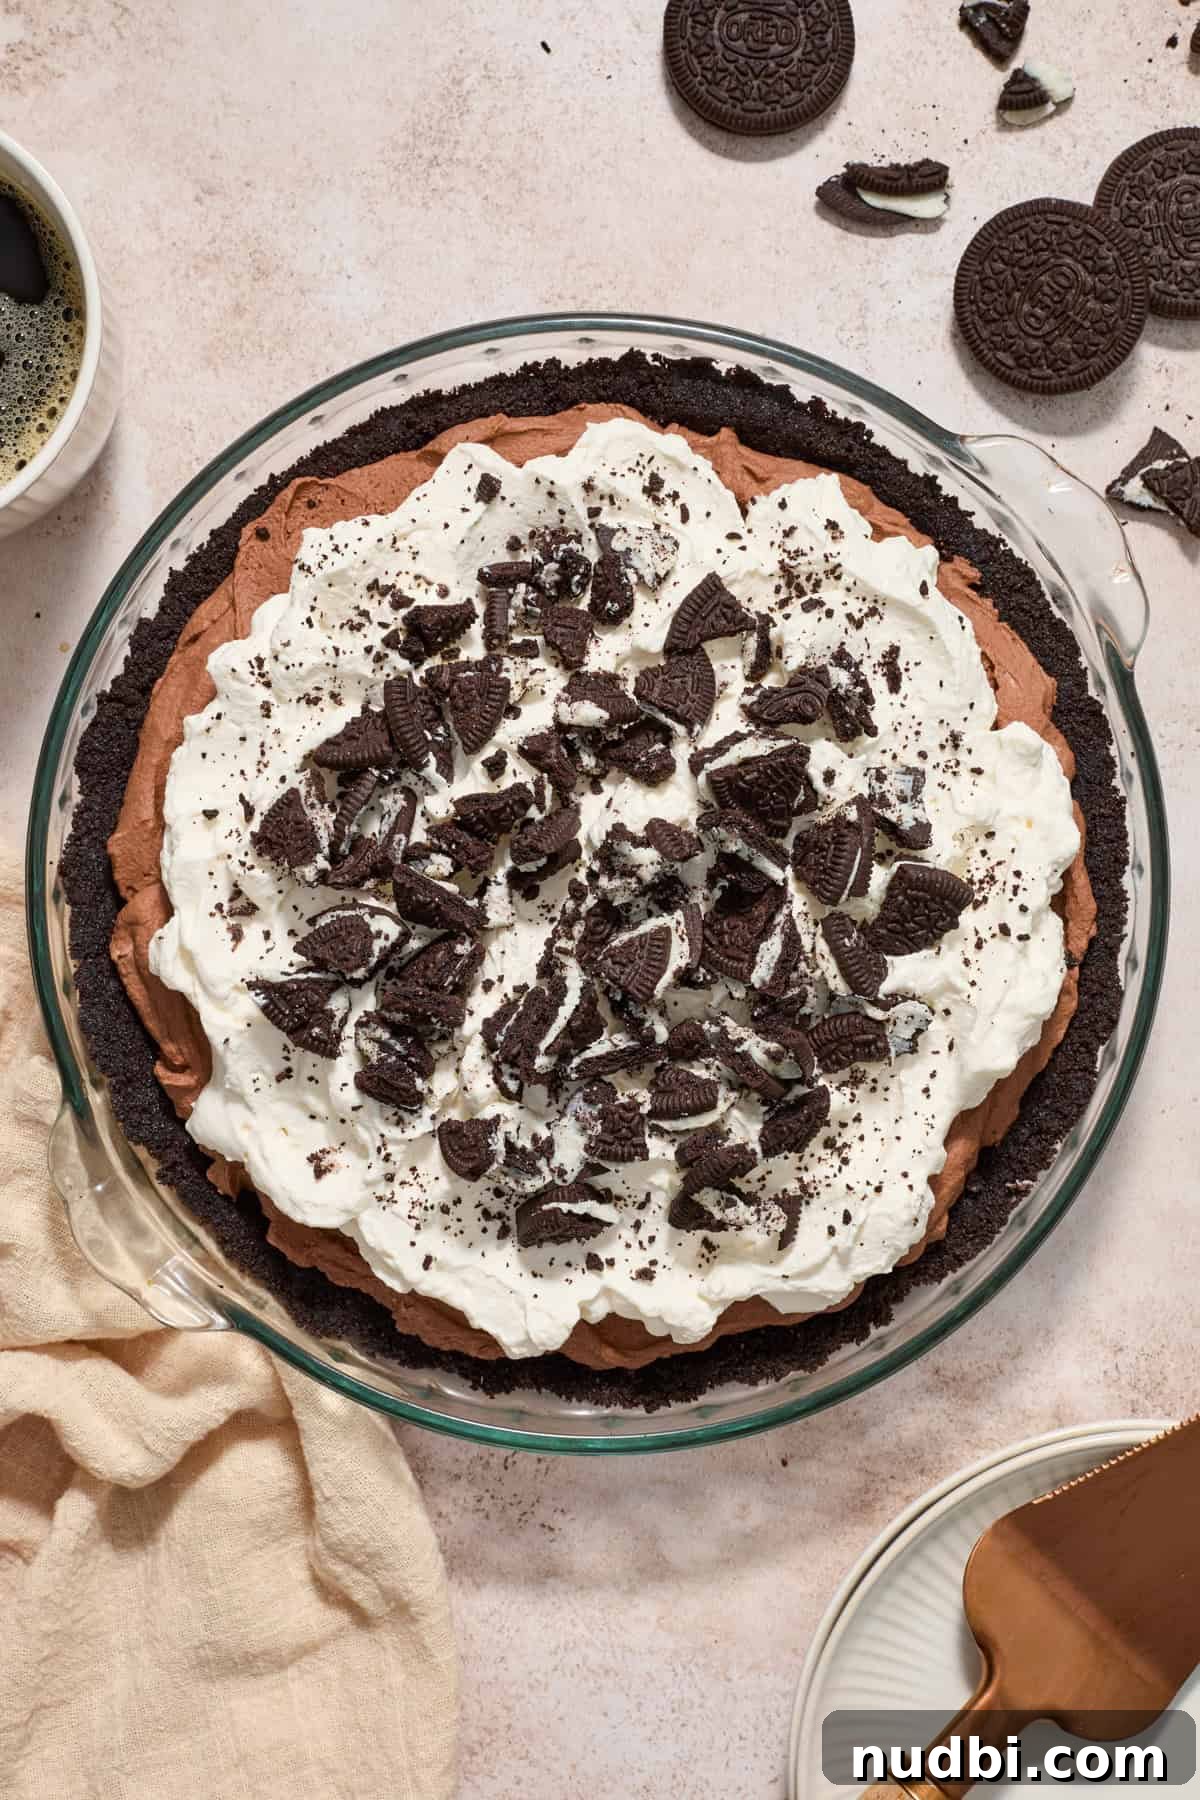
- Prepare the whipped cream topping just before serving or after the chocolate has set. Whip 1 1/4 cups heavy cream with 1 1/2 tablespoons sugar and 1/2 teaspoon vanilla to stiff peaks, then spread over the chilled chocolate layer.
- Garnish with chocolate shavings, sprinkles or crushed Oreos to finish.
Recipe Tips
- For clean slices, warm your knife. Run the knife under hot water for about 30 seconds and wipe it clean between cuts. Slicing straight from the refrigerator also helps.
- Line the pan if you like. If you want to remove the pie whole for perfect slices, line the pan with parchment or plastic wrap or use a springform pan.
- Short on time? Use a container of frozen whipped topping if you need a quicker option, though fresh whipped cream gives the best texture.
- Store-bought crusts: Pre-made Oreo crusts may be smaller than a 9-inch pan. Have an extra crust on hand if needed, or use a graham cracker crust if you prefer.
- Serve smaller slices. This pie is rich; the recipe lists 10 servings for reasonable portions, but you can cut 8 larger pieces if desired.
Storage:
This pie stores well and can be made ahead. It also freezes nicely.
- To refrigerate: Loosely cover the pie with plastic wrap or place it in an airtight container without crushing the whipped cream. It will keep 4–5 days.
- To freeze: Freeze before or after adding the whipped topping. If freezing with the whipped cream, use a large freezer-safe container to avoid squashing the topping. The pie can be frozen up to about 2 months.
Other No Bake Recipes:
- No Bake Peppermint Oreo Cheesecake
- No Bake Cookie Butter Cookies
- Samoa Bars
- Caramel Apple Cheesecake
- Cheesecake Bites
- Funfetti Rice Krispie Treats
HUNGRY FOR MORE? Subscribe to the newsletter and follow on social media for new recipes and updates.
No Bake Chocolate Pie