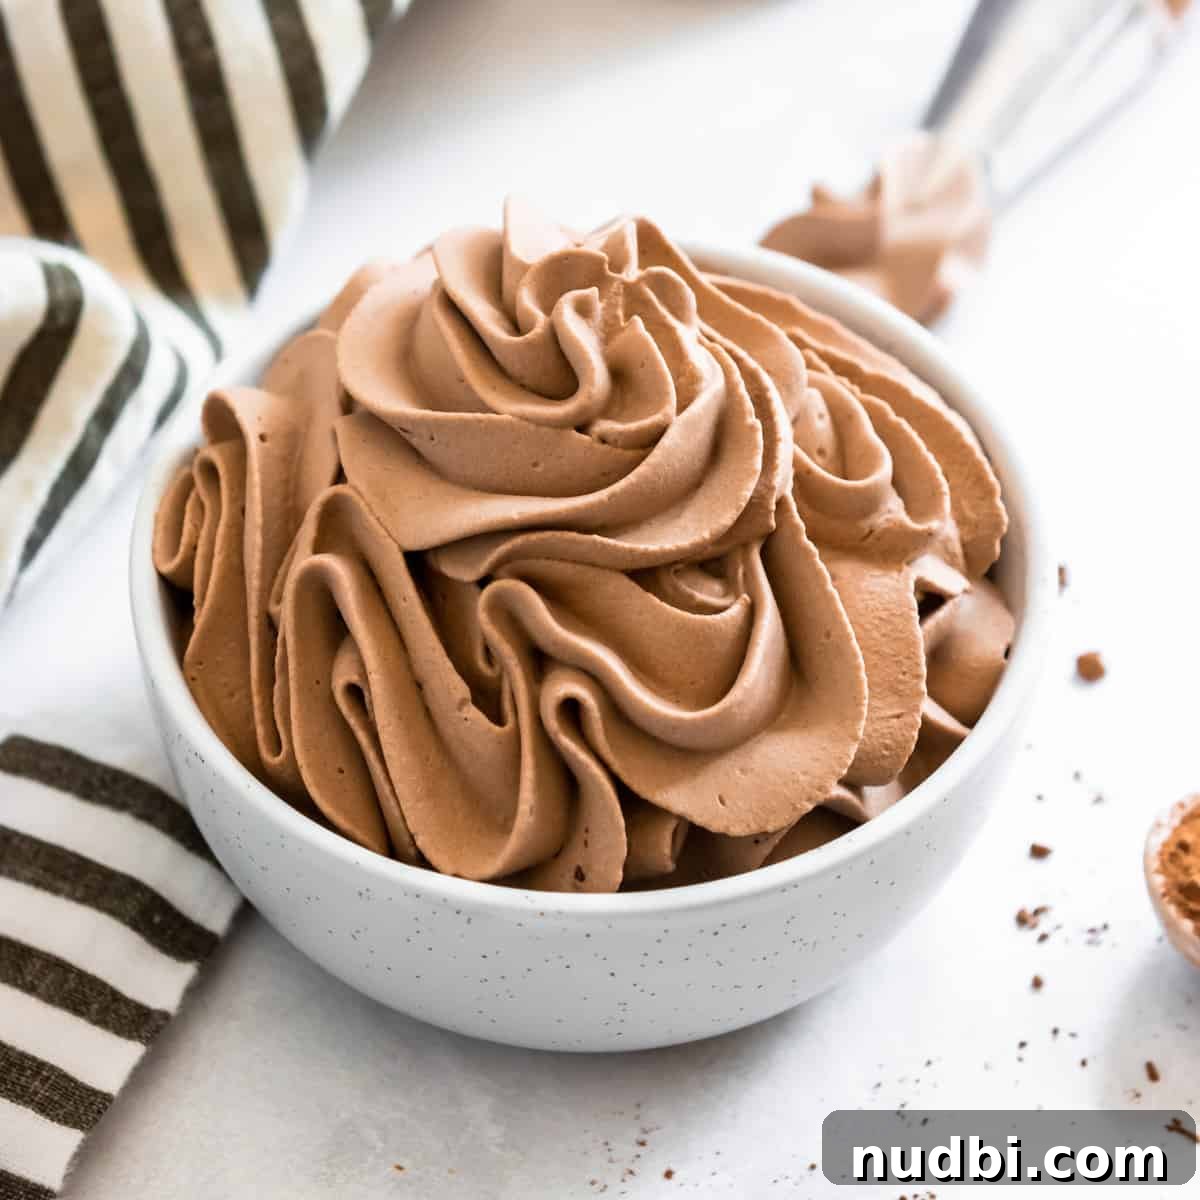
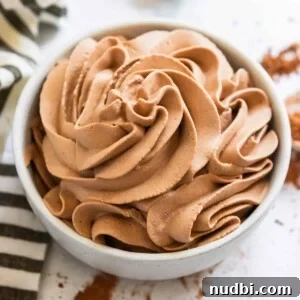
A handful of simple ingredients and about 10 minutes are all you need to make this rich, creamy homemade Chocolate Whipped Cream. It’s perfect for frosting cakes and cupcakes, topping ice cream, stirring into hot cocoa, or enjoying straight from the spoon — a chocolate lover’s dream.
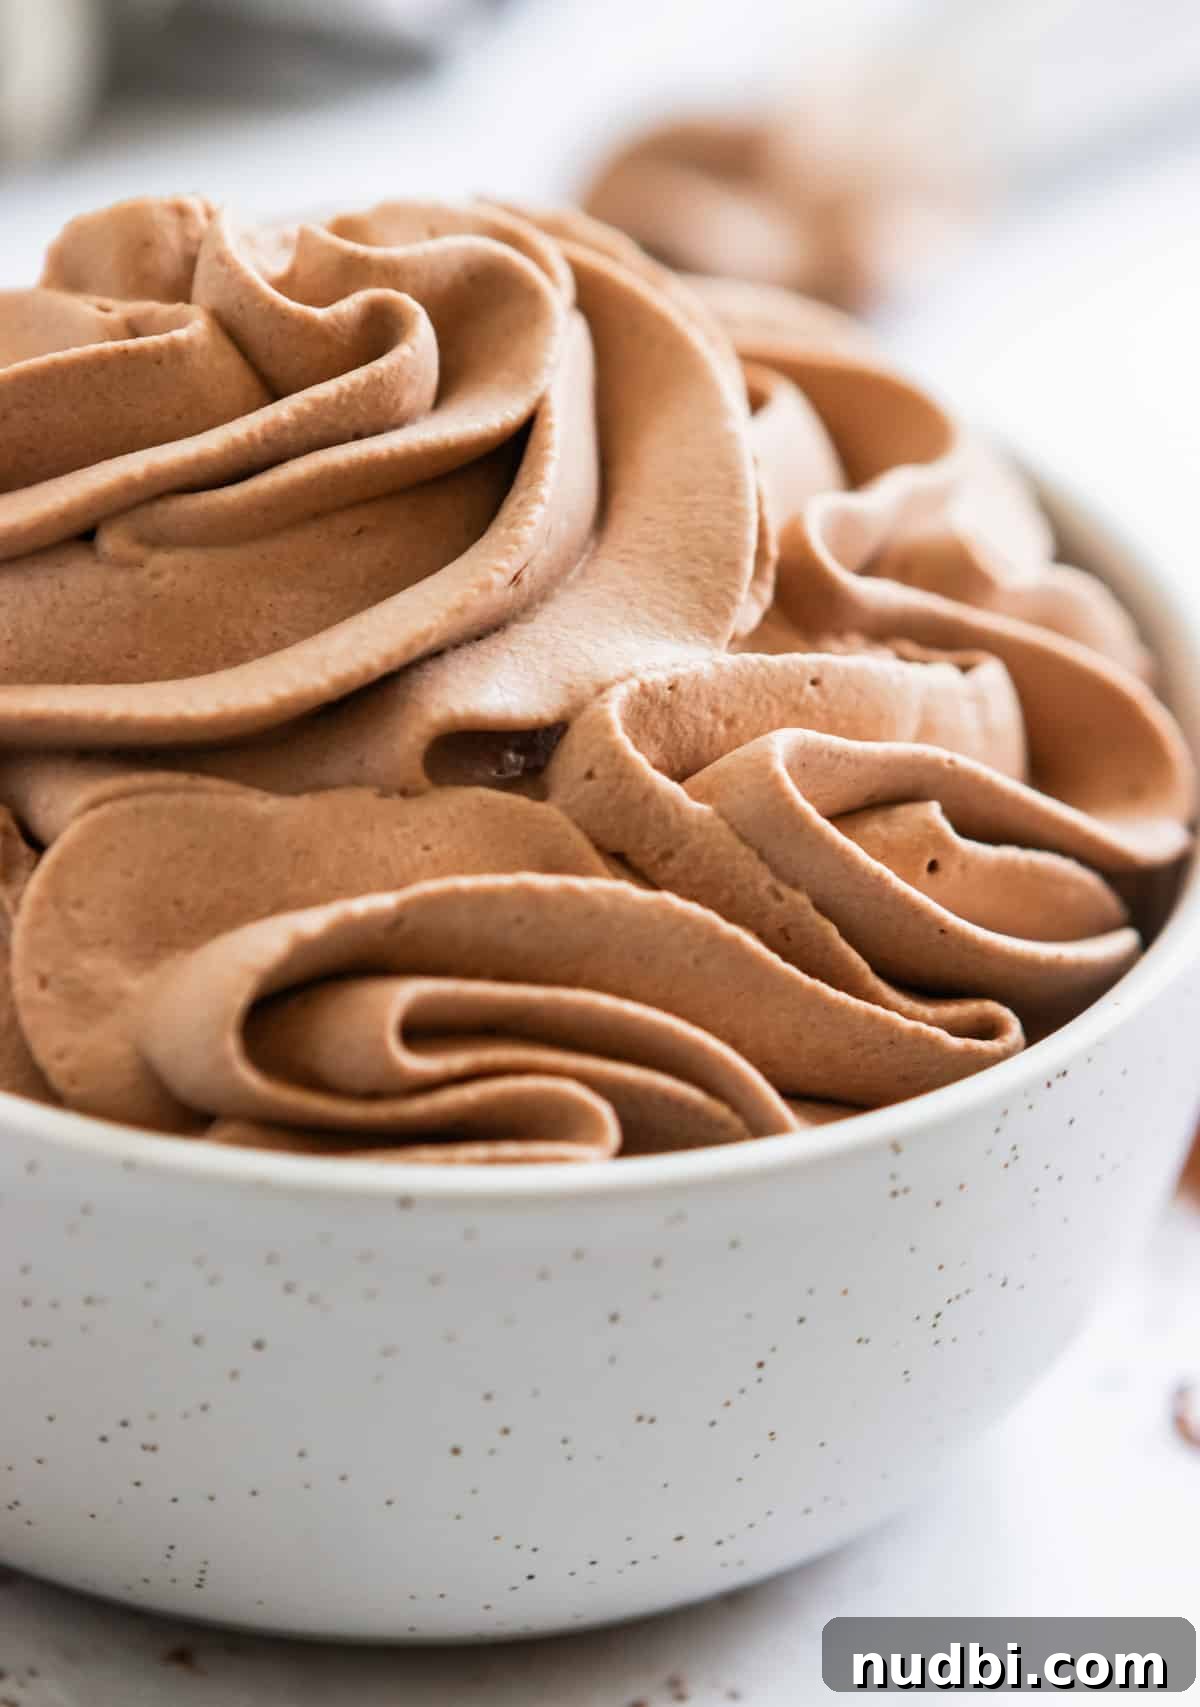
If you haven’t tried homemade whipped cream yet, you’re missing out. This chocolate variation is fluffy, mousse-like, and deeply chocolatey — versatile enough to enhance many desserts. Use it to layer cakes, pipe onto cupcakes, top sundaes, dollop over fruit, or fill pies.
Compared with plain whipped cream, chocolate adds an indulgent depth of flavor. It’s delicious on its own and pairs especially well with brownies, cookies, mug cakes, and mocha desserts.
Why You Will Love This Homemade Chocolate Whipped Cream
- Ready in about 10 minutes. No lengthy prep — just mix and whip.
- Light, airy texture. The finished cream has a mousse-like, cloud-soft texture that’s delightful by the spoonful.
- Versatile. Use as a topping, a piped frosting, a fruit dip, or a light filling. If you need a sturdier frosting, choose a buttercream instead.
- Delicious. Bright chocolate flavor that complements a wide range of desserts.
Recipe Ingredients
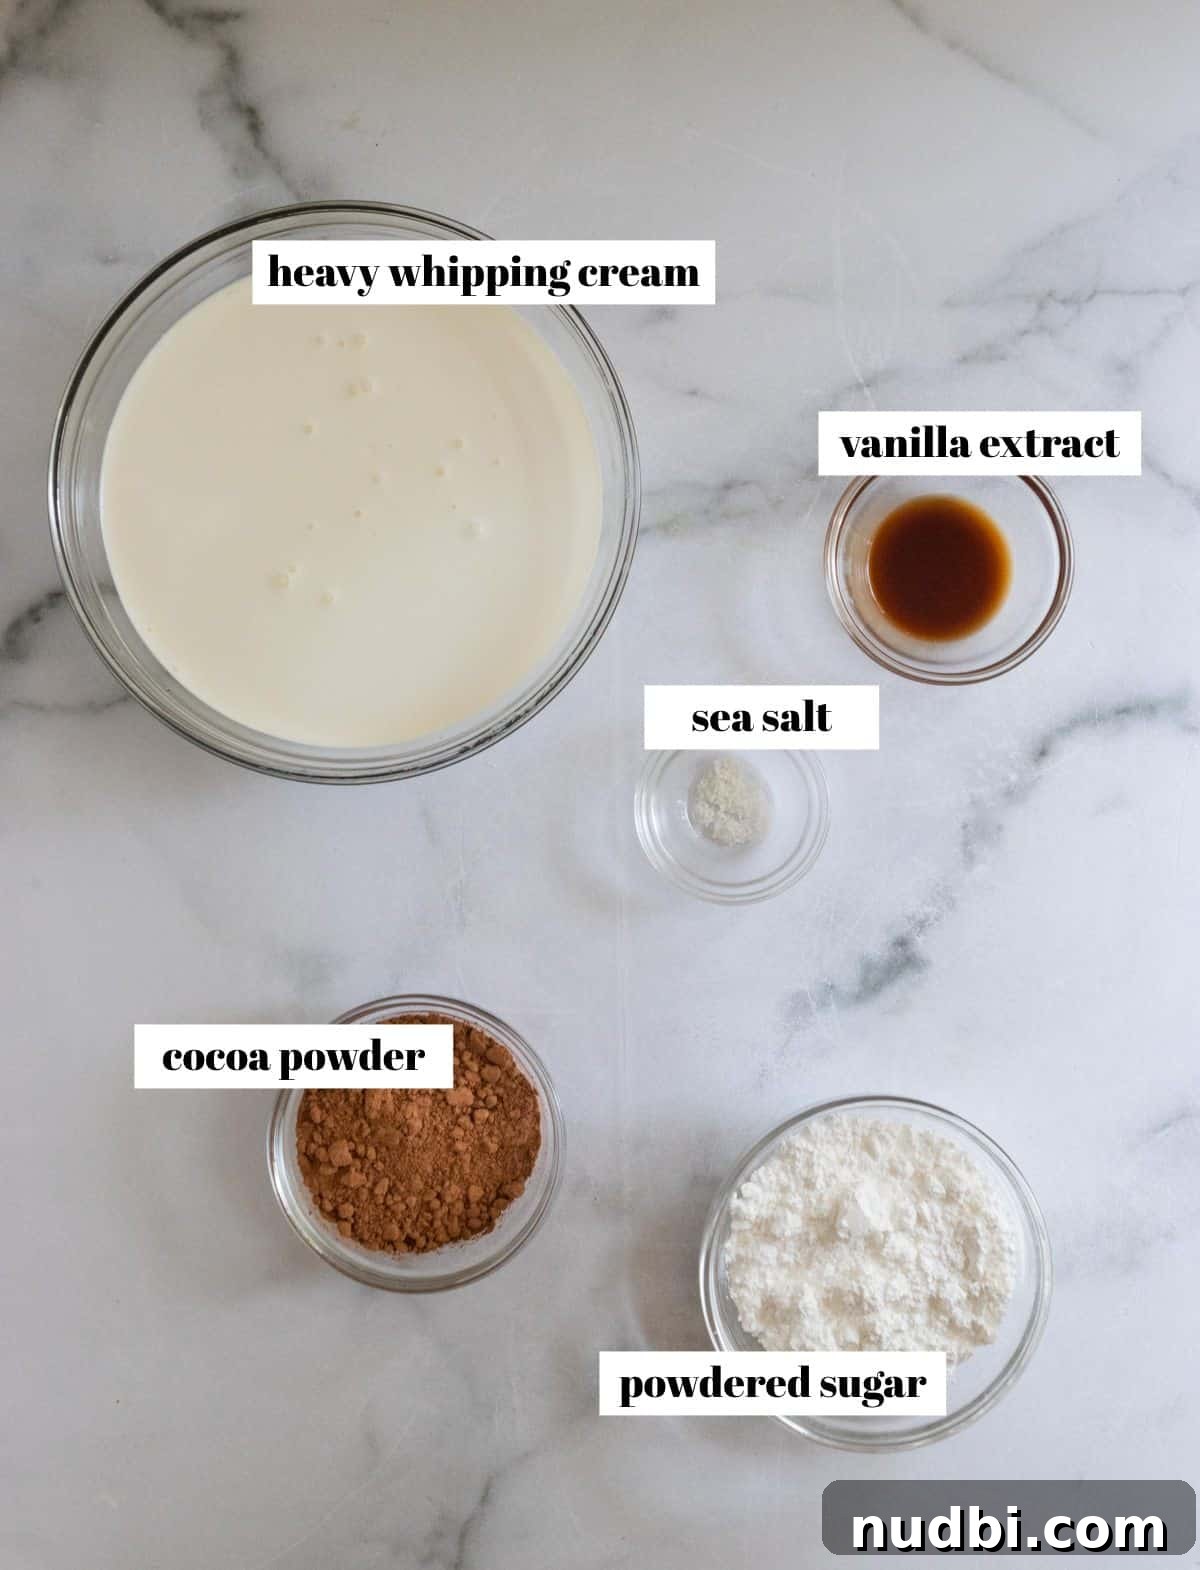
- Heavy whipping cream: Also called double cream in some countries. Use heavy whipping cream (higher fat) for best stability and texture, especially if you plan to pipe or frost.
- Cocoa powder: Use unsweetened natural cocoa powder for classic flavor. Dutch-processed cocoa can be used for a darker color and deeper flavor.
- Confectioners’ sugar: Powdered sugar with cornstarch helps stabilize the whipped cream and adds sweetness.
- Vanilla extract: Use pure vanilla extract for the best flavor.
- Optional: A pinch of espresso powder or instant coffee enhances and intensifies the chocolate flavor.
Step-by-Step Instructions
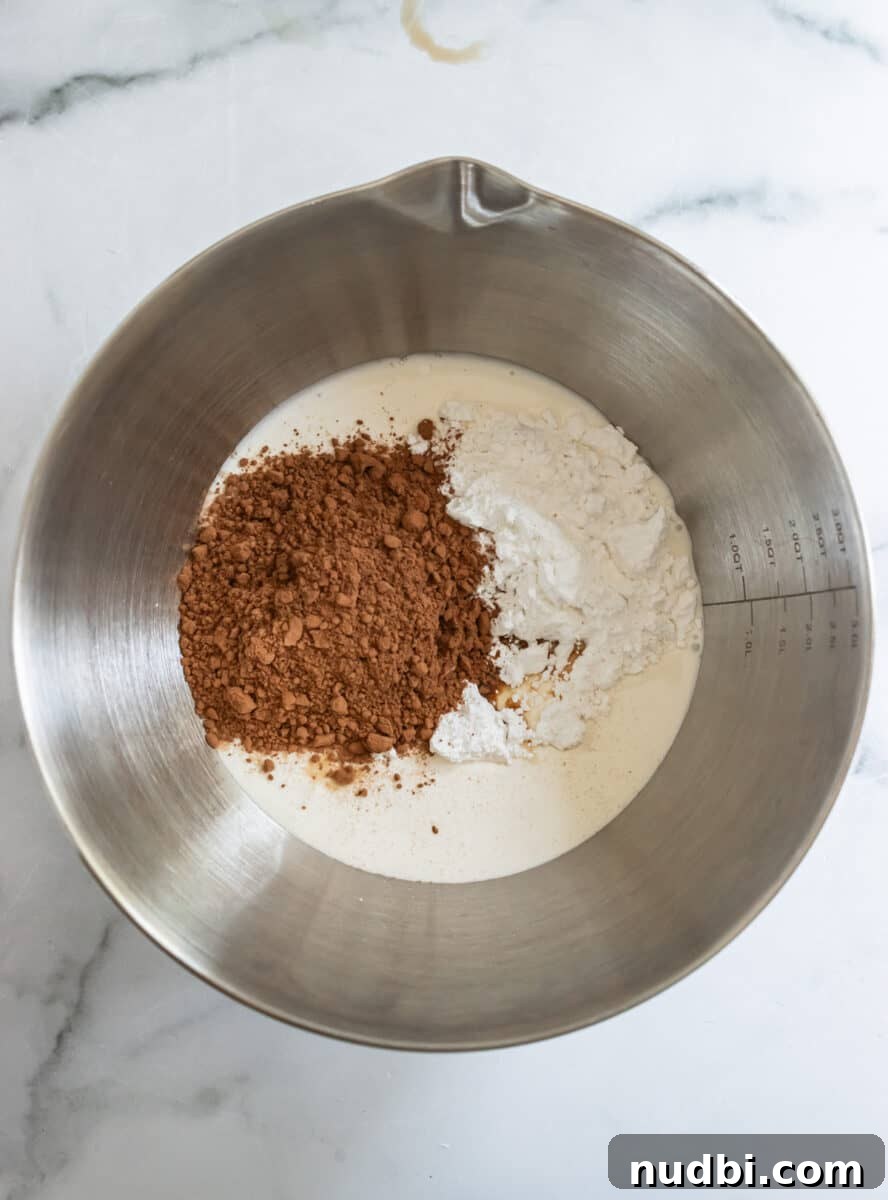
- Add all ingredients to a large, cold bowl. Chilling the bowl and beaters for 10–15 minutes beforehand helps the cream whip up more quickly and hold its shape.
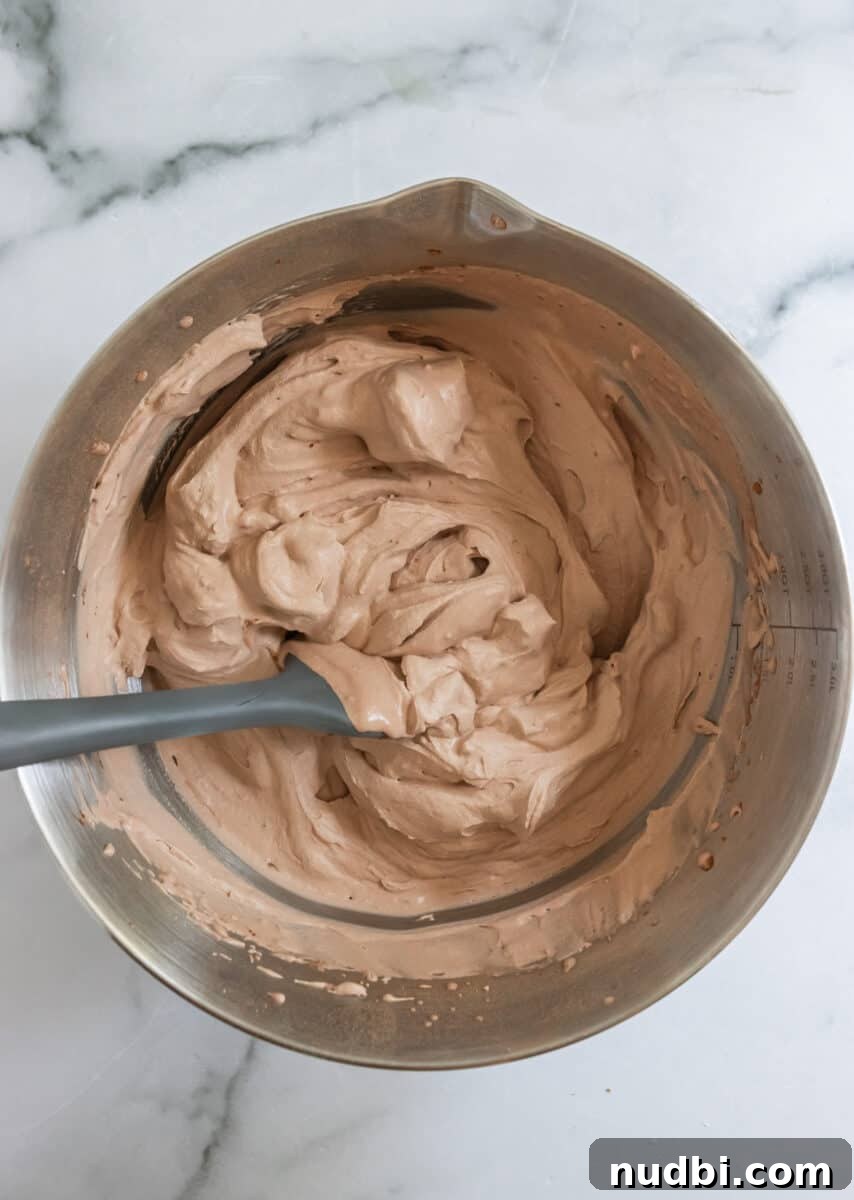
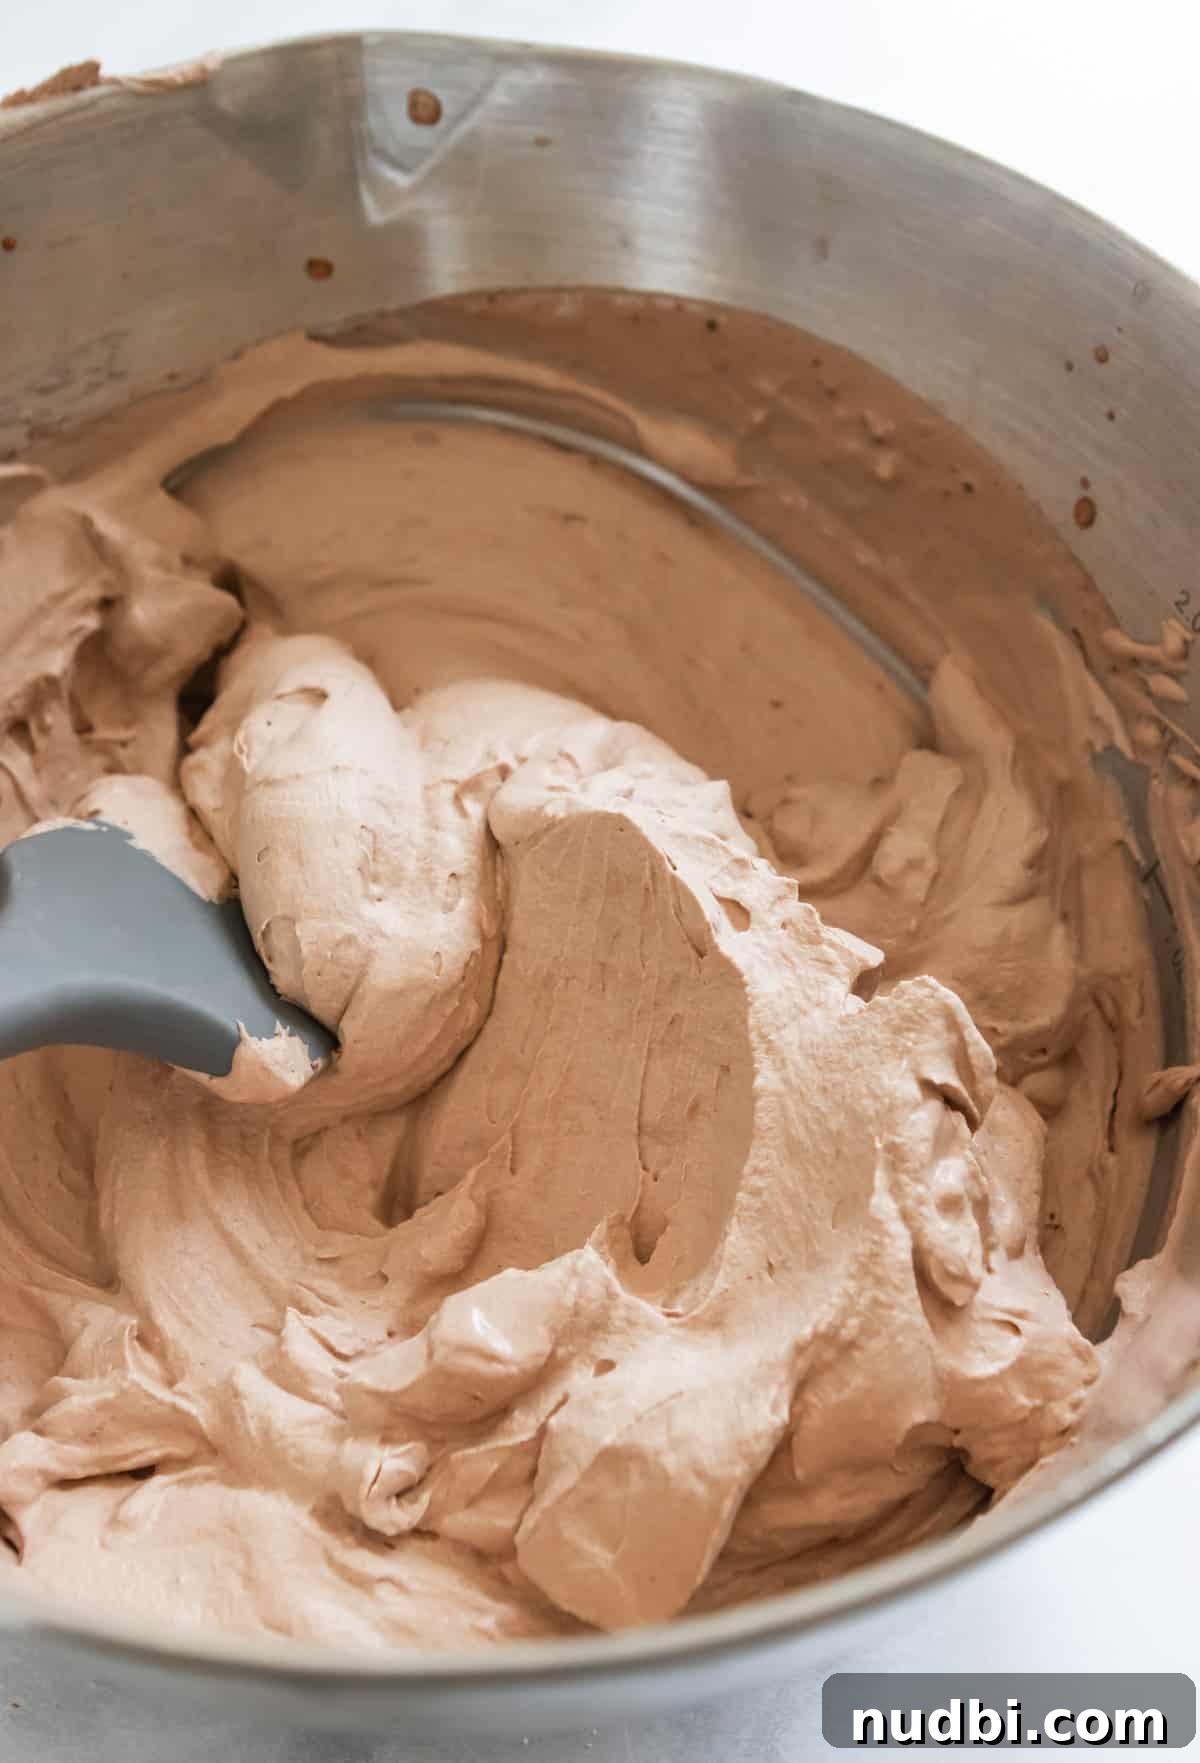
- Using a hand mixer on medium to medium-high speed (or a stand mixer with the whisk attachment), whip for about 4–5 minutes until stiff peaks form. Stop as soon as stiff peaks hold — overwhipping will turn the cream grainy and eventually into butter.
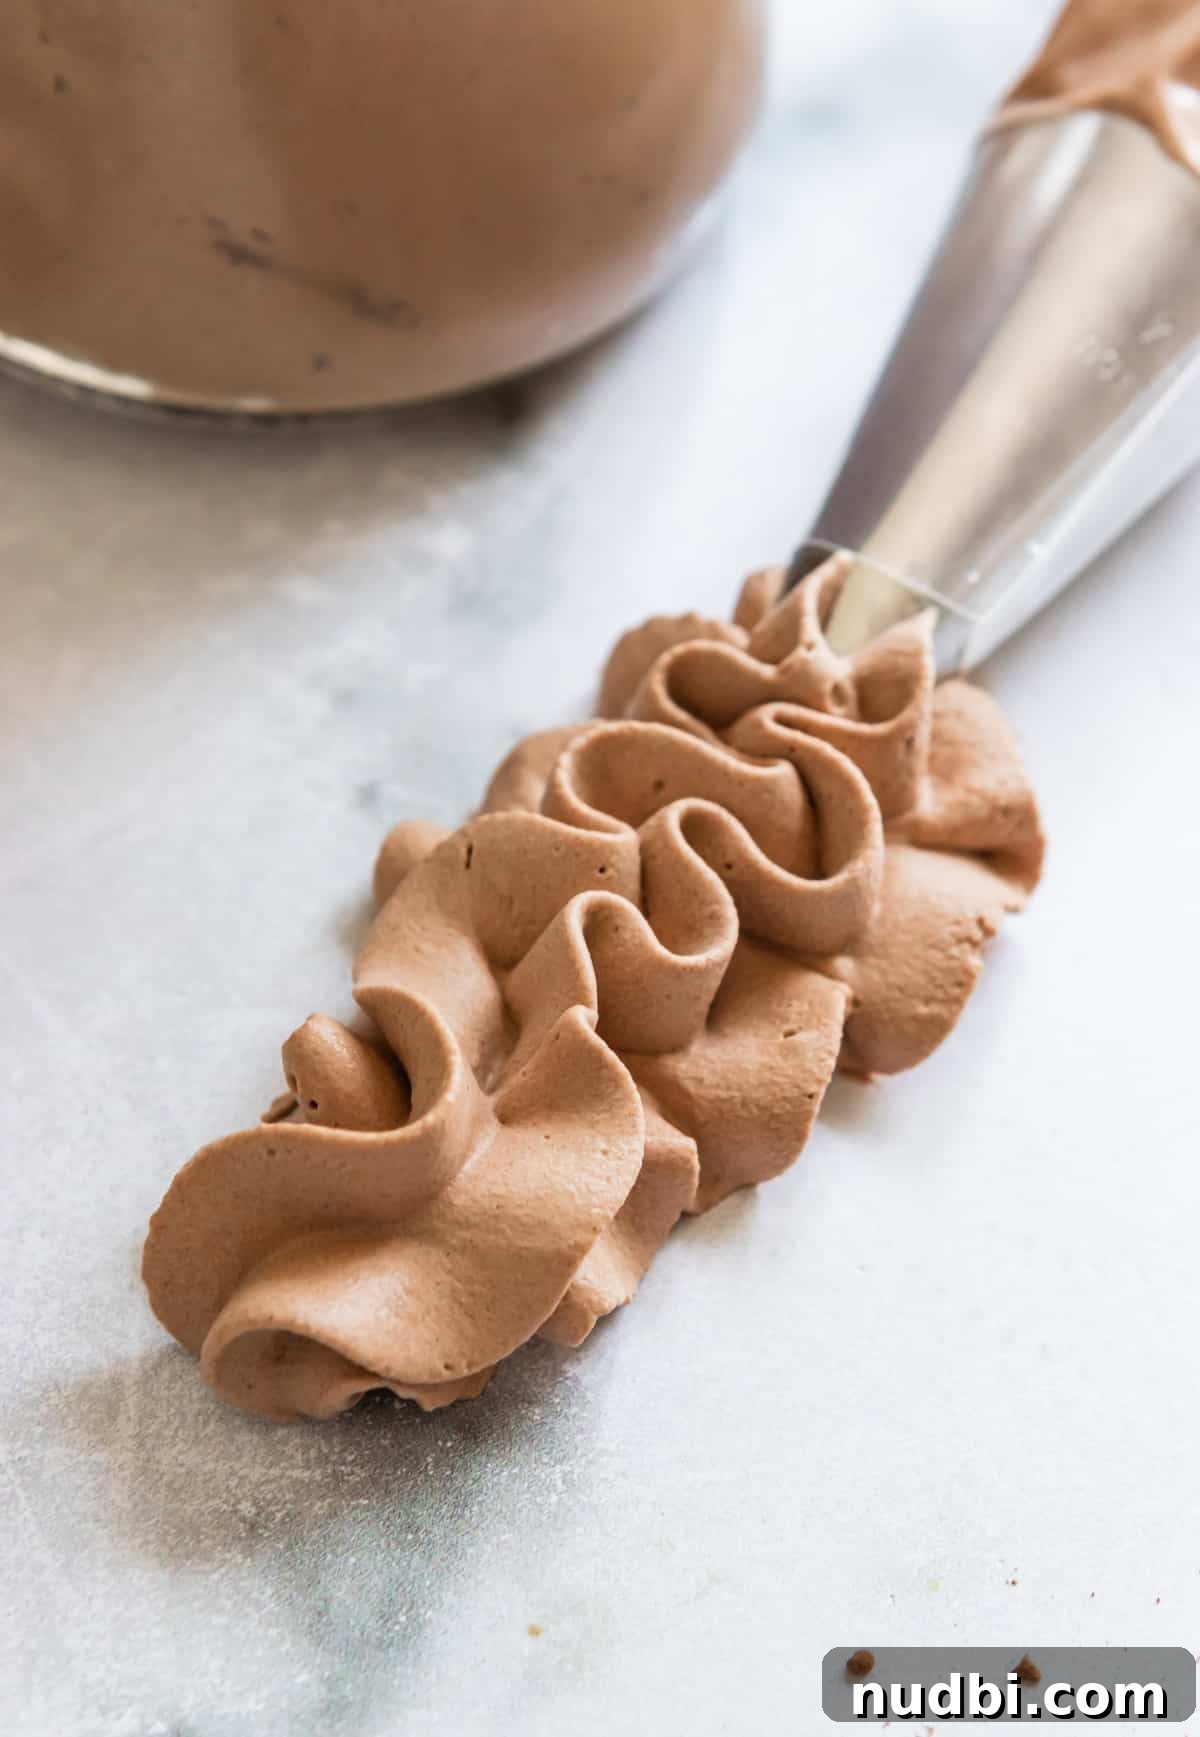
- Cover and chill until ready to use. Use immediately as a topping, or transfer to a piping bag for decorating cakes and cupcakes.
Recipe Tips
- Don’t overwhip. Stop when stiff peaks form. Overwhipping makes the cream grainy and buttery. If that happens, whisk in a few tablespoons of cold cream to smooth it out.
- Keep everything cold. Cold cream and chilled tools produce the best volume and stability.
- Fun alternative: For a kid-friendly method, combine the ingredients in a jar and shake until peaks form — it takes more effort but is enjoyable for families.
- If it tastes too bitter: Add an extra tablespoon or two of powdered sugar (or a tablespoon of granulated sugar) and a small pinch more salt to balance the flavor.
Dairy-Free Variation
You can make a dairy-free version using full-fat coconut milk. Chill two cans of full-fat coconut milk overnight to separate the cream from the liquid.
Discard the watery liquid, scoop the thickened coconut cream into a chilled bowl and proceed with the recipe, using the same cocoa, powdered sugar, vanilla, and optional espresso. Note that coconut-based whipped cream won’t be quite as stable as the dairy version but is still delicious.
Storage Instructions
Store leftovers in an airtight container in the coldest part of the refrigerator (toward the back). Use within 2–3 days for best texture.
To freeze, pipe or scoop small dollops onto a parchment-lined sheet pan, freeze until solid, then transfer to a freezer-safe container. Thaw for 15–20 minutes before using. Frozen whipped cream keeps up to 3 months.
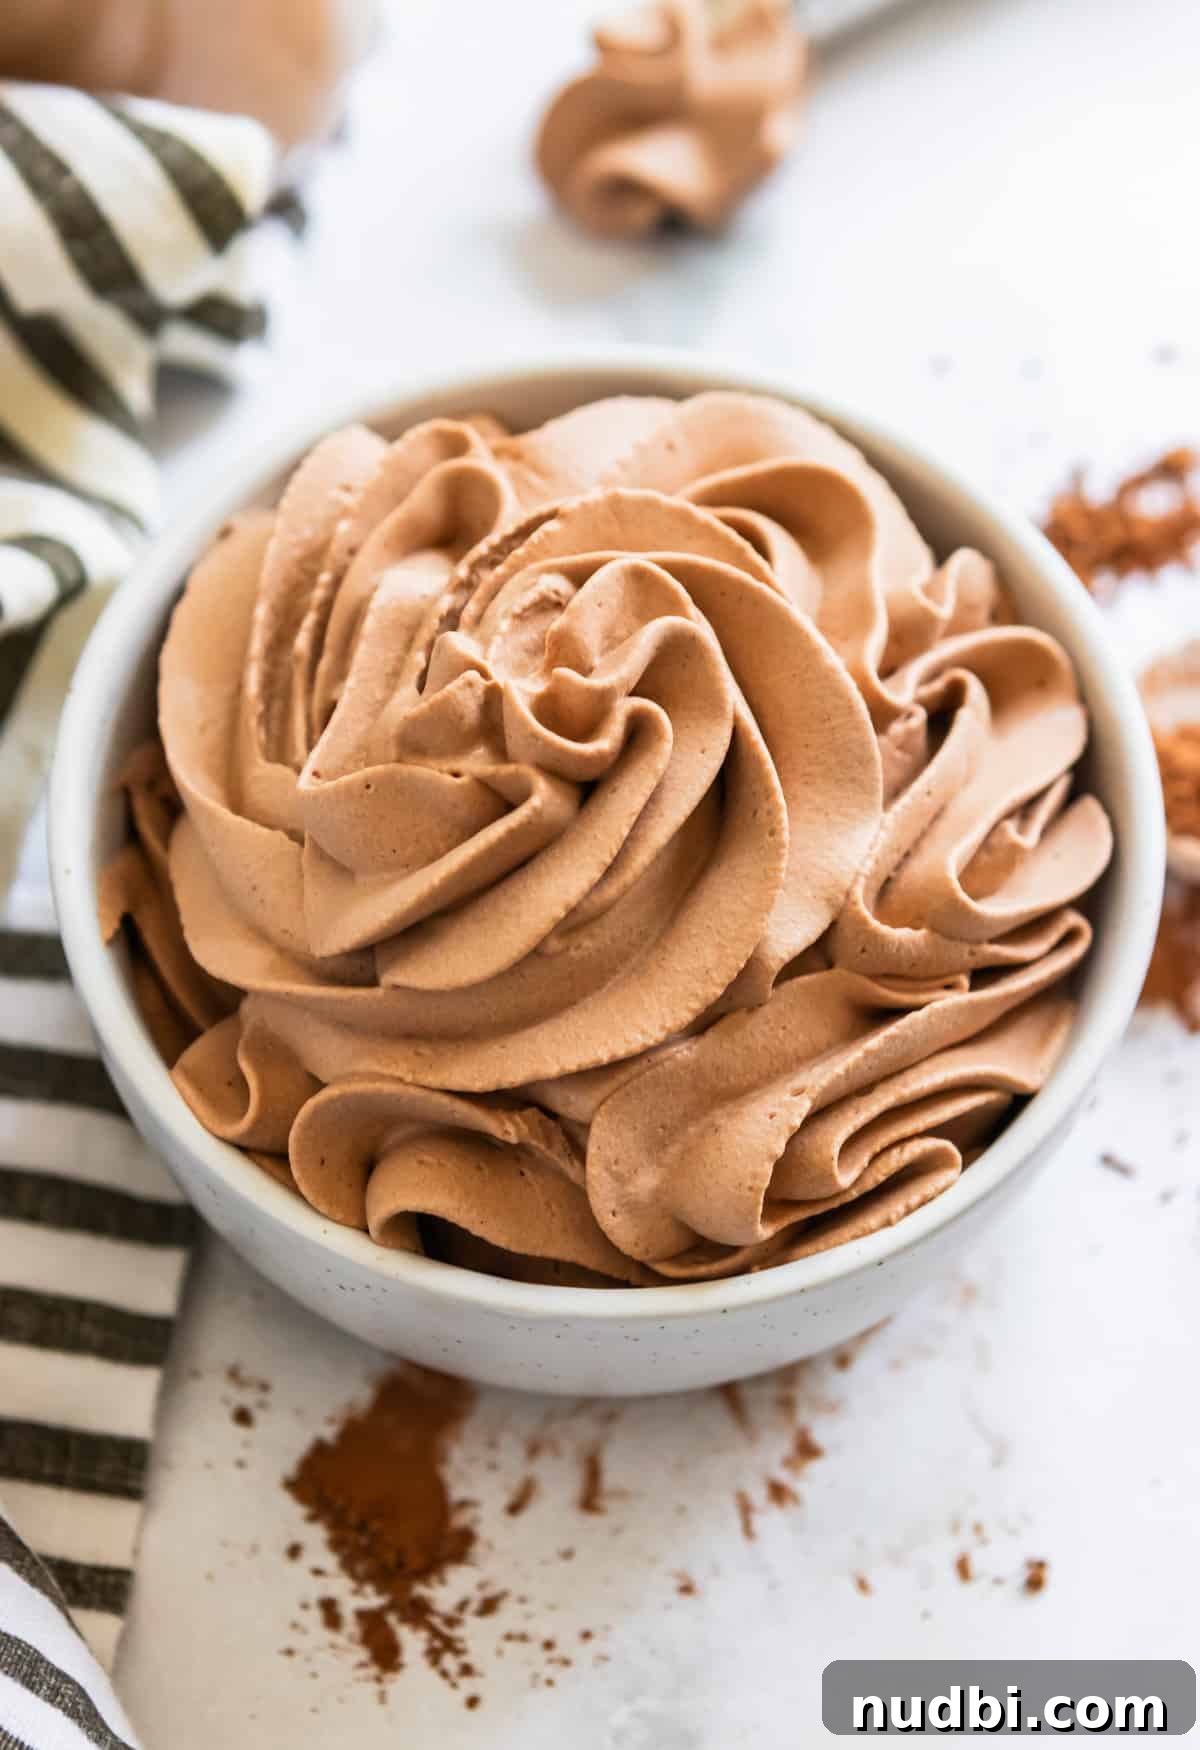
What to Serve With Chocolate Whipped Cream
- Vanilla or mocha cupcakes
- Ice cream — sundaes and scoops
- No-bake cheesecake cups or mousse
- Brownies, skillet cookies, or mug cakes
- Fresh berries and fruit salads
Hungry for more? Subscribe to your favorite newsletters or follow dessert accounts for more recipes and ideas.
Chocolate Whipped Cream
Ingredients
- 2 c heavy whipping cream
- ¼ c heaping cocoa powder
- ⅓ c powdered sugar
- 1 tsp vanilla extract
- pinch of sea salt
- optional: 1 tsp espresso powder
Instructions
- In a medium chilled bowl, combine all ingredients. Using a hand mixer or stand mixer with the whisk attachment, whip on medium until stiff peaks form, about 4–5 minutes.
- Cover and chill until ready to serve. Enjoy straight from the spoon or use as a light frosting, topping, or filling.
Notes
- Do not overwhip: Stop when stiff peaks form. If the cream becomes grainy, whisk in a few tablespoons of cold cream to smooth it.
- Keep ingredients cold: Cold cream and chilled tools improve volume and stability.
- If too bitter: Add more powdered sugar, a tablespoon of granulated sugar, or a small extra pinch of salt to balance flavor.
Nutrition
Carbohydrates: 4 g,
Protein: 1 g,
Fat: 11 g
Nutrition information is an approximation.
Shop this Post
Cocoa Powder
Hand Mixer
Mixing Bowls