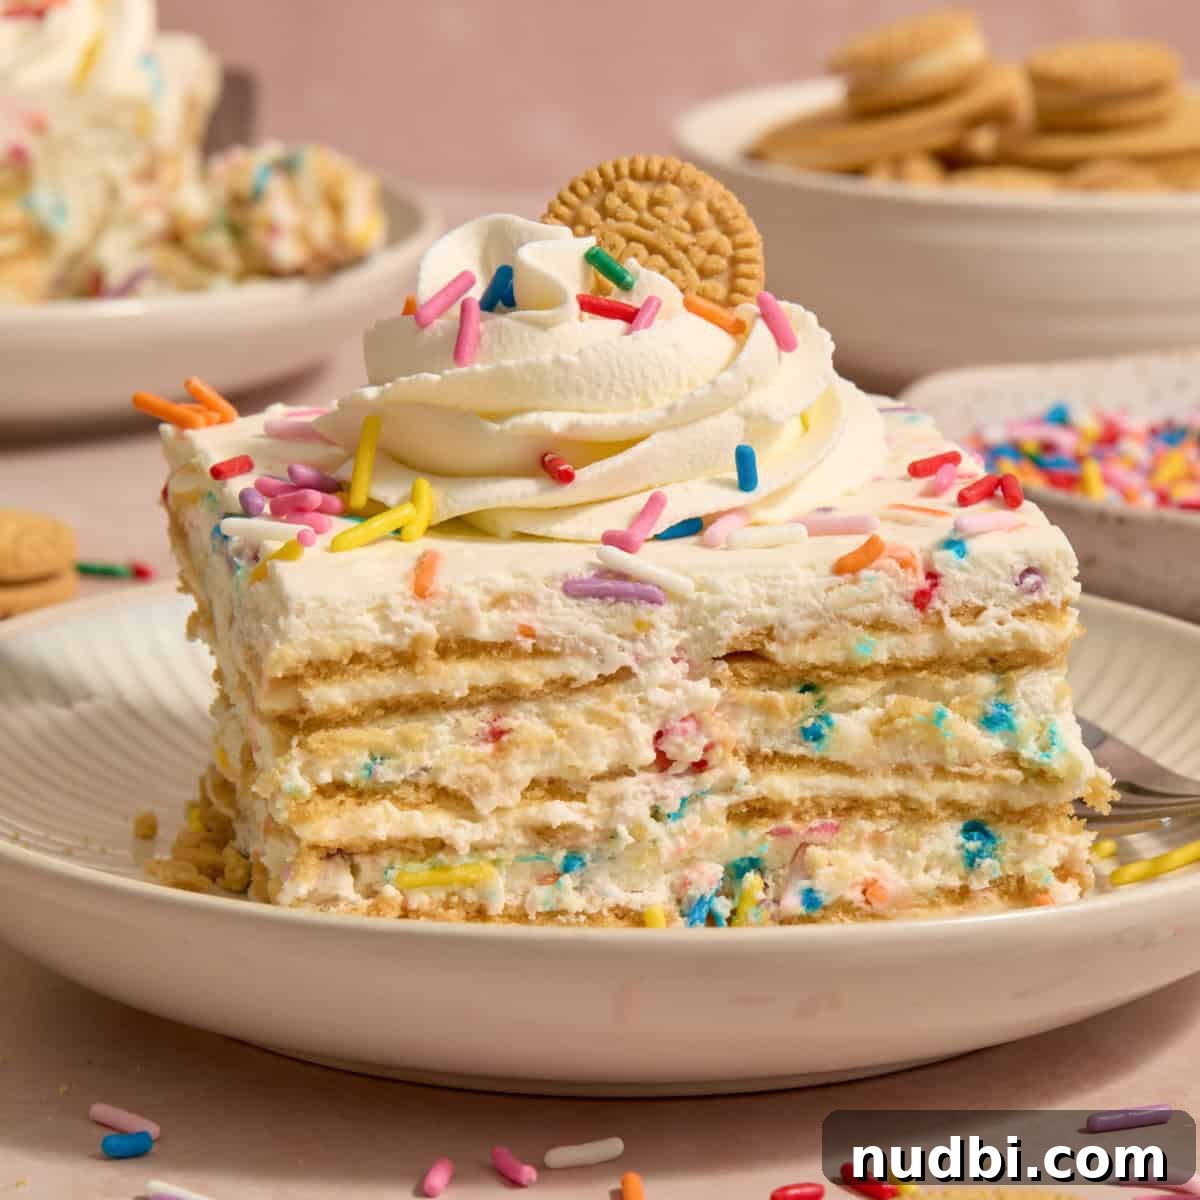
This simple Funfetti Icebox Cake is an ideal dessert for celebrations. With only six ingredients and about 20 minutes of hands-on prep, there’s no baking required—just layer, chill, and enjoy a creamy, sprinkle-filled filling sandwiched between Golden Oreo Thins. Every bite feels like a little party!
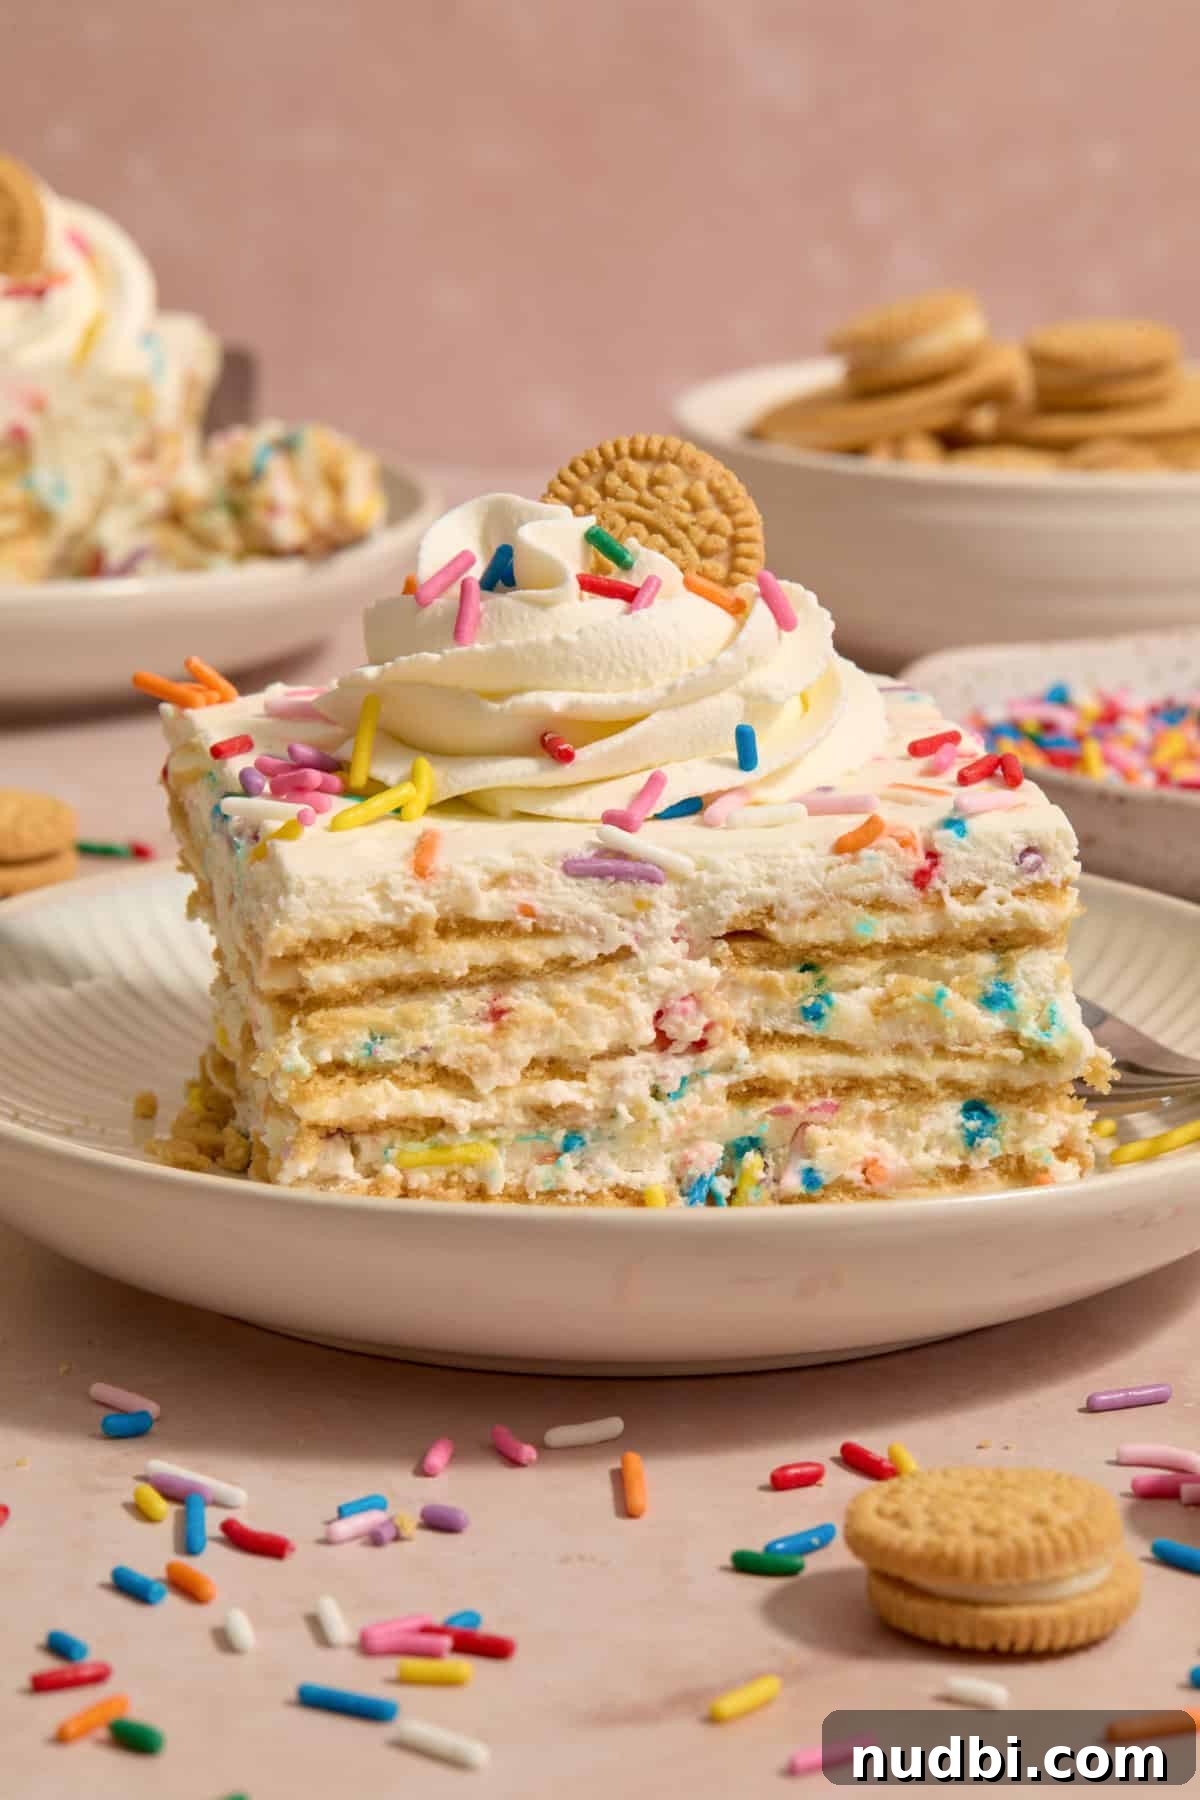
No-bake desserts are perfect for warm weather and busy days. Icebox cakes are especially useful because they take minimal effort—mostly mixing and layering—and reward you with a soft, cake-like texture after chilling. This Funfetti Icebox Cake takes that ease up a notch with a creamy, sprinkle-studded filling and crisp, golden-cookie layers.
Why We Love This Funfetti Icebox Cake

Sprinkles instantly add joy to any dessert, and Golden Oreos bring a delicate vanilla crunch that pairs perfectly with a cream-based filling. This recipe was designed to be fuss-free while keeping the celebratory flavor of birthday-cake or sugar-cookie desserts.
This Funfetti Icebox Cake:
- Uses only 6 ingredients
- Is ready to assemble in under 20 minutes
- Can be customized by changing sprinkle colors for holidays or team spirit
- Is family- and kid-friendly
- Delivers a soft, creamy filling paired with softened Golden Oreo Thins for a cake-like finish
Give it a try—you’ll be hearing requests for seconds!
Ingredient Notes
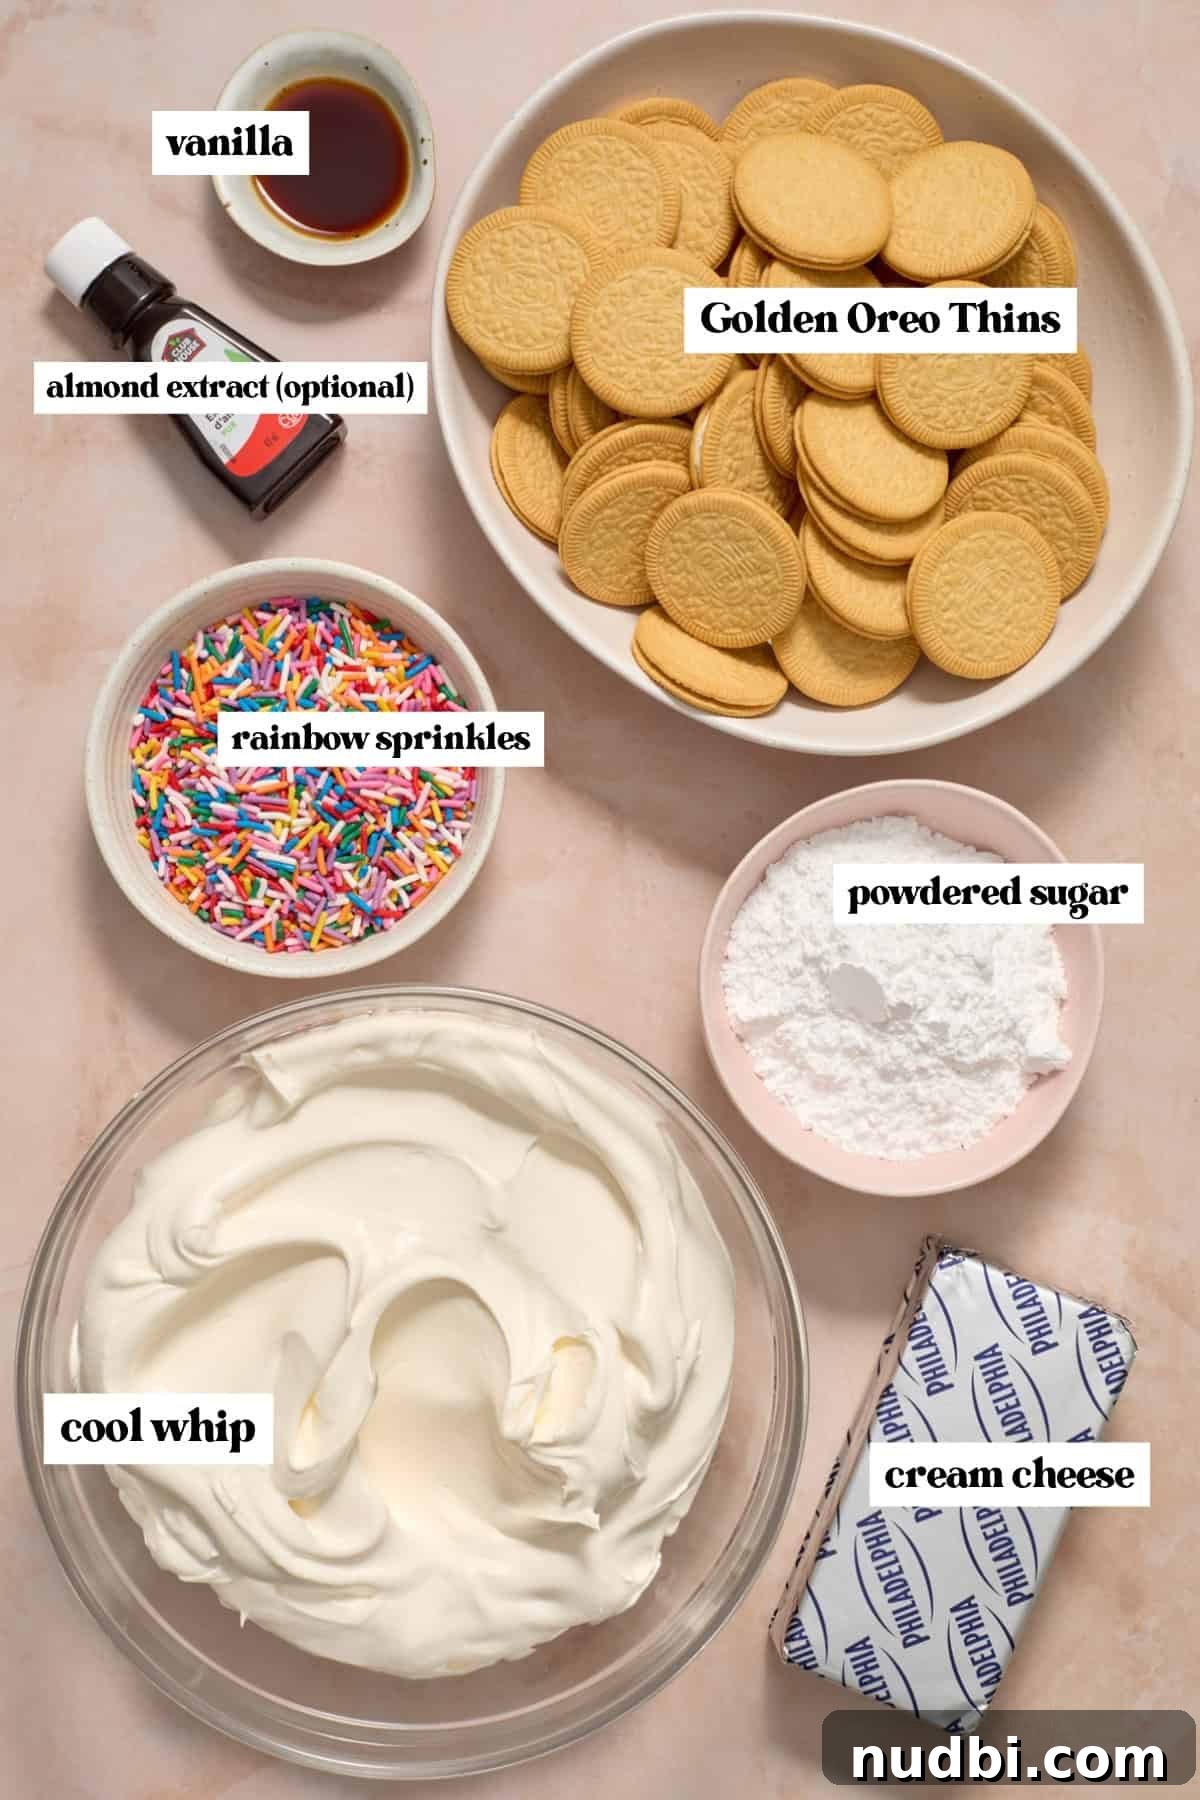
- I used Golden Oreo Thins for a lighter, crisp layer. Regular Golden Oreos work too; they’ll simply create a taller, richer cake. If using classic Oreos, consider reducing to two cookie layers to keep balance.
- For convenience I use Cool Whip, but you can substitute homemade whipped cream (2 cups heavy cream + ½ cup powdered sugar, whipped to stiff peaks) for a fresher flavor.
- Choose rainbow jimmies (rod-shaped sprinkles) rather than naturally dyed or nonpareil sprinkles. Some sprinkles bleed color into the filling; jimmies typically hold their color better.
- Almond extract is optional but adds a subtle birthday-cake note. If you prefer not to use it, increase the vanilla to taste.
Ways To Vary This Recipe
- Change sprinkle colors: Tailor the cake to holidays or team colors—red and green for Christmas, red-white-blue for patriotic events, or school colors for game day.
- Swap cookies: Use classic Oreo Thins for a chocolate contrast, or replace cookies with graham crackers for a different flavor and texture.
Step-By-Step Instructions
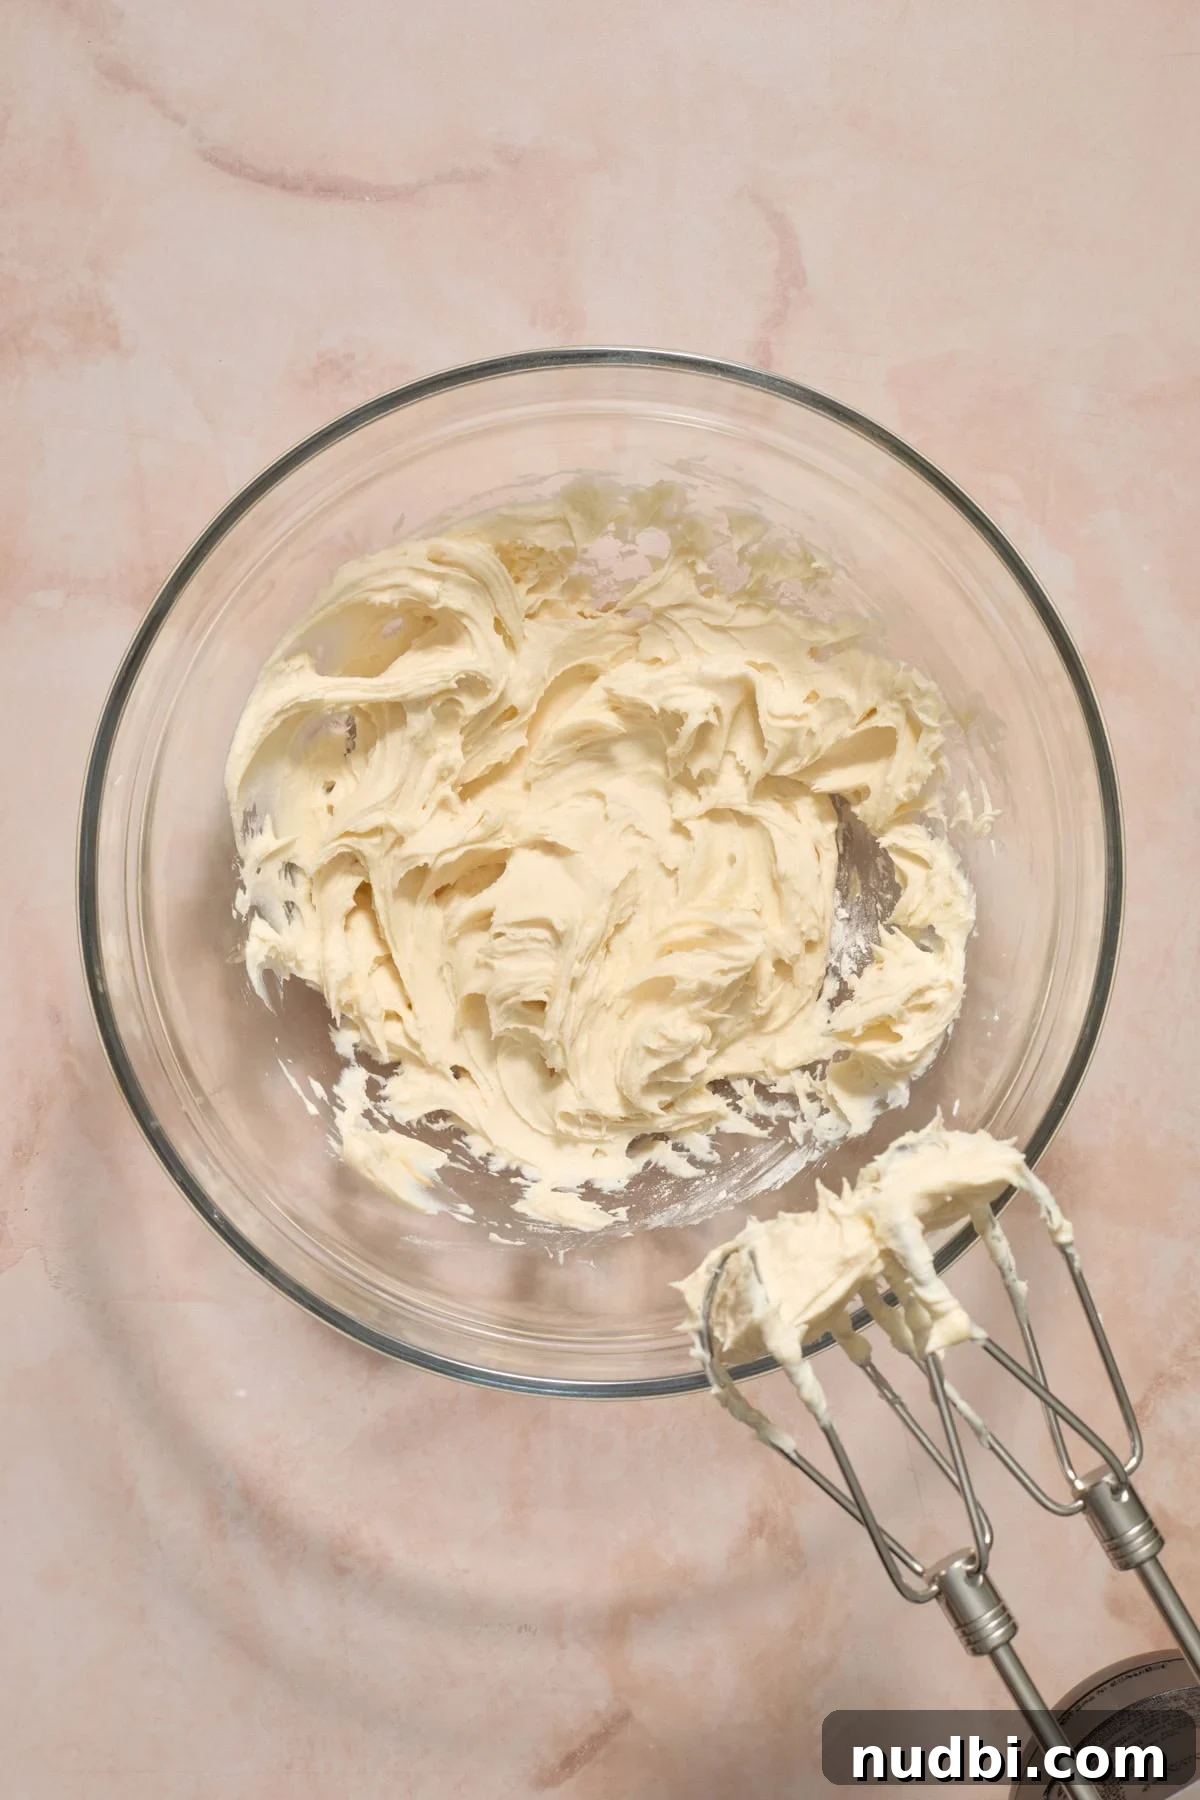
Step 1: Using an electric hand mixer, beat 8 oz softened cream cheese with ½ cup powdered sugar, 1½ tsp vanilla extract and ½ tsp almond extract (optional) until smooth and creamy.
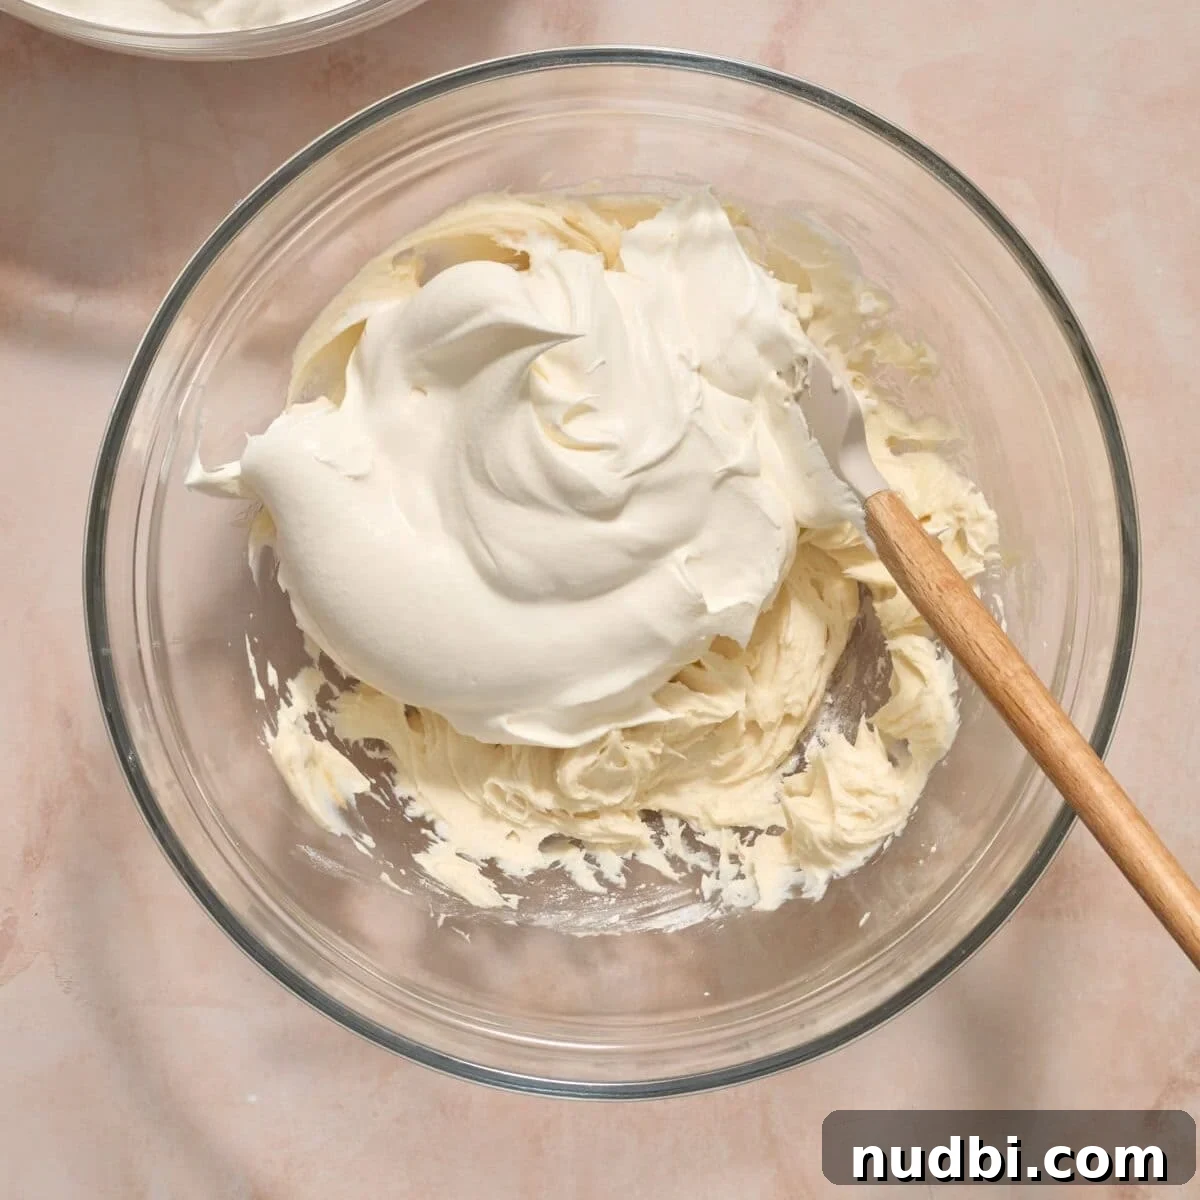
Step 2: Fold in 4 cups Cool Whip (or whipped cream) until evenly combined.
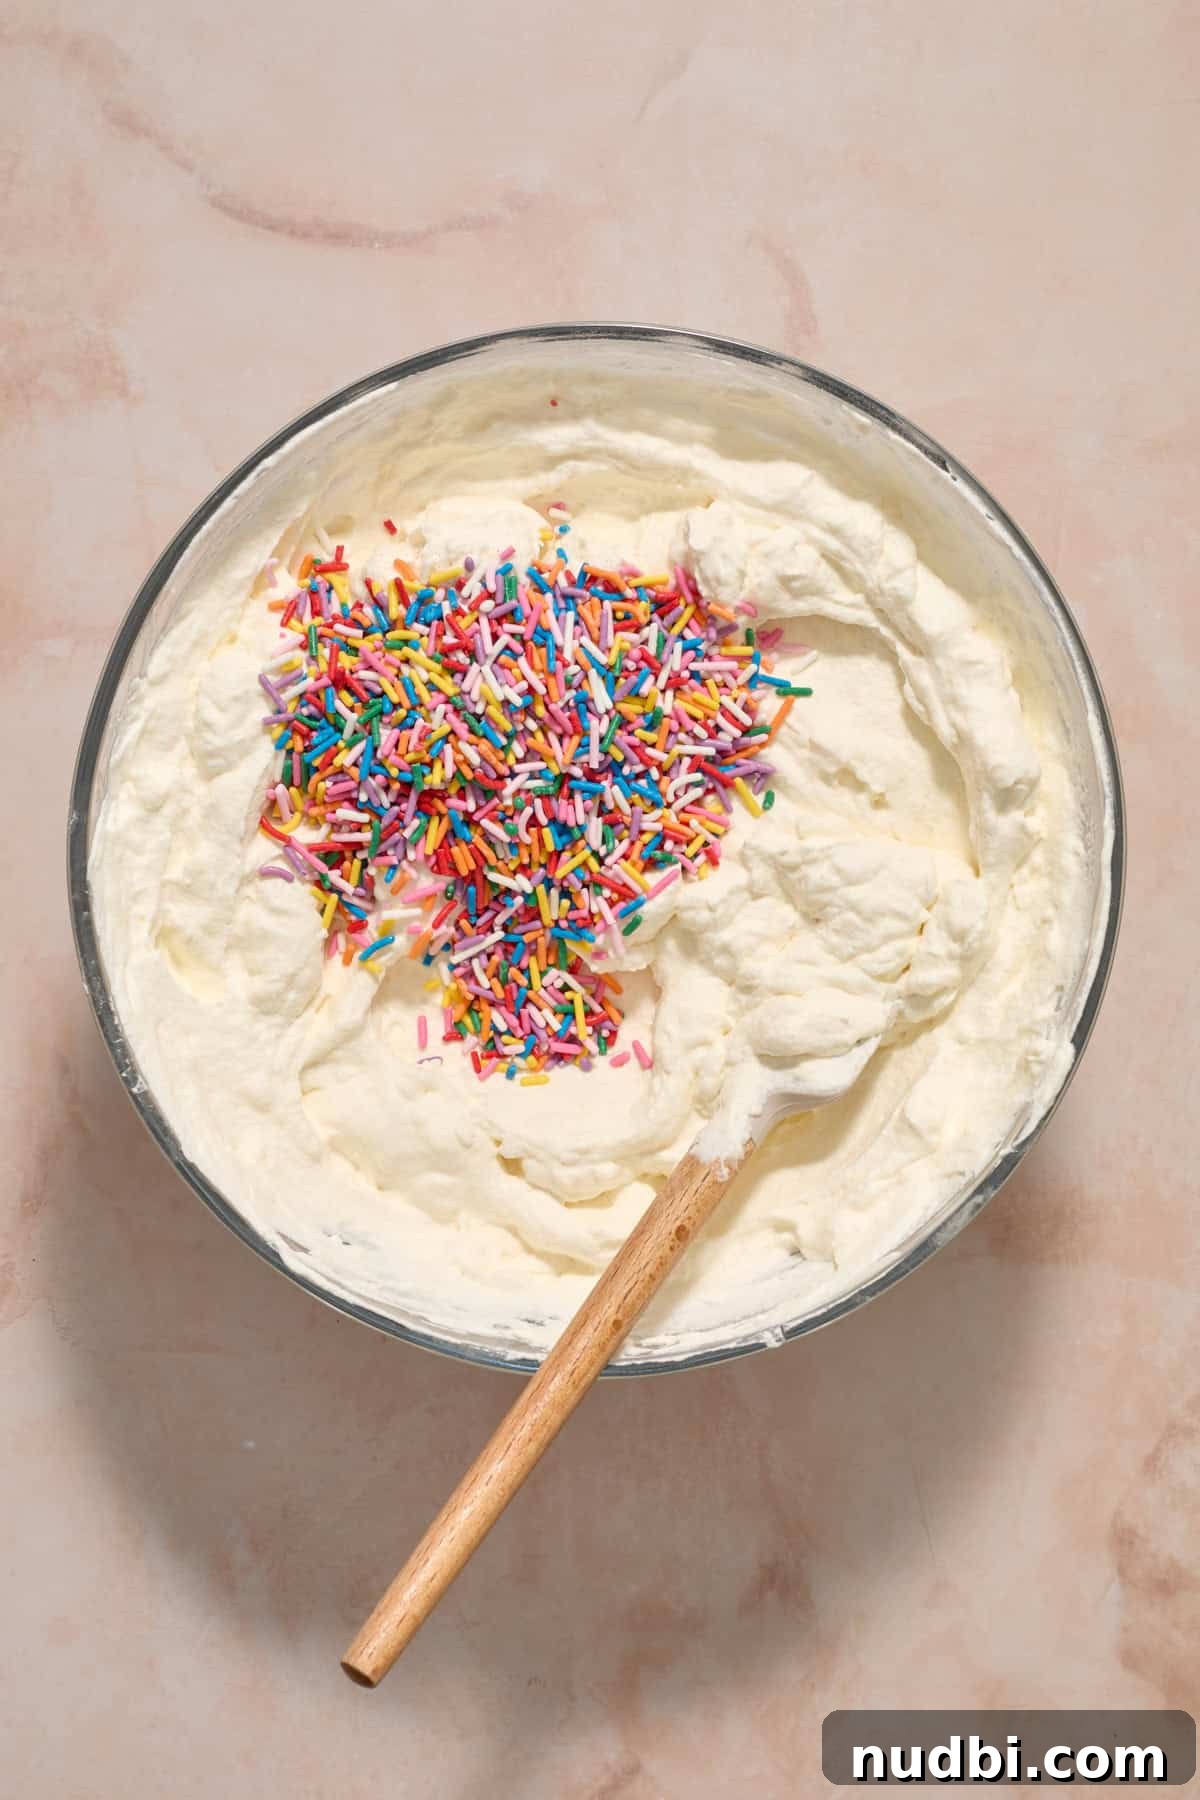
Step 3: Very gently fold in ½ cup rainbow sprinkles, stirring minimally to avoid color bleed.
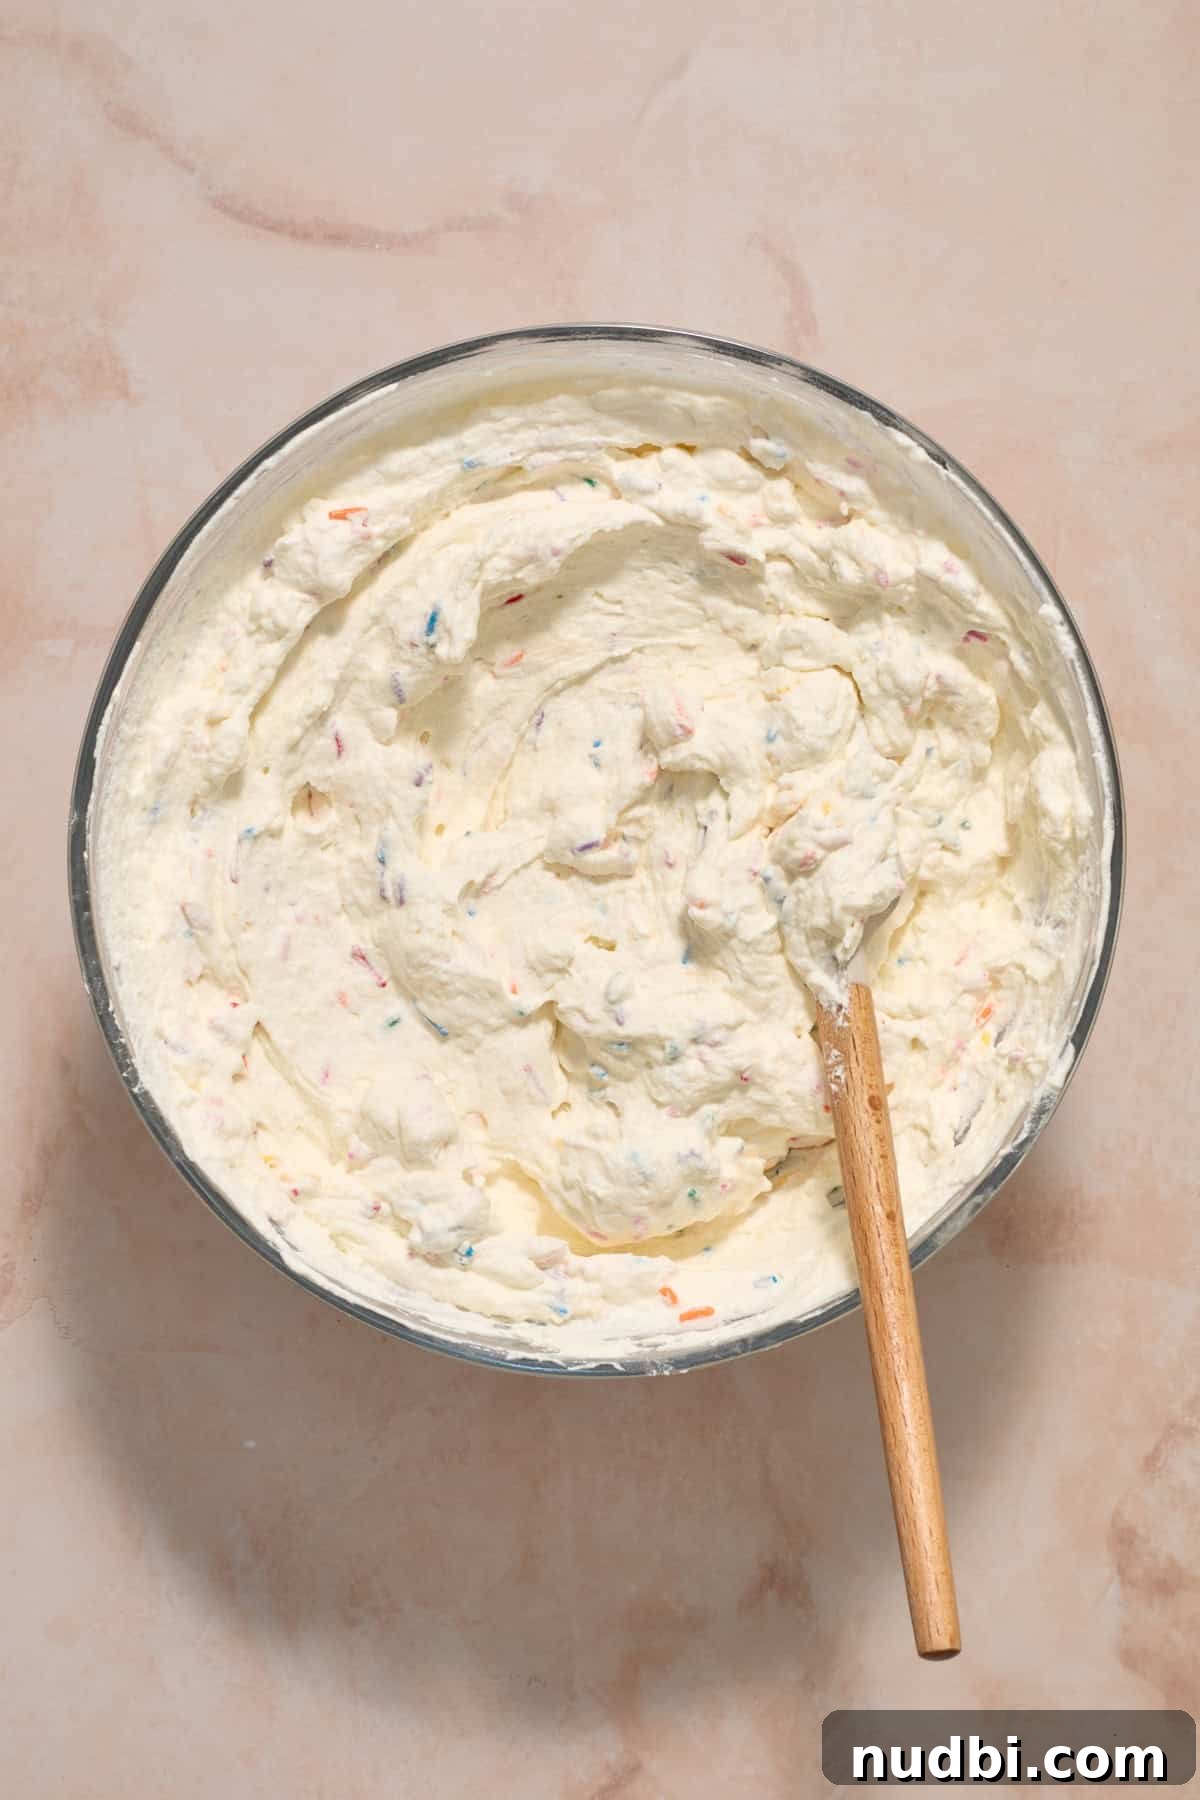
Step 4: Stop folding once the sprinkles are distributed; overmixing can cause the colors to run.
Assembling the Cake
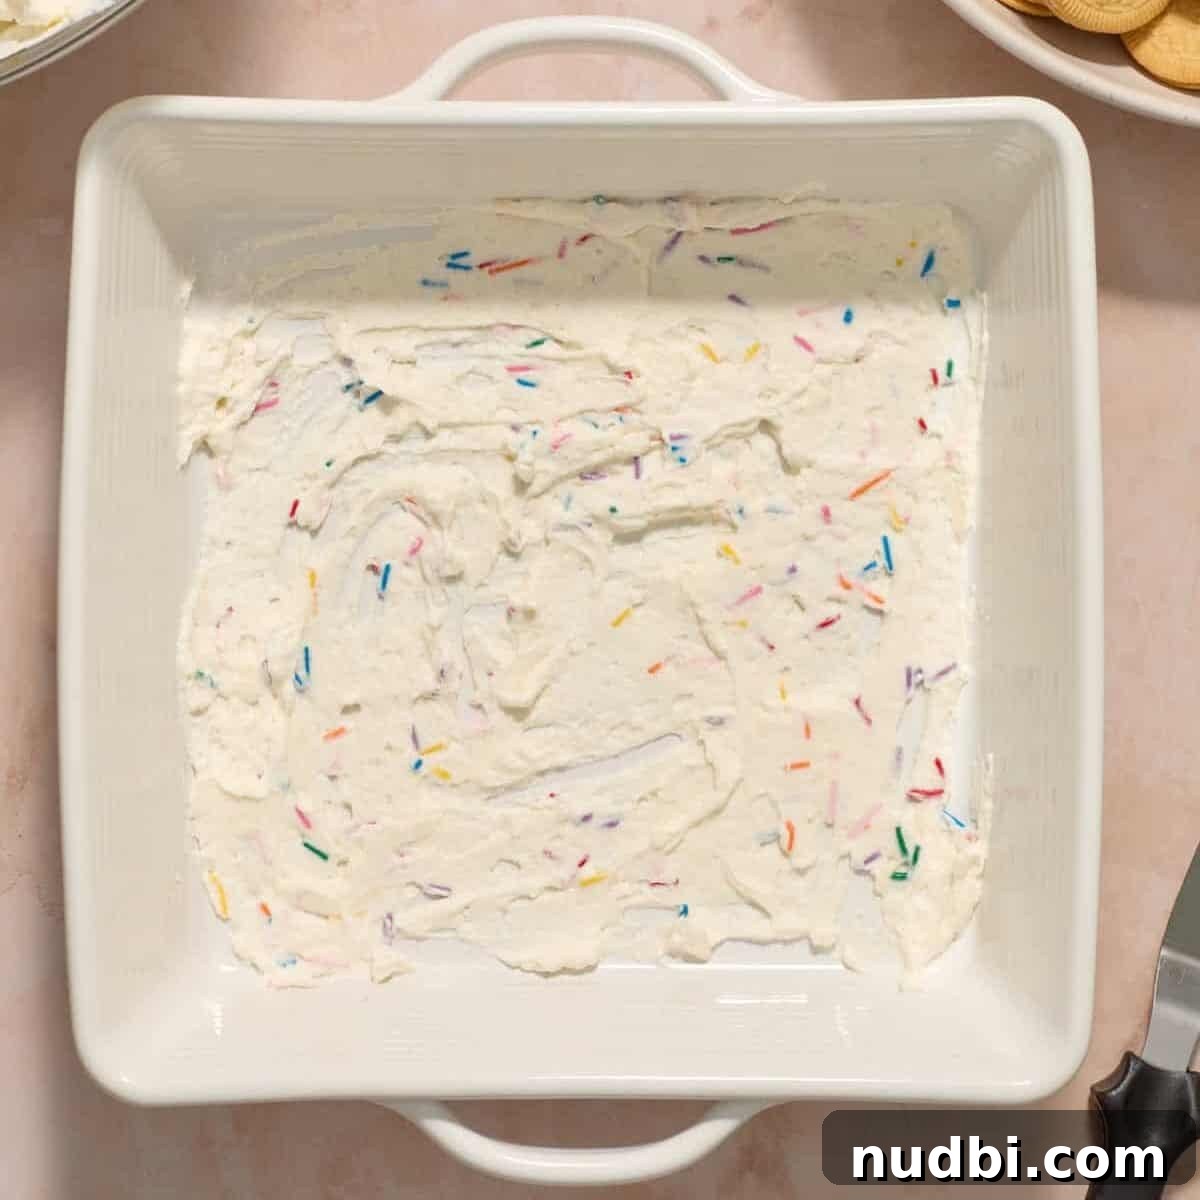
Step 1: Spread a very thin layer (about 3–4 tbsp) of the cream mixture on the bottom of an 8×8-inch pan to hold the cookie layer in place.
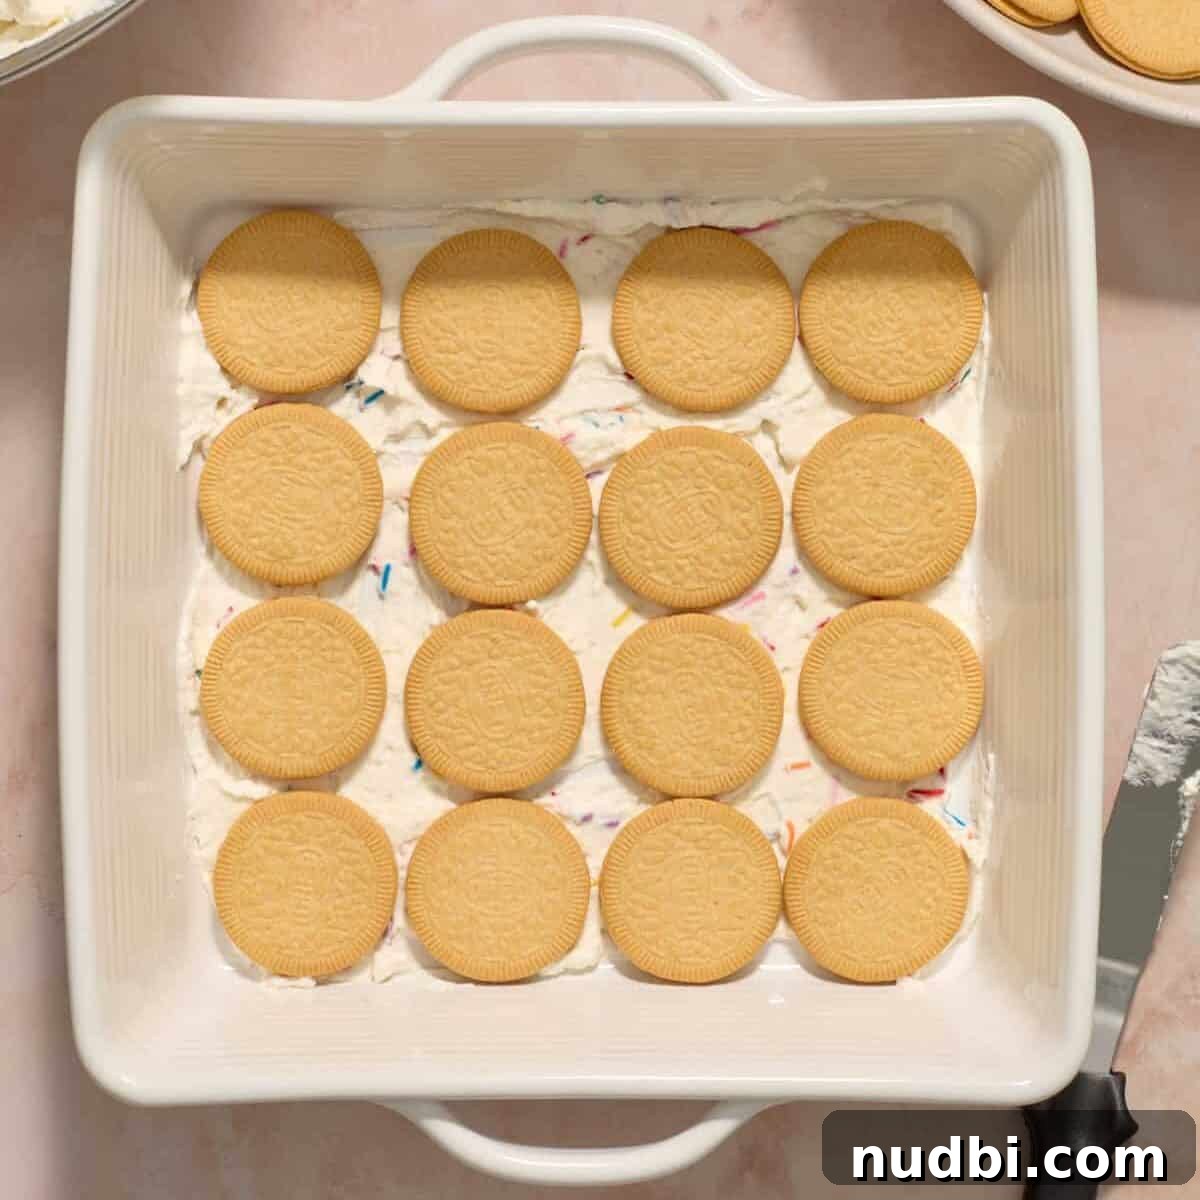
Step 2: Add a single layer of Golden Oreo Thins (about 16, arranged 4×4; break edge cookies as needed) to cover the bottom.
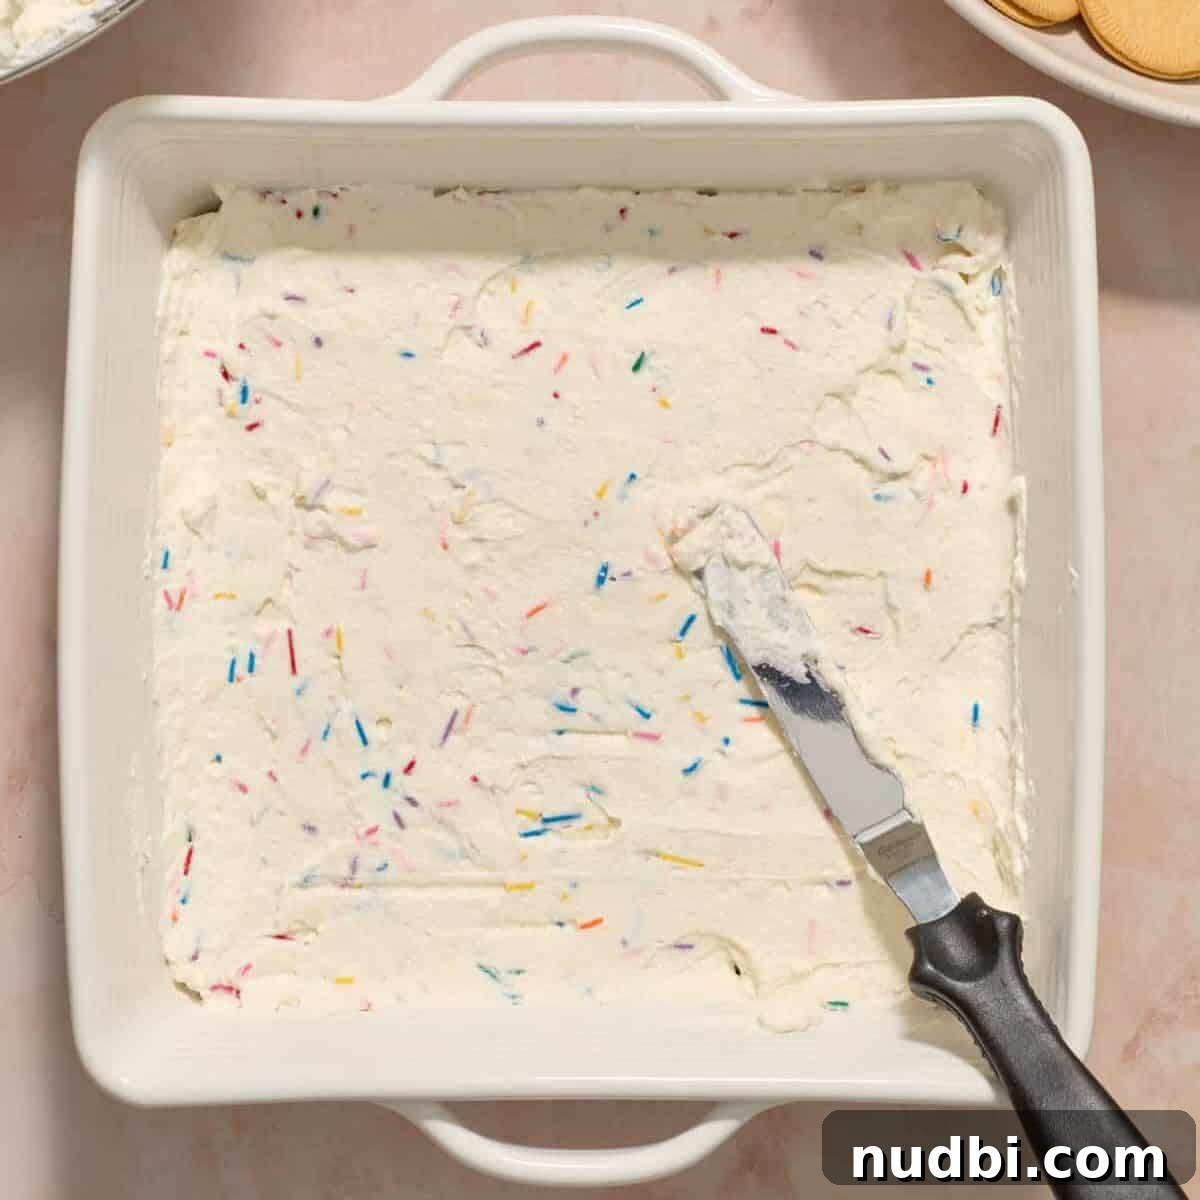
Step 3: Spread roughly one-third of the cream mixture evenly over the cookie layer.
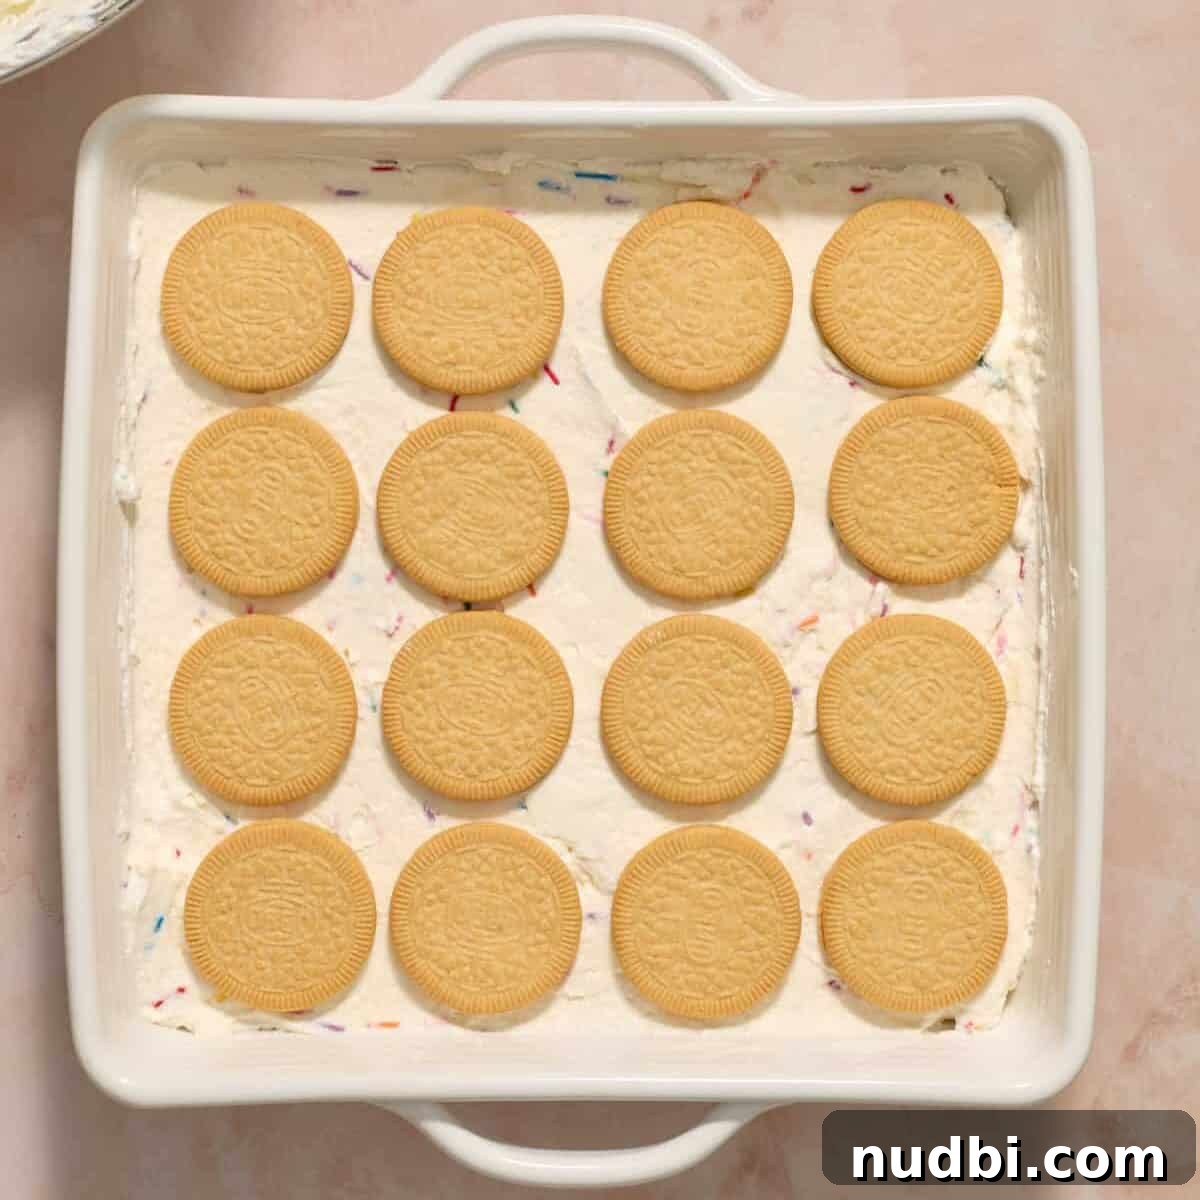
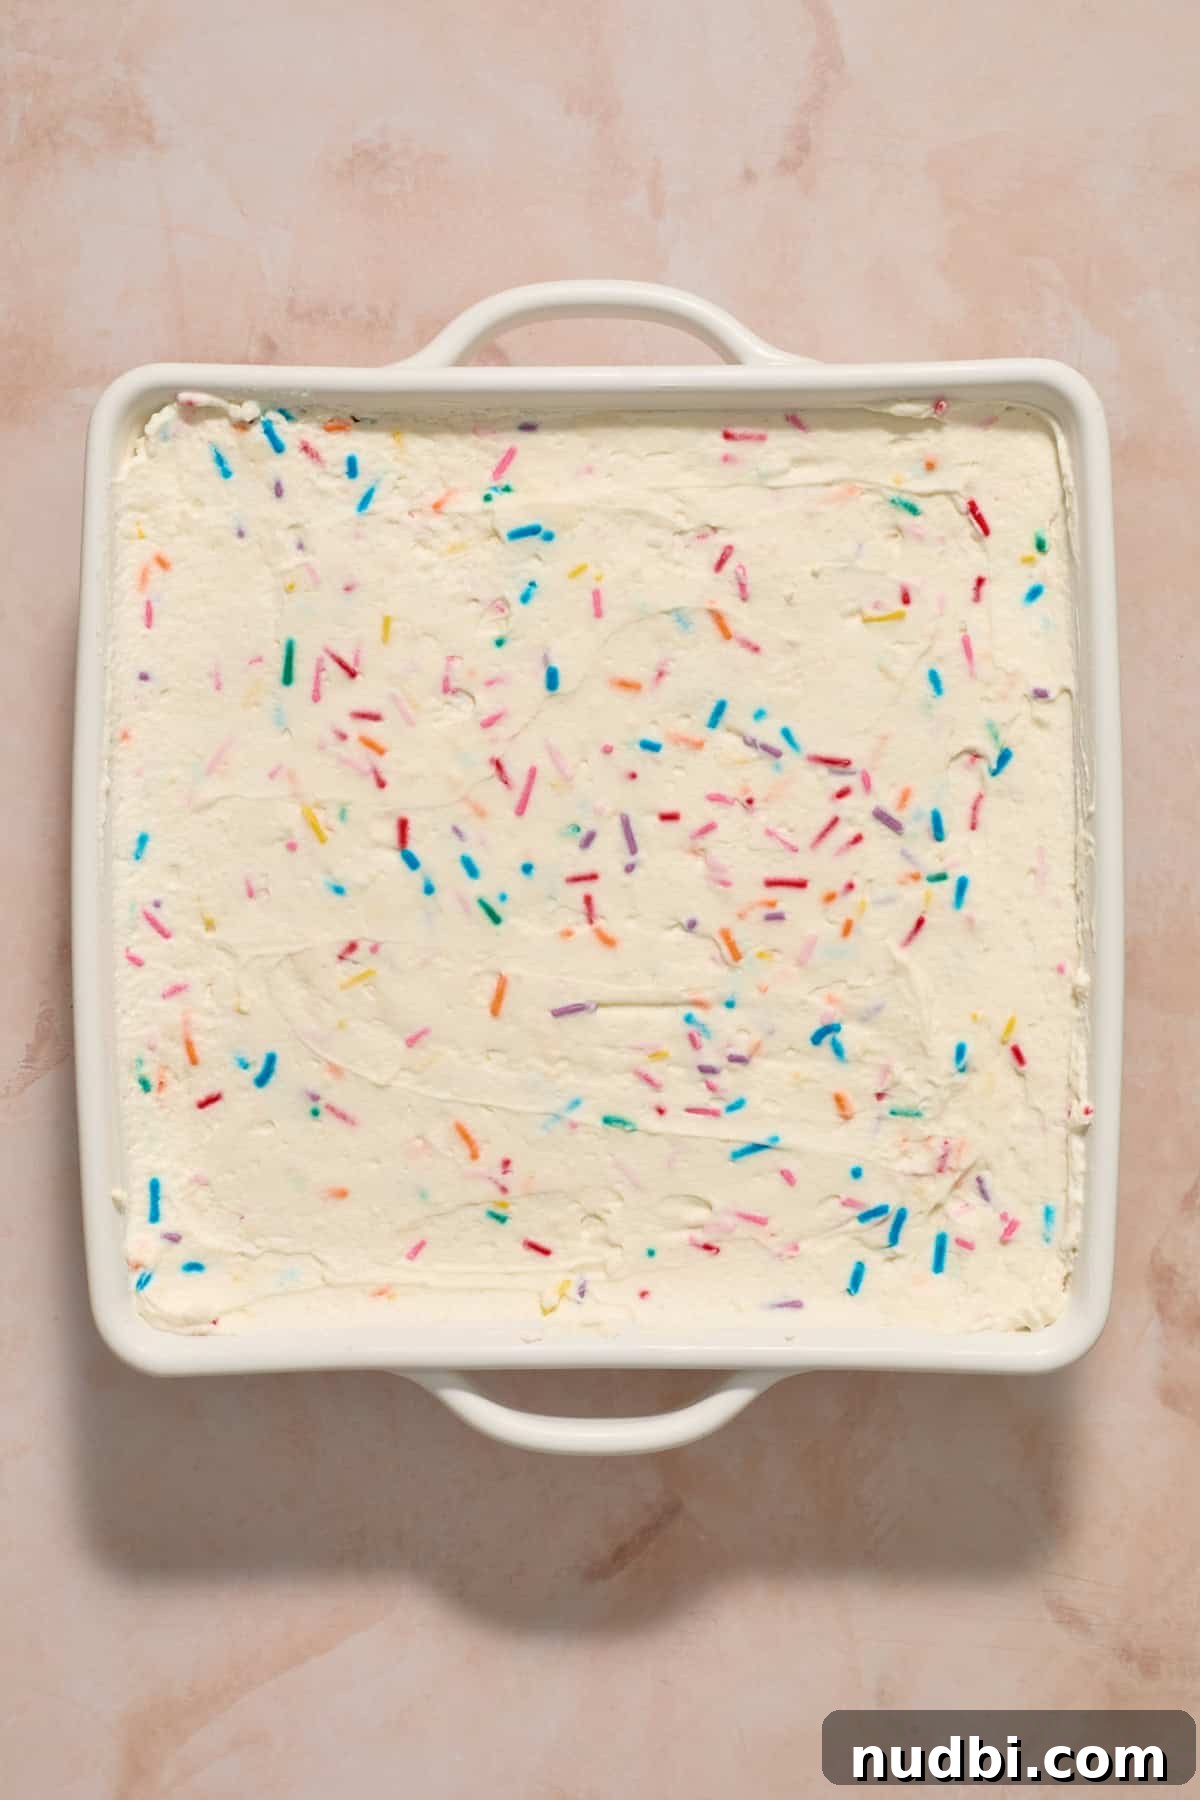
Step 4: Add another layer of 16 Golden Oreo Thins, then spread a second third of the cream mixture. Top with a final 16 cookies and spread the remaining cream evenly over the top.
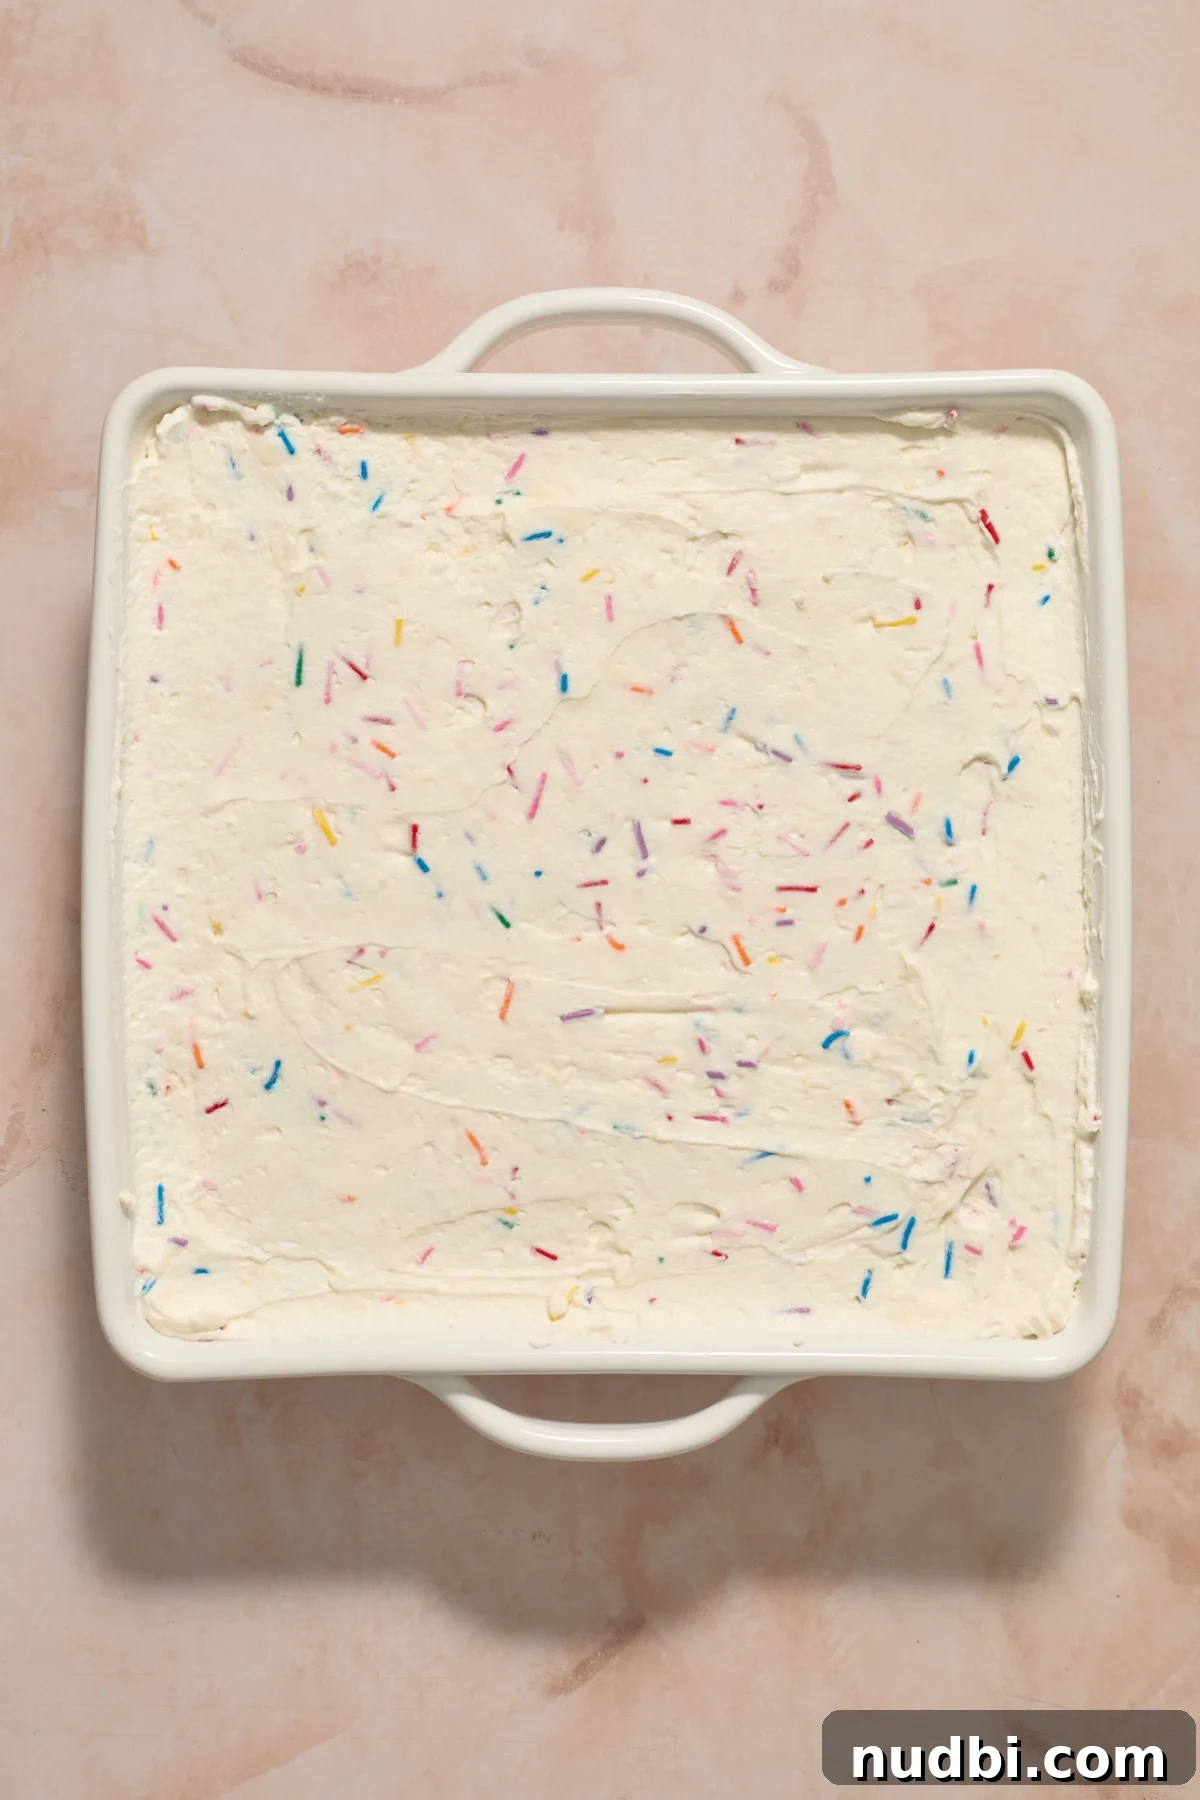
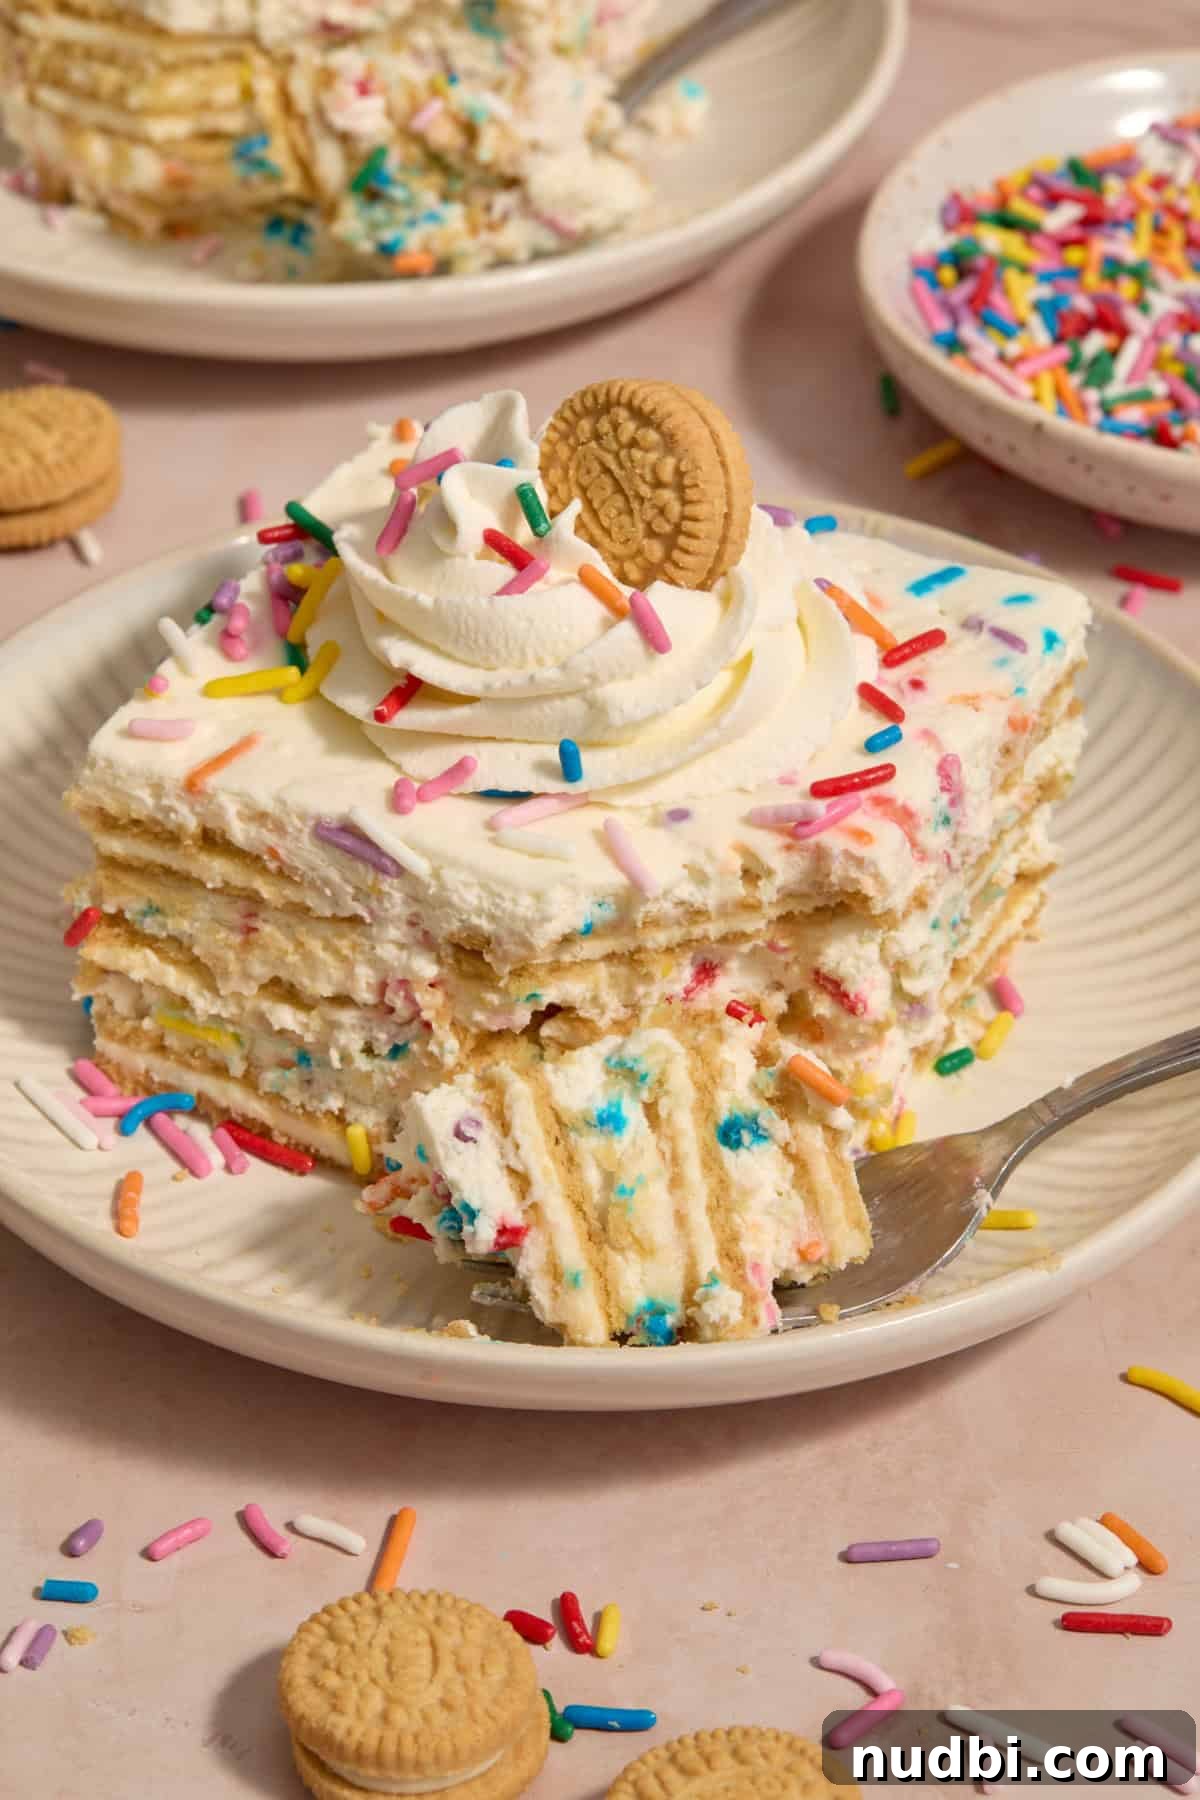
Step 5: Cover and chill for at least 4–5 hours, or preferably overnight (about 12 hours) so the cookies soften and become cake-like. Before serving, sprinkle additional sprinkles on top and optionally pipe whipped cream on slices, finishing with a mini Golden Oreo if desired.
Recipe Tips
Chill until the cookies are soft. Preparing the cake the night before ensures the Oreos fully soften and achieve a pleasant, cake-like texture.
Choose sprinkles carefully. Use jimmies with solid color through the center rather than sprinkles that are white inside and only colored on the surface to avoid muted colors or bleeding.
Storage
Store the cake in an airtight container in the refrigerator for up to 5 days. Texture is best within the first 48 hours; after that the layers will continue to soften. To freeze, place in a freezer-safe sealed container for up to 3 months and thaw overnight in the refrigerator before serving.
No-Bake Funfetti Icebox Cake
Ingredients
- 48 Golden Oreo Thins
- 4 cups Cool Whip (or 2 cups heavy whipping cream + ½ cup powdered sugar, whipped to stiff peaks)
- 8 oz block cream cheese, softened
- 1½ tsp vanilla extract
- ½ tsp almond extract (optional)
- ½ cup powdered sugar
- ½ cup rainbow sprinkles, plus more for serving
Instructions
- Prepare the cream layer: Beat cream cheese, powdered sugar, vanilla and almond extract until smooth.
- Fold in Cool Whip (or whipped cream) until combined. Gently fold in sprinkles, stirring as little as possible to avoid color bleeding.
- Assemble the cake: Spread a thin layer of cream mixture in an 8×8-inch pan. Add a layer of 16 Golden Oreo Thins to cover the bottom.
- Spread about one-third of the cream mixture over the cookies, then add another layer of 16 cookies. Repeat with the second third of the filling, a final layer of cookies, and the remaining filling on top.
- Chill and serve: Chill at least 4–5 hours or overnight for best texture. Before serving, add extra sprinkles and pipe whipped cream on slices if desired.
Notes
For cleaner slices: Freeze the cake for about 30 minutes before cutting, then run a sharp knife under hot water, dry it, and slice, wiping the blade between cuts. A thin metal spatula helps lift slices out cleanly.
Storage: Refrigerate in an airtight container for up to 5 days; freeze for up to 3 months and thaw overnight in the refrigerator.
Chill thoroughly: Prepare ahead so the cookies soften fully and the texture becomes cake-like.
Pick the right sprinkles: Use jimmies with solid color through the center to minimize color bleed and maximize bright, even color in the filling.
Nutrition
Nutrition information is an estimate and should be used as a guideline only.